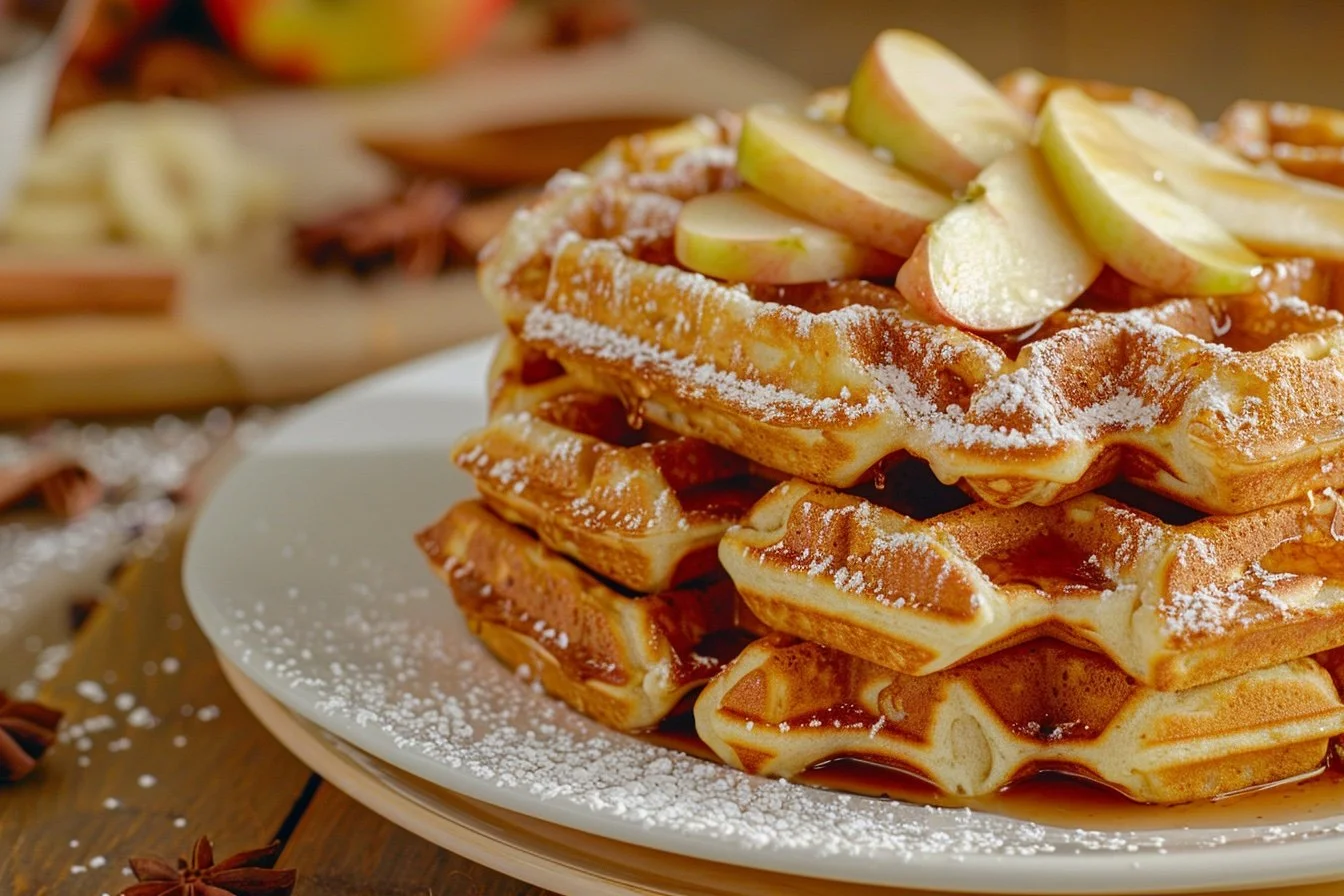
Kid-Approved Apple Cinnamon Waffles
Yield: 4-5 waffles
Prep Time: 15 minutes
Cook Time: 20 minutes
My New Weekend Tradition
There’s something magical about weekends, isn’t there? In our household, it’s become a time to slow down, enjoy the little things, and, most importantly, make waffles. It’s a tradition I started with my son—something we both look forward to.
I took my usual waffle recipe (the one that’s been a constant in our weekend routine) and gave it a little twist. By adding grated apple and a bit more cinnamon, we turned our simple waffle into something special—a warm, spiced delight with bursts of fresh apple in every bite. These Apple Cinnamon Waffles have become the new favourite, and I’m excited to share the recipe with you.
Cooking with my son has been one of the most rewarding parts of my week. It’s not just about the waffles (although they’re delicious), but about the process—the learning, the mess, and those little moments of connection. We’ve got it down to a rhythm now, but there’s always a new memory to be made each time we bust out the waffle iron.
Whether you’re already a waffle lover or looking to start a new tradition, I hope this recipe brings a bit of joy to your weekends, too. These Apple Cinnamon Waffles are perfect for a slow morning, a brunch gathering, or just because.
Why? Because Science
My household never has buttermilk on the regular, and we don't really use it in other recipes. However, I know buttermilk is the secret to making the best pancakes and waffles because it has;
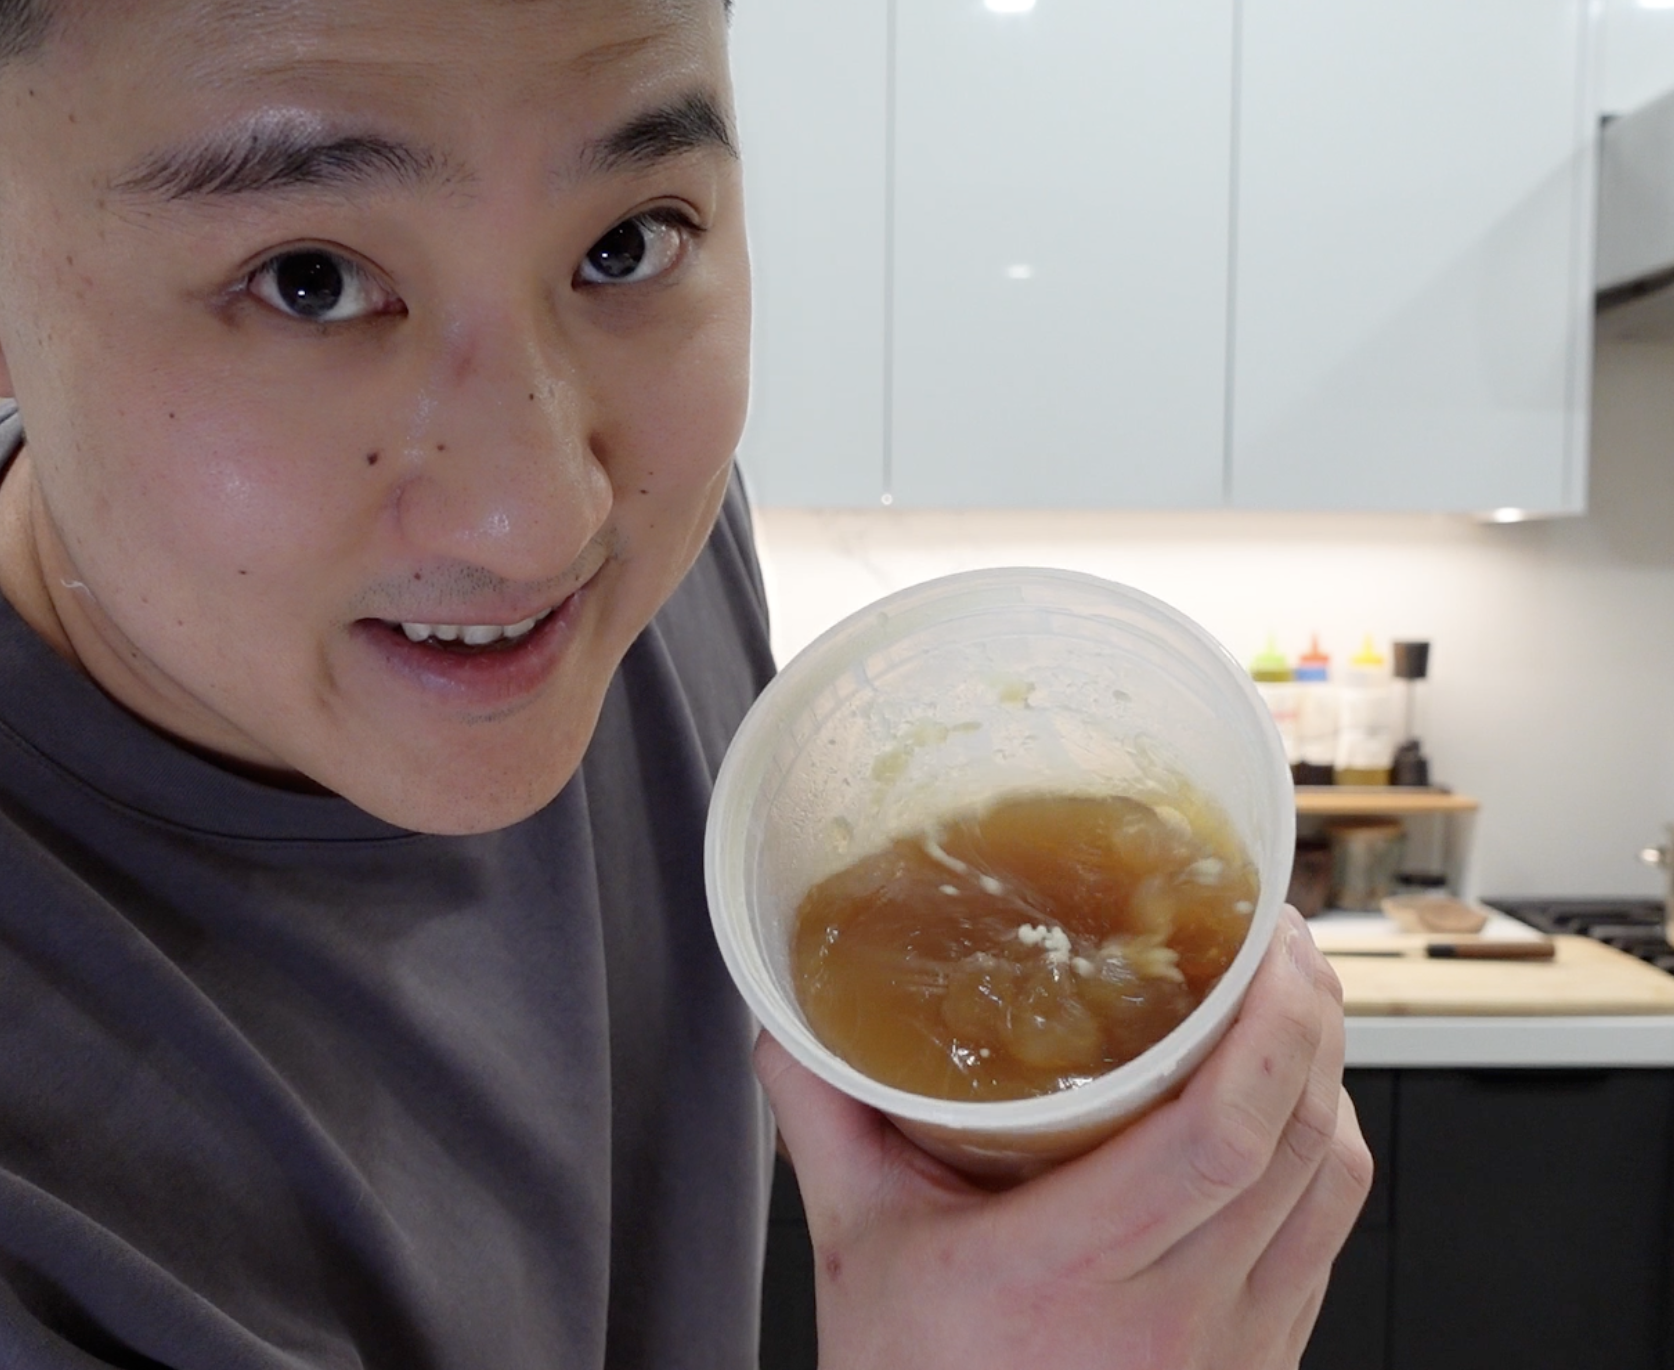
Acidity that reacts with the baking soda, creating a fluffy texture. Instead of buying buttermilk, I like to use this simple alternative: just take regular milk and add an acid to it, like lemon juice or white vinegar, to transform it into something similar to buttermilk. This trick is a lifesaver and works perfectly every time.
1 c milk; 1 tbsp. acid (lemon juice, vinegar etc.), let stand for 5- 10 min to activate
Tenderizing Proteins: The acidity in buttermilk breaks down gluten strands in the batter, resulting in a more tender texture. This is particularly beneficial in pancakes, where a delicate crumb is desired.
Enhanced Flavour: Buttermilk adds a subtle tanginess to pancakes, which enhances their flavour profile. This tanginess can make pancakes taste richer and more complex compared to those made with regular milk.
Thicker Consistency: Buttermilk is typically thicker than regular milk, which contributes to a thicker batter. This thicker batter helps to create pancakes that are more substantial and less likely to spread too thin on the griddle.
Ingredients:
125g (1 cup) all-purpose flour
25g (2 tbsp) sugar
1/2 tsp (2.5g) baking powder
1/4 tsp (1.25g) baking soda
1/4 tsp (1.25g) salt
1 1/2 tsp (7.5g) ground cinnamon
1/4 tsp (1.25g) ground nutmeg
237ml (1 cup) buttermilk (or 1 cup milk + 1 tbsp vinegar as an alternative)
57g (1/4 cup) unsalted butter, melted
1 large egg
1/2 tsp (2.5ml) vanilla extract
1 medium apple, peeled and grated
Tools Needed:
Waffle iron
Cheese grater
Mixing bowls (1 large, 1 medium)
Whisk
Measuring cups and spoons
Wire rack
Rubber spatula (for gentle folding)
Method:
1: Prepping Ingredients
Preheat Your Waffle Iron: Set your waffle iron to medium-high heat to ensure even cooking.
Prepare Buttermilk (if needed): Mix 237ml of milk with 1 tablespoon of vinegar or lemon juice. Let it sit for 5-10 minutes to curdle.
Melt the Butter: Melt the butter in the microwave in short bursts. Allow it to cool slightly before combining with the egg.
2: Mixing the Dry Ingredients
Whisk Dry Ingredients: In a large bowl, combine flour, sugar, baking powder, baking soda, salt, cinnamon, and nutmeg. Whisking helps to aerate the mixture and evenly distribute the leavening agents for fluffier waffles.
3: Preparing and Combining the Wet Ingredients
Whisk Wet Ingredients: In a medium bowl, whisk together the buttermilk, melted butter, egg, and vanilla extract until smooth. Ensure the butter has cooled to avoid cooking the egg.
Combine Wet and Dry Mixtures: Pour the wet ingredients into the dry mixture. Gently stir with a whisk or rubber spatula until just combined—some lumps are okay to keep the waffles light and fluffy.
4: Cooking the Waffles
Add Grated Apple: Peel and grate the apple using a cheese grater, then gently fold it into the batter to evenly distribute the apple without overmixing.
Cook the Waffles: Pour the batter into the preheated waffle iron, spreading it evenly. Cook for 4-5 minutes until the waffles are crispy and golden brown.
Keep Them Crispy: Place cooked waffles on a wire rack in a single layer to prevent sogginess from steam.
Eugene’s Extra Tips:
Measuring Flour Correctly: For the most accurate measurement, use a kitchen scale. Professional chefs rely on scales to ensure precision, especially when baking, as they give consistent results. While measuring cups are convenient, they can lead to inaccuracies due to packing or scooping, so weighing ingredients is always the best method for perfect waffles every time
Buttermilk Substitute: If you don't have buttermilk on hand, don't panic! Mixing milk with vinegar or lemon juice creates a similar tang and acidity, which reacts with the baking soda to help the waffles rise. Let it sit for the full 5-10 minutes to curdle properly before using.
Avoid Overmixing: Once the wet and dry ingredients are combined, resist the urge to stir too much. Overmixing activates the gluten in the flour, making your waffles tougher. Stir until the batter just comes together—lumps are okay!
Room Temperature Ingredients: If possible, let your buttermilk and egg come to room temperature before mixing. This helps the ingredients combine more smoothly and creates a better batter consistency.
Melted Butter Temperature: Ensure your butter is melted but not hot. If it's too hot, it can cook the egg when added. Let it cool for a minute after melting before mixing it with other wet ingredients.
Even Cooking: Spread the batter evenly in the waffle iron to avoid any undercooked spots. The batter may be thicker in places with more grated apples, so take an extra moment to ensure it’s evenly distributed before closing the waffle iron. Use the ladle to spread the batter gently across the surface. This will help the waffles cook uniformly and give you that perfect crispy texture throughout.
Waffle Iron Care: Always preheat the waffle iron for at least 5 minutes before cooking. Lightly grease it with cooking spray or brush with melted butter before adding the batter. This prevents sticking and helps achieve that golden, crispy exterior.
Test the First Waffle: The first waffle often acts as a test batch. Adjust the waffle iron heat or batter consistency if needed after cooking the first one.
Keeping Waffles Warm: If you’re making a larger batch, you can keep the waffles warm in a 90°C (200°F) oven while you finish cooking the rest. Place them directly on the oven rack to keep them crispy.
Apple Tips: Choose your family's favourite apple variety for the best texture and flavour—Honeycrisp works great for its crispness and sweetness. After grating the apple, you can give it an extra chop with a knife if you prefer smaller pieces. I like to do this for my son, who enjoys the waffles more when the apple bits are finer.
For the Parents
If you’re a parent looking for a fun and easy recipe to try with your kids, I highly encourage you to give this one a go. My son absolutely loves it! There’s something about the combination of apple and cinnamon that kids just seem to gravitate towards—it’s always a hit in our house.
Join the Tradition
What I love most about sharing these recipes is hearing how they become part of your own kitchen traditions. If you try these Apple Cinnamon Waffles, I’d love to know how they turn out! Leave a comment below or share a photo on Instagram and tag me @the_eugefood. Let’s keep the waffle love going—who knows, maybe you’ll add your own twist to the recipe.
You’ll Also Love These
Hi, I'm Eugene, but many of you might recognize me as "The_EugeFood". With over two decades working in diverse kitchens, I've come to cherish the genuine connections and shared experiences that cooking brings. For me, it's not about the high-pressure, competitive world you see on TV. It's about the joy of gathering around a table, the stories shared over simmering pots, and the laughter that follows a shared meal. I'm here to demystify the culinary world, to show you that if you can boil water for cup noodles, you're already on your way. Cooking isn't just a skill; it's a journey of discovery, and I invite you to join me on this adventure to becoming a better cook.


