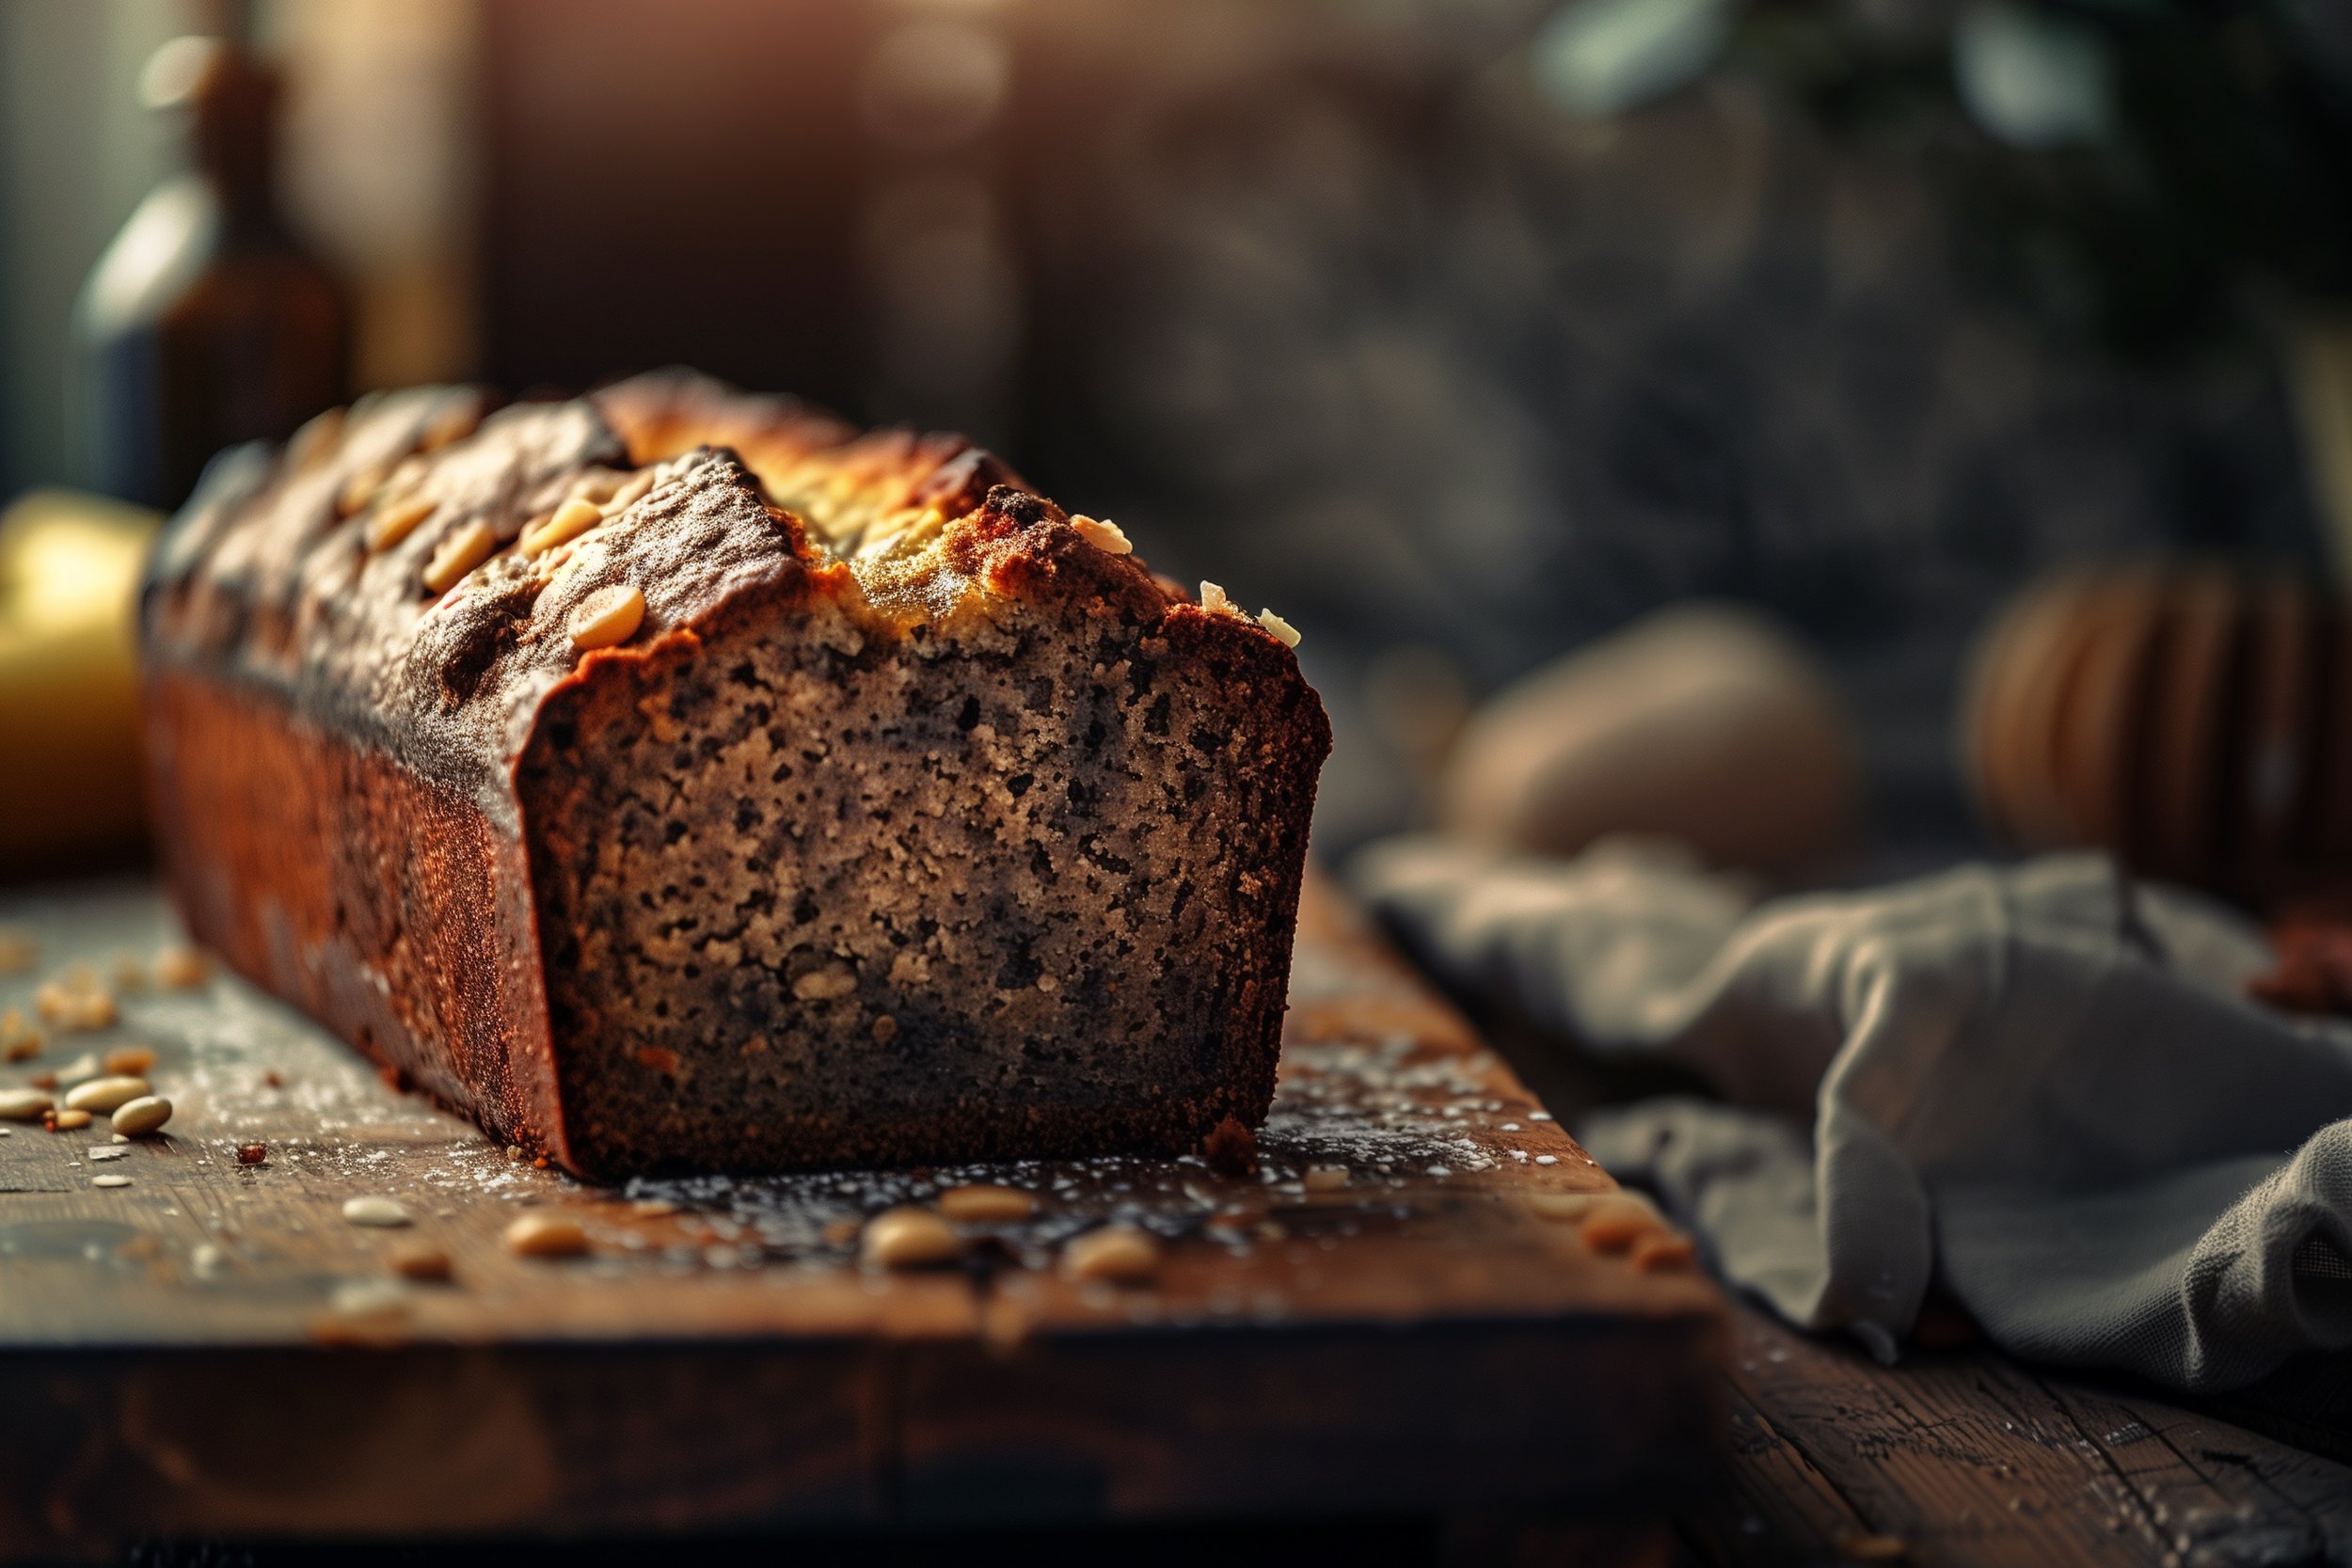
The Ultimate Dairy-Free Banana Bread Recipe
Yield: 1 loaf (about 10 slices)
Prep: 15 minutes prep
Cook Time: 60 minutes cooking
I’m excited to share a recipe that’s super close to my heart: My Dairy-Free Banana Bread. This recipe is for those of us who are lactose intolerant.
A Walk Down Memory Lane
Banana bread was one of the first things I learned to bake when I started taking cooking seriously. Why banana bread? Because it’s almost impossible to mess up. Even if you think you’ve made a mistake, it usually turns out delicious. For a beginner, that’s incredibly encouraging and confidence-boosting. As long as the measurements are correct, it should turn out okay.
I vividly remember elementary school days when I had a friend whose mum made the best banana bread from scratch. Every time I went to his house after school, I would always ask if he had any banana bread. Nothing beats a warm slice of banana bread with a bit of melted butter on top.
Bananas: The Star Ingredient
Bananas have always been one of my favourite fruits. They're versatile, sweet, and packed with nutrients. Naturally, banana bread, with its rich, moist texture and sweet flavour, is a perfect way to celebrate this beloved fruit. This particular recipe is special because it’s dairy-free, ensuring that those of us who are lactose intolerant can enjoy it without worry.
Why Dairy-Free?
Being lactose intolerant means always having to check ingredients and make adjustments to recipes. Olive oil and Oat milk are my go-to substitutes, providing all the moisture and richness without any dairy. Trust me, you won’t miss the butter or milk (or you might)
The Magic of Spices
The spices – cinnamon and nutmeg – add a warmth that makes each bite feel like a cozy hug. And that split banana on top? It’s not just for looks; it adds an extra layer of banana goodness and makes the loaf look as beautiful as it tastes.
Ingredients
75 grams (⅓ cup) olive oil or coconut oil
80 ml (⅓ cup) maple syrup
2 eggs
1½ cups mashed ripe bananas (about 3 medium bananas)
60 ml (¼ cup) oat milk or any milk alternative
1 teaspoon baking soda
1 teaspoon vanilla extract
½ teaspoon salt
¾ teaspoon ground cinnamon
¾ teaspoon ground nutmeg
220 grams (1¾ cups) flour of your choice (e.g., plain flour, whole wheat flour, or gluten-free flour)
Optional: 60 grams (½ cup) mix-ins like sliced almonds, pumpkin seeds, or dark chocolate chips
1 additional banana, split in half lengthwise, for garnish
What You Will Need
Loaf tin (23x13 cm or similar size)
Two mixing bowls (one large, one medium)
Sifter or fine mesh strainer
Whisk or electric mixer
Measuring cups and spoons
Spatula
Toothpick (for testing doneness)
Wire rack (for cooling)
Method
Preheat the Oven: Set your oven to 165°C (325°F) and allow it to fully preheat.
Prep the Tin: Lightly grease the inside of your loaf tin with coconut oil or olive oil, or line it with baking parchment for easy removal.
Sift Dry Ingredients: In a medium bowl, sift together the flour of your choice, baking soda, salt, cinnamon, and nutmeg. This step ensures a smooth, lump-free mix.
Mix Wet Ingredients: In a large bowl, whisk together the coconut oil or olive oil and maple syrup until combined. Add the eggs and continue to whisk until smooth.
Mash the Bananas: Peel and mash the ripe bananas using a fork until mostly smooth. It's okay to leave a few small lumps for texture.
Combine Wet Ingredients: Add the mashed bananas, almond milk or any milk alternative, and vanilla extract to the oil and syrup mixture. Stir until everything is well blended.
Combine Dry and Wet Ingredients: Gradually fold the dry ingredients into the wet mixture, adding about a third at a time. Mix gently until no flour streaks remain, but avoid overmixing.
Add Optional Mix-ins: If using, fold in sliced almonds, pumpkin seeds, or dark chocolate chips until evenly distributed.
Pour the Batter: Pour the batter into your prepared loaf tin.
Add Banana Garnish: Place the split banana halves on top of the batter, cut side up, for a decorative touch.
Bake the Bread: Place the tin in the centre of your preheated oven and bake for 55 to 65 minutes. Rotate the tin halfway through to ensure even baking.
Test for Doneness: Insert a toothpick into the centre of the loaf. If it comes out clean or with a few crumbs, your bread is ready.
Cool the Bread: Remove the tin from the oven and let it cool on a wire rack for about 10 minutes. Then, lift the bread out using the parchment paper overhang and let it cool completely on the rack.
Eugene’s Extra Tips:
Ingredient Temperatures: Use room temperature ingredients to ensure they mix more evenly. Place cold eggs in warm water for a few minutes to bring them to room temperature quickly.
Choosing Bananas: Overripe bananas with brown, speckled skins are best for banana bread, as they are sweeter and mash more easily.
Sifting Flour: Sifting not only removes lumps but also aerates the flour, resulting in lighter bread. Use a fine mesh strainer if you don't have a sifter.
Folding Technique: Gently fold the ingredients with a spatula to prevent overmixing, which can make the bread tough. This method helps retain air for a lighter texture.
Tin Material: Different tin materials can affect baking time. Dark metal tins cook faster, while glass or light-coloured tins may require more time. Adjust accordingly.
Preventing Over-Browning: If the top of your bread is browning too quickly, loosely cover it with aluminum foil to avoid burning while the inside finishes baking.
Testing Doneness: Besides the toothpick test, gently press the top of the bread; it should spring back when done. If the indent remains, it needs more time.
Cooling Tips: Let the bread cool in the tin for about 10 minutes before removing it to avoid a soggy bottom. Transfer to a wire rack to cool completely for the best texture.
Storing Banana Bread: Wrap cooled bread in cling film or store it in an airtight container. It stays fresh at room temperature for a few days or refrigerated for longer storage.
Reviving Dry Bread: Microwave a slice with a small cup of water to add moisture back into the bread.
Slicing Tip: Use a serrated knife and a gentle sawing motion for clean slices without squashing the bread.
These tips and detailed steps will help ensure your Dairy-Free Spiced Banana Bread turns out perfectly, even if you're a beginner. Enjoy the baking journey!
Baking as a Ritual
When I bake this bread, it’s not just about the end result; it’s about the process. It’s a ritual that connects me to my past and brings a sense of calm to my busy life. There’s something incredibly satisfying about mashing those ripe bananas, mixing the batter, and waiting for the loaf to rise and brown in the oven.
Join the Journey
So here it is, my Dairy-Free Spiced Banana Bread with Banana Garnish. It’s a recipe that’s stood the test of time and continues to bring joy to my kitchen. Whether you’re an experienced baker or just starting out, this banana bread is sure to become a favourite.
Give this recipe a try and let me know how it turns out! Comment below, share your photos, and don’t forget to tag me on social media @the_eugefood. Happy baking!
You’ll Also Love These
Hi, I'm Eugene, but many of you might recognize me as "The_EugeFood". With over two decades working in diverse kitchens, I've come to cherish the genuine connections and shared experiences that cooking brings. For me, it's not about the high-pressure, competitive world you see on TV. It's about the joy of gathering around a table, the stories shared over simmering pots, and the laughter that follows a shared meal. I'm here to demystify the culinary world, to show you that if you can boil water for cup noodles, you're already on your way. Cooking isn't just a skill; it's a journey of discovery, and I invite you to join me on this adventure to becoming a better cook.


