Grill Like a Pro: Expert Tips for Perfect Chicken Wings Without Breaking the Bank
Yield:
serves 4
Prep Time: 25 minutes (includes brining)
Cook Time: 20-25 minutes
Total Time: 45-50 minutes
BBQ season is officially here
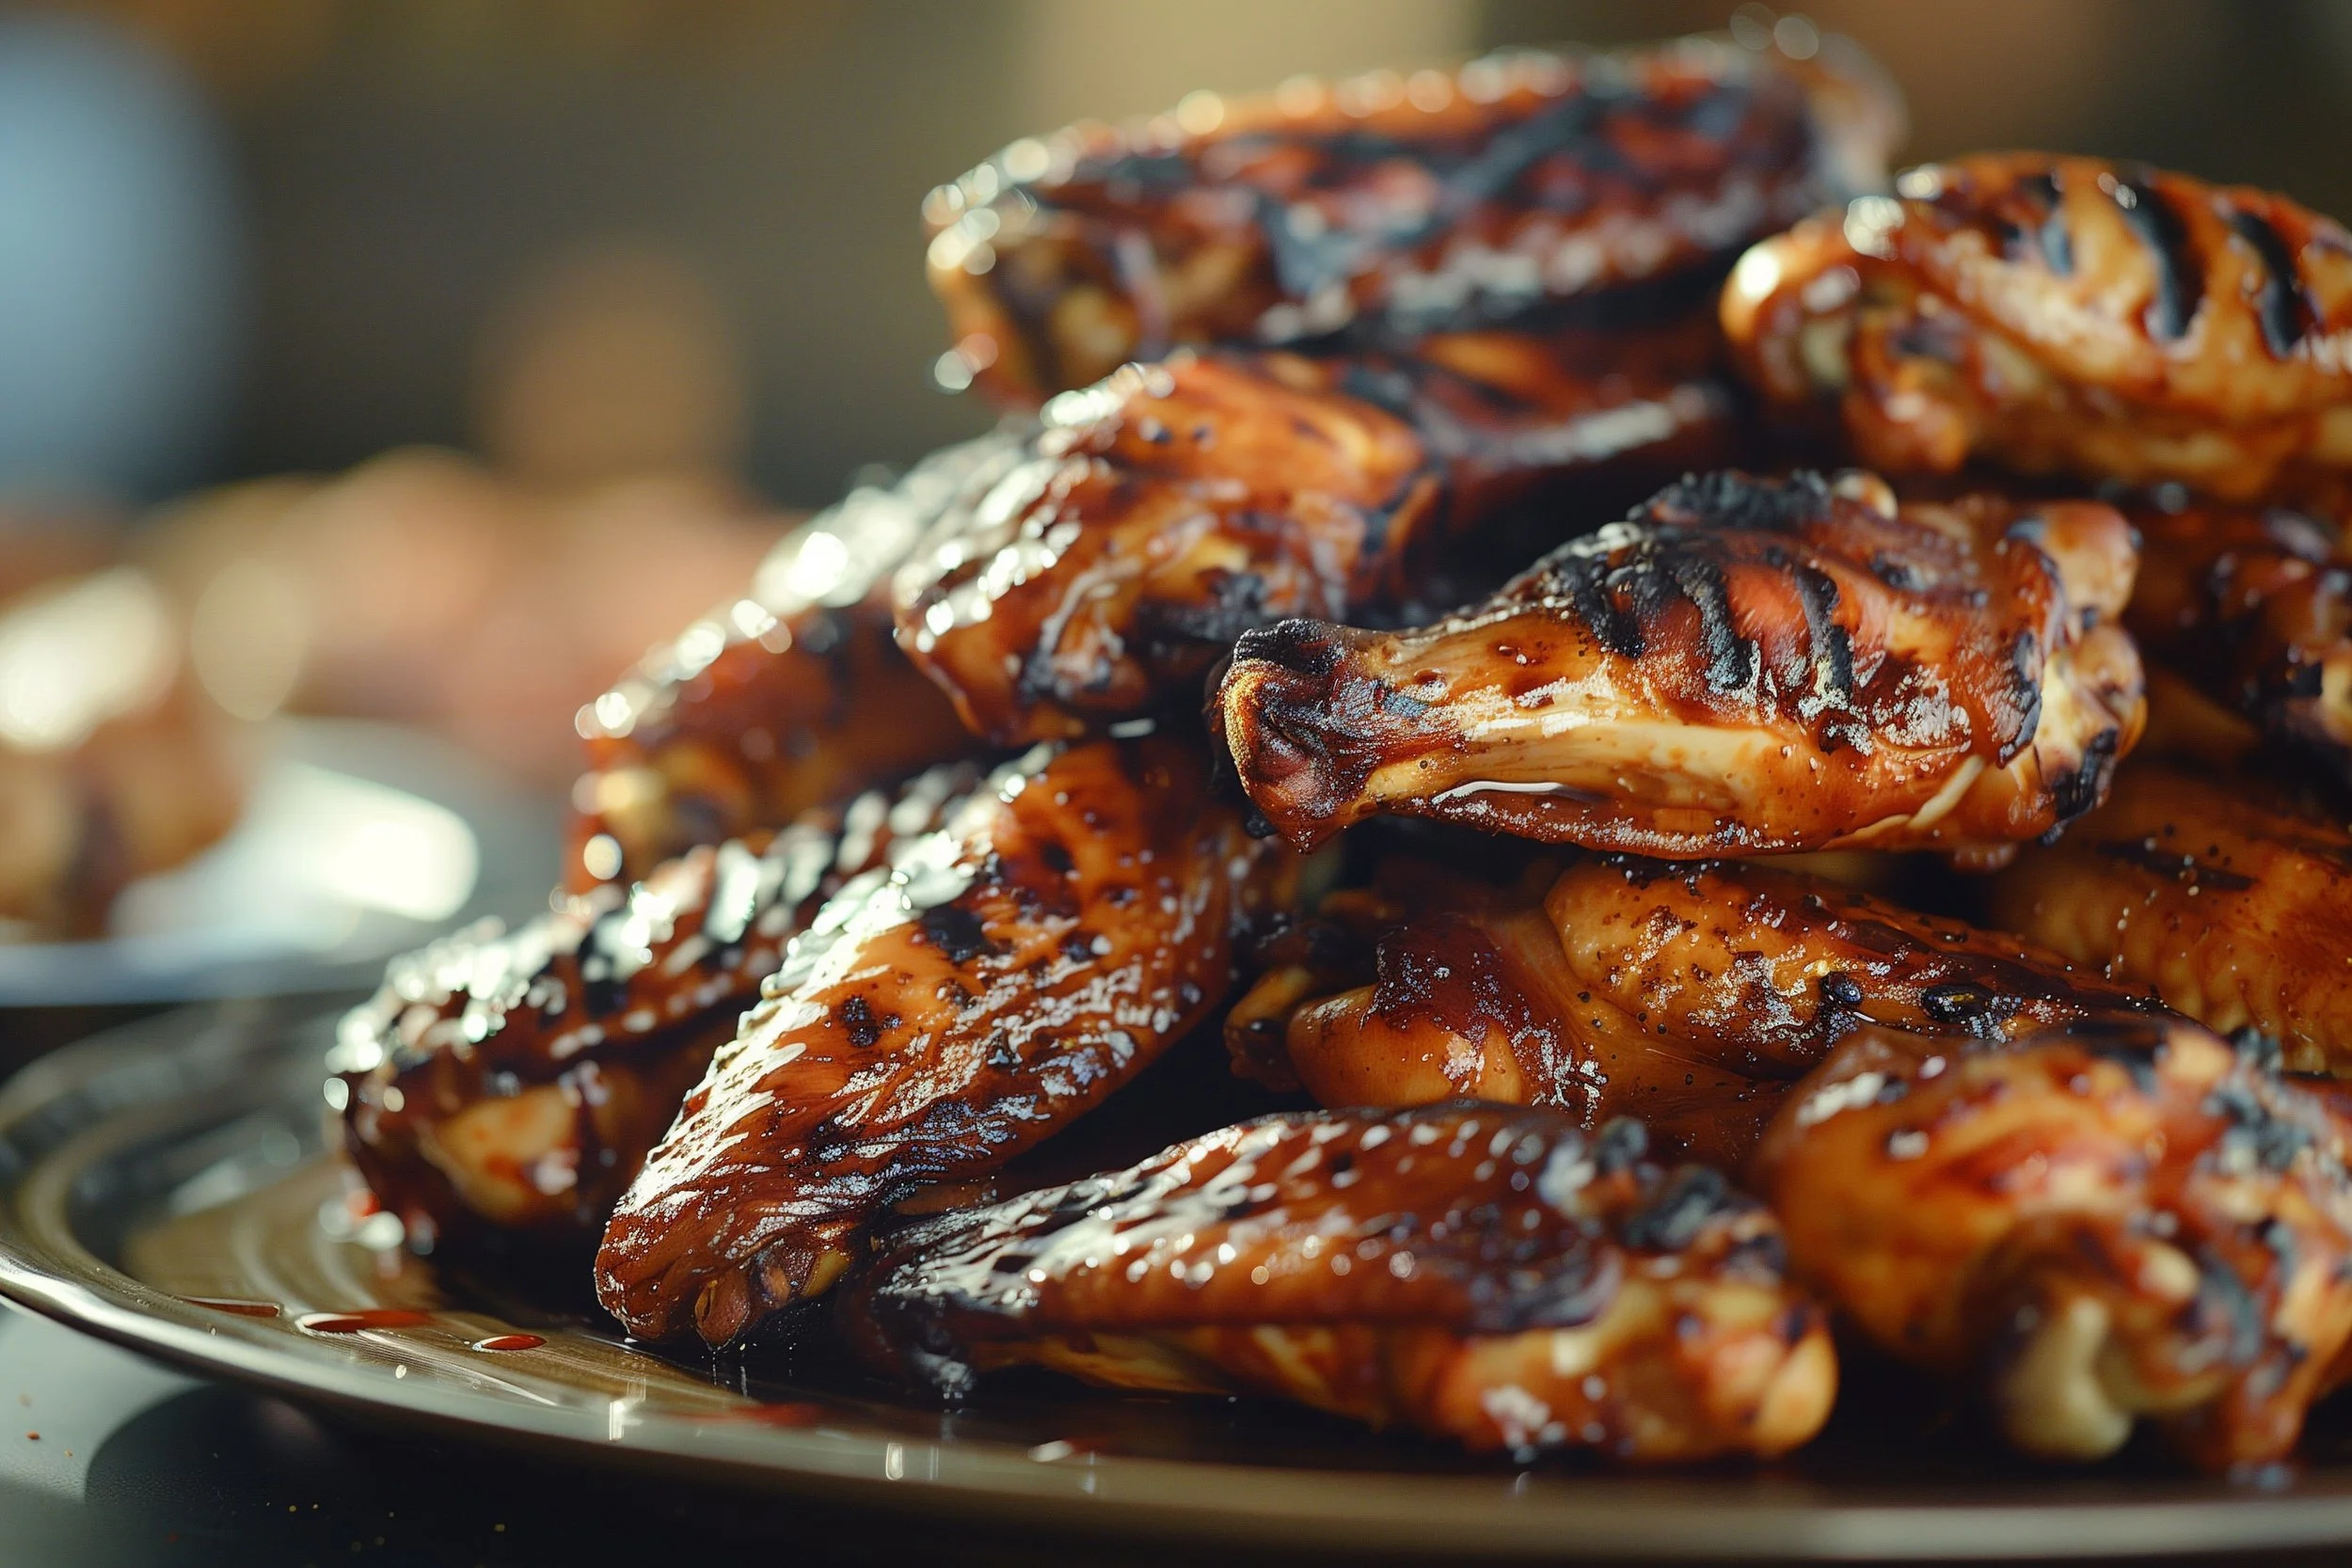
Do you know what that means? In my household, as soon as the air gets a hint of warmth, we're out dusting off the grill, ready to start BBQing. Today, I'm thrilled to pass on some of the knowledge I’ve gained about how to grill chicken wings perfectly.
It's chicken wing extravaganza time!
I vividly remember the backyard BBQs from my childhood. My older brother, a BBQ enthusiast who's nine years older than me, would always get super excited about grilling up wings. His passion for perfecting that crispy, smoky flavour was absolutely contagious. It was during fun-filled gatherings, amidst laughter and the sizzling sounds, that I first took up the tongs. Since then, I've been on a mission to perfect my grilling technique.
In my early years behind the grill, I faced the usual challenges—wings that turned out a bit too dry, overcooked, or sometimes not quite done. But learning when to brush on the BBQ sauce to achieve that gloriously sticky caramelization without it burning? Total game-changer.
Even when you're on a budget.
Now, with inflation ticking up and everything seeming to cost more, I've had to get a bit more strategic when shopping for chicken wings. While I adore free-range, the reality of rising prices often nudges me toward whatever's on sale. But here's the thing—it doesn't matter if you're not picking up the priciest option on the shelf. Great cooking isn't about what you spend; it's about what you make of what you've got. And that's a lesson worth grilling into.
Ingredients for Brine
1 litre (1000 ml) of cold water
10-20 grams (2-4 teaspoons) of salt (for a 1-2% salt solution)
Ingredients
1 kg (about 2.2 lbs) chicken wings
Kosher salt, to taste
Ground black pepper, to taste
A few tablespoons of oil (canola or vegetable), to prevent sticking
Your favourite or try our, BBQ sauce for basting
What You Will Need
Grill (charcoal or a gas grill)
Basting brush
Tongs
Large bowl for brining
Meat thermometer
Method
Prepare the Brine:
In a large bowl, dissolve 10-20 grams of salt in 1 litre of water to create a 1-2% brine solution. This concentration helps to season the meat and retain moisture during cooking.
Submerge the chicken wings in the brine and let them soak for 10-15 minutes. Do not brine longer to avoid overly salty wings.
Prepare the Grill:
For Charcoal Grill: Light the charcoal and let it burn until it's covered with a thin layer of ash. This indicates that the charcoal is hot and ready for cooking.
For Gas Grill: Turn on the grill to high to preheat.
Prepare Wings for Grilling:
Remove the wings from the brine and pat them dry with paper towels. Drying is essential for achieving grill marks and to prevent sticking to the grill.
Lightly season the wings with salt and black pepper and coat them with a thin layer of oil. This helps to prevents the wings from sticking to the grill grates.
Clean and Oil the Grill Grates:
Use a grill brush to clean any residues off the grates, this is easier to do when the grill is nice and hot. This step is crucial for preventing sticking and achieving clean grill marks.
Grill the Wings:
Place the wings skin-side down on the hottest part of the grill. Let them cook undisturbed for about 5 minutes to allow the skin to sear and become golden.
After 5 minutes, gently try lifting a wing with tongs. If it releases without resistance, it's time to create crosshatch marks. Rotate each wing clockwise or counterclockwise to a 45° angle and grill for a few more minutes until you see defined marks.
If it is still stuck, do not force it and leave it be for another 2 minutes. The wings will be released from the grill with ease when it is ready.
Finish Cooking on Lower Heat:
Once you've achieved grill marks, flip the wings to lightly mark the underside—just enough to sear it.
Reduce the heat of your barbecue and move the wings to a cooler part of the grill or to the top shelf. This simulates an oven environment, allowing the wings to cook through without burning. Close the grill lid and cook for about 10 more minutes.
Apply BBQ Sauce and Caramelize:
Check the wings with a meat thermometer to ensure they've reached an internal temperature of 165°F (74°C). Make sure the check the biggest, thickest wing. If the biggest one is cooked that means the rest will be.
Generously brush the wings with your favorite BBQ sauce and turn the heat back up. Grill for 1-5 minutes until the sauce is sticky and slightly charred.
Rest and Serve:
Transfer the grilled wings to a platter and cover them with foil for a few minutes. This resting period allows the juices to redistribute throughout the meat, making your wings more tender and juicy.
Serve the wings hot, ideally with extra BBQ sauce on the side for dipping.
Eugene’s Tips:
Optimizing Brine Time:
The recommended 10-15 minutes for brining is optimal for small cuts like chicken wings. This is because the relatively high surface area to volume ratio of wings allows the brine to work quickly.
Drying the Wings:
Ensure wings are thoroughly dried after brining. Surface moisture can steam the meat instead of searing it, preventing that desirable crispy, charred texture.
For even drier skin, which makes for crisper results, let the brined and dried wings sit uncovered in the refrigerator for an hour before grilling.
Preheating the Grill:
A properly heated grill is crucial. For charcoal grills, ensure the coals are evenly distributed to avoid cool spots. For gas grills, use all burners to uniformly heat the grates, then adjust according to where you need direct or indirect heat.
Managing Flare-Ups:
Flare-ups occur when fat drips onto the heat source and ignites. While a little flare-up can add flavour and excitement, too much can burn your wings. Keep a portion of your grill free of coals (charcoal grill) or turn off one burner (gas grill) to move wings to a cooler zone if flare-ups get too intense.
You keep a little spray bottle of water to spray out the flames.
Applying BBQ Sauce at the Right Time:
Adding BBQ sauce too early can cause the sugars in the sauce to burn. Wait until the last few minutes of grilling to apply the sauce, allowing it to become nicely caramelized without burning.
Using a Meat Thermometer:
To avoid undercooked or overcooked chicken, use a meat thermometer to check doneness. Insert it into the thickest part of the wing, not touching the bone, for an accurate reading.
Make sure to check the biggest chicken wing. If the biggest one is cooked then the rest should theoretically also be cooked.
Resting the Meat:
Do not skip resting the wings covered loosely in foil after grilling. This step is crucial as it allows the fibres of the meat to relax and reabsorb juices that have been driven to the center of the wing during cooking, ensuring the meat is juicy and tender throughout.
So whether you’re a grill pro or just starting out, remember that BBQ season is about enjoying the process as much as it is the delicious results.
Grab your tongs, fire up that grill.
Let’s make this season one where we learn to become better BBQers!
Do you have any BBQ stories or tips of your own? Drop a comment below, and if you try out these wings, don’t forget to leave a review and tag me @the_eugefood. Let’s keep these good times rolling!
You’ll Also Love These
Hi, I'm Eugene, but many of you might recognize me as "The_EugeFood". With over two decades working in diverse kitchens, I've come to cherish the genuine connections and shared experiences that cooking brings. For me, it's not about the high-pressure, competitive world you see on TV. It's about the joy of gathering around a table, the stories shared over simmering pots, and the laughter that follows a shared meal. I'm here to demystify the culinary world, to show you that if you can boil water for cup noodles, you're already on your way. Cooking isn't just a skill; it's a journey of discovery, and I invite you to join me on this adventure to becoming a better cook.


