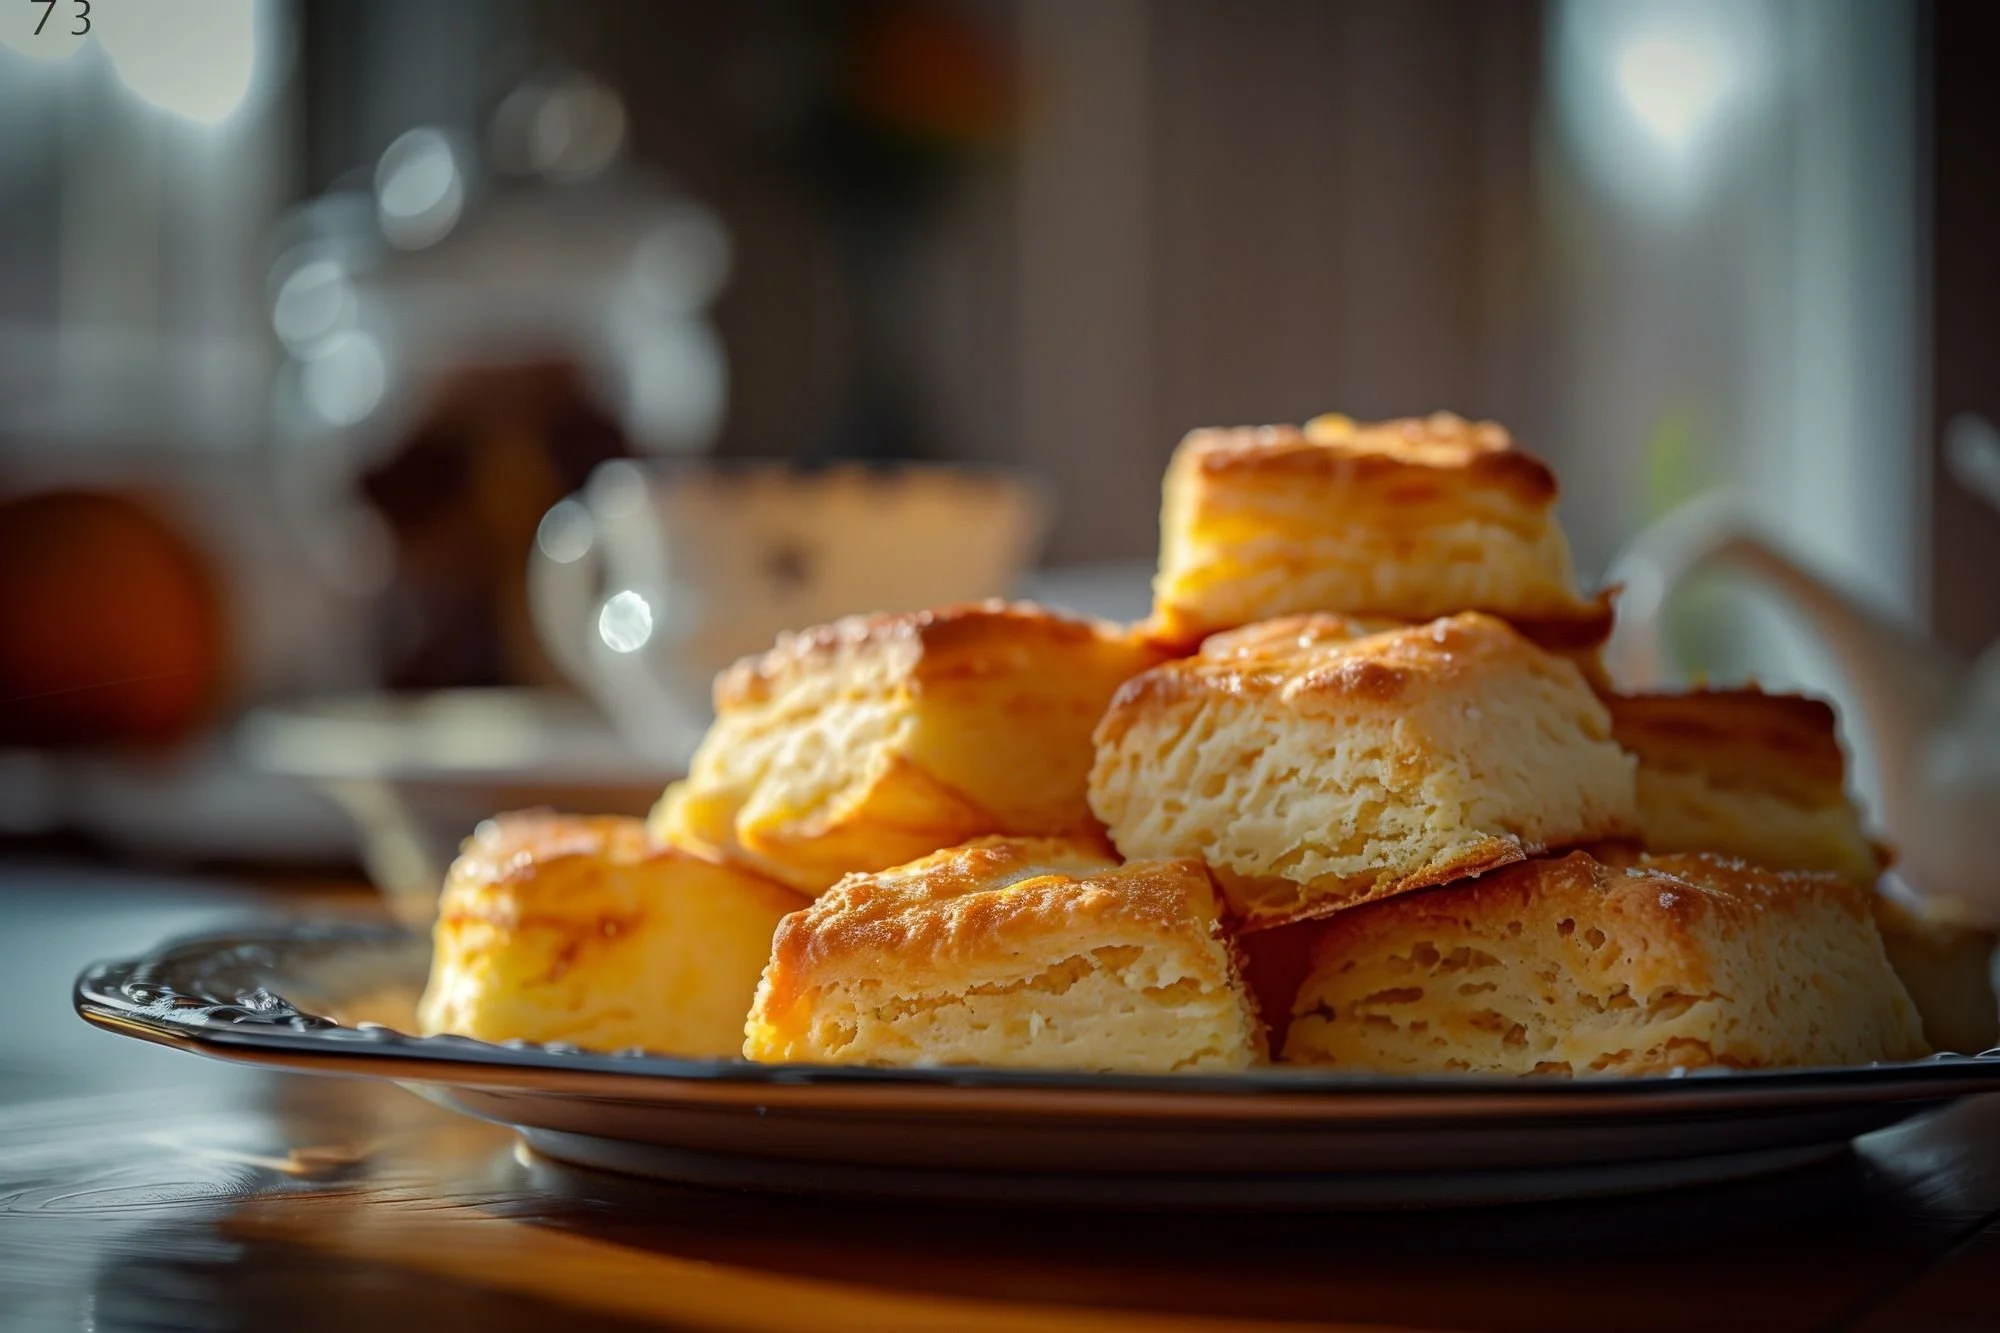
A Biscuit Journey: From Popeyes to Perfection
Yield: 12 to 14 biscuits
Prep Time: 25 minutes (including proofing)
Cook Time: 15 minutes
Total Time: 40 minutes
My journey with biscuits began in an unexpected locale – not in the kitchens of renowned culinary schools or inside the pages of gourmet magazines, but rather at a Popeyes Chicken joint around the corner of my mom’s jewelry business. As a kid, I used to make cupcakes and brownies to sell in the building of my mom’s business, which was a 30-story retail building in the heart of downtown Toronto. The goal? To sell enough baked goods to earn enough to be able to afford a huge lunch at Popeyes, which included too many biscuits. Little did I know, this childhood indulgence would spark a lifelong passion for baking and a deep appreciation for the art of biscuit making.
Fast forward to today, my culinary path has taken me alongside many talented Chefs, but one in particular from Momofuku is where I refined and perfected “the buttermilk biscuit” recipe. It's been a non-linear path of discovery, by learning why each ingredient and technique matters. Most interestingly, for example, why certain things like cold butter matter to achieve that beloved flaky texture associated with biscuits. It took us a long time to perfect this recipe and it excites me to be able to share it with you.
Why keeping the butter cold is crucial:
In the art of biscuit-making, cold butter is essential for achieving the perfect texture and structure. It's the key to creating steam during the bake. Steam is what causes the dough layers to separate, resulting in the flaky texture associated with biscuits. Cold butter's solid state allows for even distribution throughout the dry mix, ensuring the formation of distinct layers as it melts. It also plays a critical role in minimizing gluten development, keeping biscuits tender rather than chewy, and helps control the spread of the dough by minimizing the need for increased hydration, enabling the biscuits to rise beautifully rather than flatten out. This understanding of cold butter's function is what transforms the simple act of baking biscuits into craft. Technique is mastered over time, the process and feel is important.
Ingredients:
790 grams (6 1/4 cups) all-purpose flour
100 grams (3/4 cup) cornstarch
50 grams (1/4 cup) sugar
2.5 grams (1/2 tsp) baking soda
50 grams (3 tablespoons plus 1 teaspoon) baking powder
40 grams (2 tablespoons) salt
750 ml (3 cups) buttermilk, chilled
360 grams (1 1/2 cups) butter, cold, shredded
Melted butter for brushing (approximately 30 grams or 2 tablespoons)
What You Will Need:
Cheese grater
Large mixing bowl
Rolling pin
dough cutter
Baking sheet lined with parchment paper
Pastry brush
Method:
Butter Preparation: Prep a tray lined with parchment paper. Shred the cold butter using a cheese grater on the tray and place it in the freezer.
Dry Ingredients Mixture: In a large mixing bowl, whisk together the flour, cornstarch, sugar, baking soda, baking powder, and salt.
Incorporate Butter: Remove the shredded butter from the freezer and quickly mix it into the dry ingredients. Use a pastry cutter, or fork to blend the butter into the flour.
Add Buttermilk: Pour the chilled buttermilk into the mixture. Gently combine until the dough comes together.
Shaping the Dough: Turn the dough onto a lightly floured surface and gently roll it out to about an inch thick. Use a biscuit cutter or the rim of a glass to cut out your biscuits. Gather any scraps, press together and pat to another inch thick slab and cut to not waste the dough.
Proofing: Place the cut biscuits on the parchment-lined baking sheet, allowing them to rest and proof for about 10 minutes.
Microwave Butter: Place approximately 30 grams (2 tablespoons) of butter in a microwave-safe bowl. Microwave on high for about 20-30 seconds, or until the butter is completely melted.
Baking: Brush the tops of the biscuits with melted butter, then bake in a preheated oven at 190°C (380°F) for 15 minutes or until they are golden brown and beautifully risen.
Once out of the oven: let the biscuits sit for a few minutes on the baking sheet before transferring them to a wire rack.
Serving: Serve these buttery delights fresh out of the oven. They're perfect with a dollop of jam, a smear of butter, or as a side to your favourite meal.
Why:
This method not only keeps the butter firm but also simplifies the incorporation into the flour later on, which is essential for creating flaky biscuits.
This combination of dry ingredients ensures a perfect rise and texture for your biscuits.
This technique helps distribute the butter evenly without warming it up. The goal is to coat the butter with the flour mixture without letting it melt, creating little pockets of butter that will steam in the oven and give your biscuits their signature layers.
Overworking the dough can lead to tough biscuits, so be gentle and swift.
As we are trying to to overwork the dough pressing ensures maintaining layers in our biscuits even when utilizing a second gather to maximize yield on the recipe.
This resting period helps the baking powder activate, ensuring a good rise.
This brief rest allows them to firm up slightly, making them easier to handle without breaking.
Eugene's Extra Cooking Tips:
Ingredient Temperature Matters: For biscuits, the temperature of your ingredients can make or break your recipe. Keep your butter and buttermilk cold until you're ready to use them. This helps create those delightful, flaky layers when the butter steams as it melts in the oven.
Measuring Flour Correctly: When measuring flour, it's best to avoid using measuring cups as scooping can compress the flour, leading to an excess in your recipe. The most accurate method is to use a kitchen scale. Weigh the required amount of flour as specified in your recipe. For reference, one cup of all-purpose flour typically weighs about 120 grams. Accurate measurements are crucial in baking to ensure consistent and desired outcomes.
Gentle Mixing: When combining your buttermilk with the dry ingredients, mix gently until just combined. Overmixing can develop the gluten in the flour, leading to tough biscuits.
Rolling Out the Dough: When rolling out your dough, use a light touch. Pressing too hard can compress the layers you're trying to create. If the dough sticks, lightly flour your rolling pin and surface, but don't overdo it.
Cutting Biscuits: When cutting out your biscuits, press straight down with the cutter and lift straight up; twisting the cutter can seal the edges and hinder the rise of your biscuits.
Spacing on Baking Sheet: On your baking sheet, place the biscuits close together if you like them soft-sided or spaced apart if you prefer a crusty exterior on all sides. Both methods work, so it's all about your preference!
Cooling Down: Once out of the oven, let the biscuits sit for a few minutes on the baking sheet before transferring them to a wire rack. This brief rest allows them to firm up slightly, making them easier to handle without breaking.
Cold Ingredients: Keeping your butter and buttermilk cold is crucial. It helps create those irresistible, flaky layers as the butter melts and steams during baking.
Reheating Leftovers: If you have leftover biscuits, reheat them in the oven at 175°C (350°F) for about 5 minutes to revive that just-baked taste and texture.
Enjoy the Process: Remember, cooking is as much about the journey as it is about the destination. Embrace the process, learn from each batch, and don't be afraid to make adjustments based on your tastes and experiences.
This biscuit recipe is more than just a set of instructions to me. This is homage to my craft, from just a kid hustling baked goods to earn enough to simply buy lunch at Popeyes, all the way to a career chef, wanting to share the best biscuit recipe I have ever made. It's a story of growth, exploration, and joy.
As you embark on your biscuit-making adventure, remember that it's not just about following a recipe—it's about the tactile experience, the valuable lessons, and the cherished memories you'll create along the way. I invite you to roll up your sleeves, get your hands a little “floury”, and discover the simple yet profound pleasure of baking biscuits at home, where the process is as rewarding as the end product.
I'd love to hear about your biscuit trials. How did it go? Did you experience any unexpected twists along the way? Will you try again?
Share your thoughts below, leave a review, and tag me on socials @the_eugefood. Let's continue this delicious adventure together, one biscuit at a time!
You’ll Also Love These
Hi, I'm Eugene, but many of you might recognize me as "The_EugeFood". With over two decades working in diverse kitchens, I've come to cherish the genuine connections and shared experiences that cooking brings. For me, it's not about the high-pressure, competitive world you see on TV. It's about the joy of gathering around a table, the stories shared over simmering pots, and the laughter that follows a shared meal. I'm here to demystify the culinary world, to show you that if you can boil water for cup noodles, you're already on your way. Cooking isn't just a skill; it's a journey of discovery, and I invite you to join me on this adventure to becoming a better cook.


