Homemade Aioli: A Beginner's Guide to Gourmet Condiments
Yield:
Makes about 1 cup (240 mL)
Prep time: 10 minutes
Total time: 10 minutes
Homemade Aioli: My Kitchen Shake- Up
Let's talk about homemade Aioli, a simple yet mind-blowing concoction I stumbled upon back in my Origin restaurant days, in 2010. During this time in my culinary career, this was the first restaurant I was working in where they made their recipes from scratch. Before working here I was working in more corporate settings where I would be opening bags of sauce and pre-made ingredients, so discovering Aioli (mayo) for the first time blew my mind.
That "Aha!" Moment in the Kitchen
Picture this: me, a curious cook in the bustling kitchen of Origin, learning the ropes of making Aioli. Initially, it was all about that slow drizzle of oil, a test of patience. I definitely split a few batches when learning this new skill.
I later figured out a no-fuss method that's been my go-to ever since. Just toss all the ingredients into a tall container, make sure those yolks are at the bottom and blend away. It's like magic, but tastier.
This is a great recipe to have in your back pocket because it is the ultimate foundation to so many sauces.
Aioli vs. Mayo: The Great Debate
Here's the kicker – it's not just fancy mayo. I remember chuckling at the thought that slapping the name 'Aioli' on something could make it sound more gourmet than it is. But here's the deal, traditionally, Aioli is a garlic-based emulsion. Garnering its mayo-like consistency from the water and fat molecules binding to one another yielding the creamy “sauce” we associate with mayo, which is also an emulsion. We can thank Provence region of Southern France and Catalonia region of Eastern Spain, where chefs have been emulsifying oil and garlic for centuries.
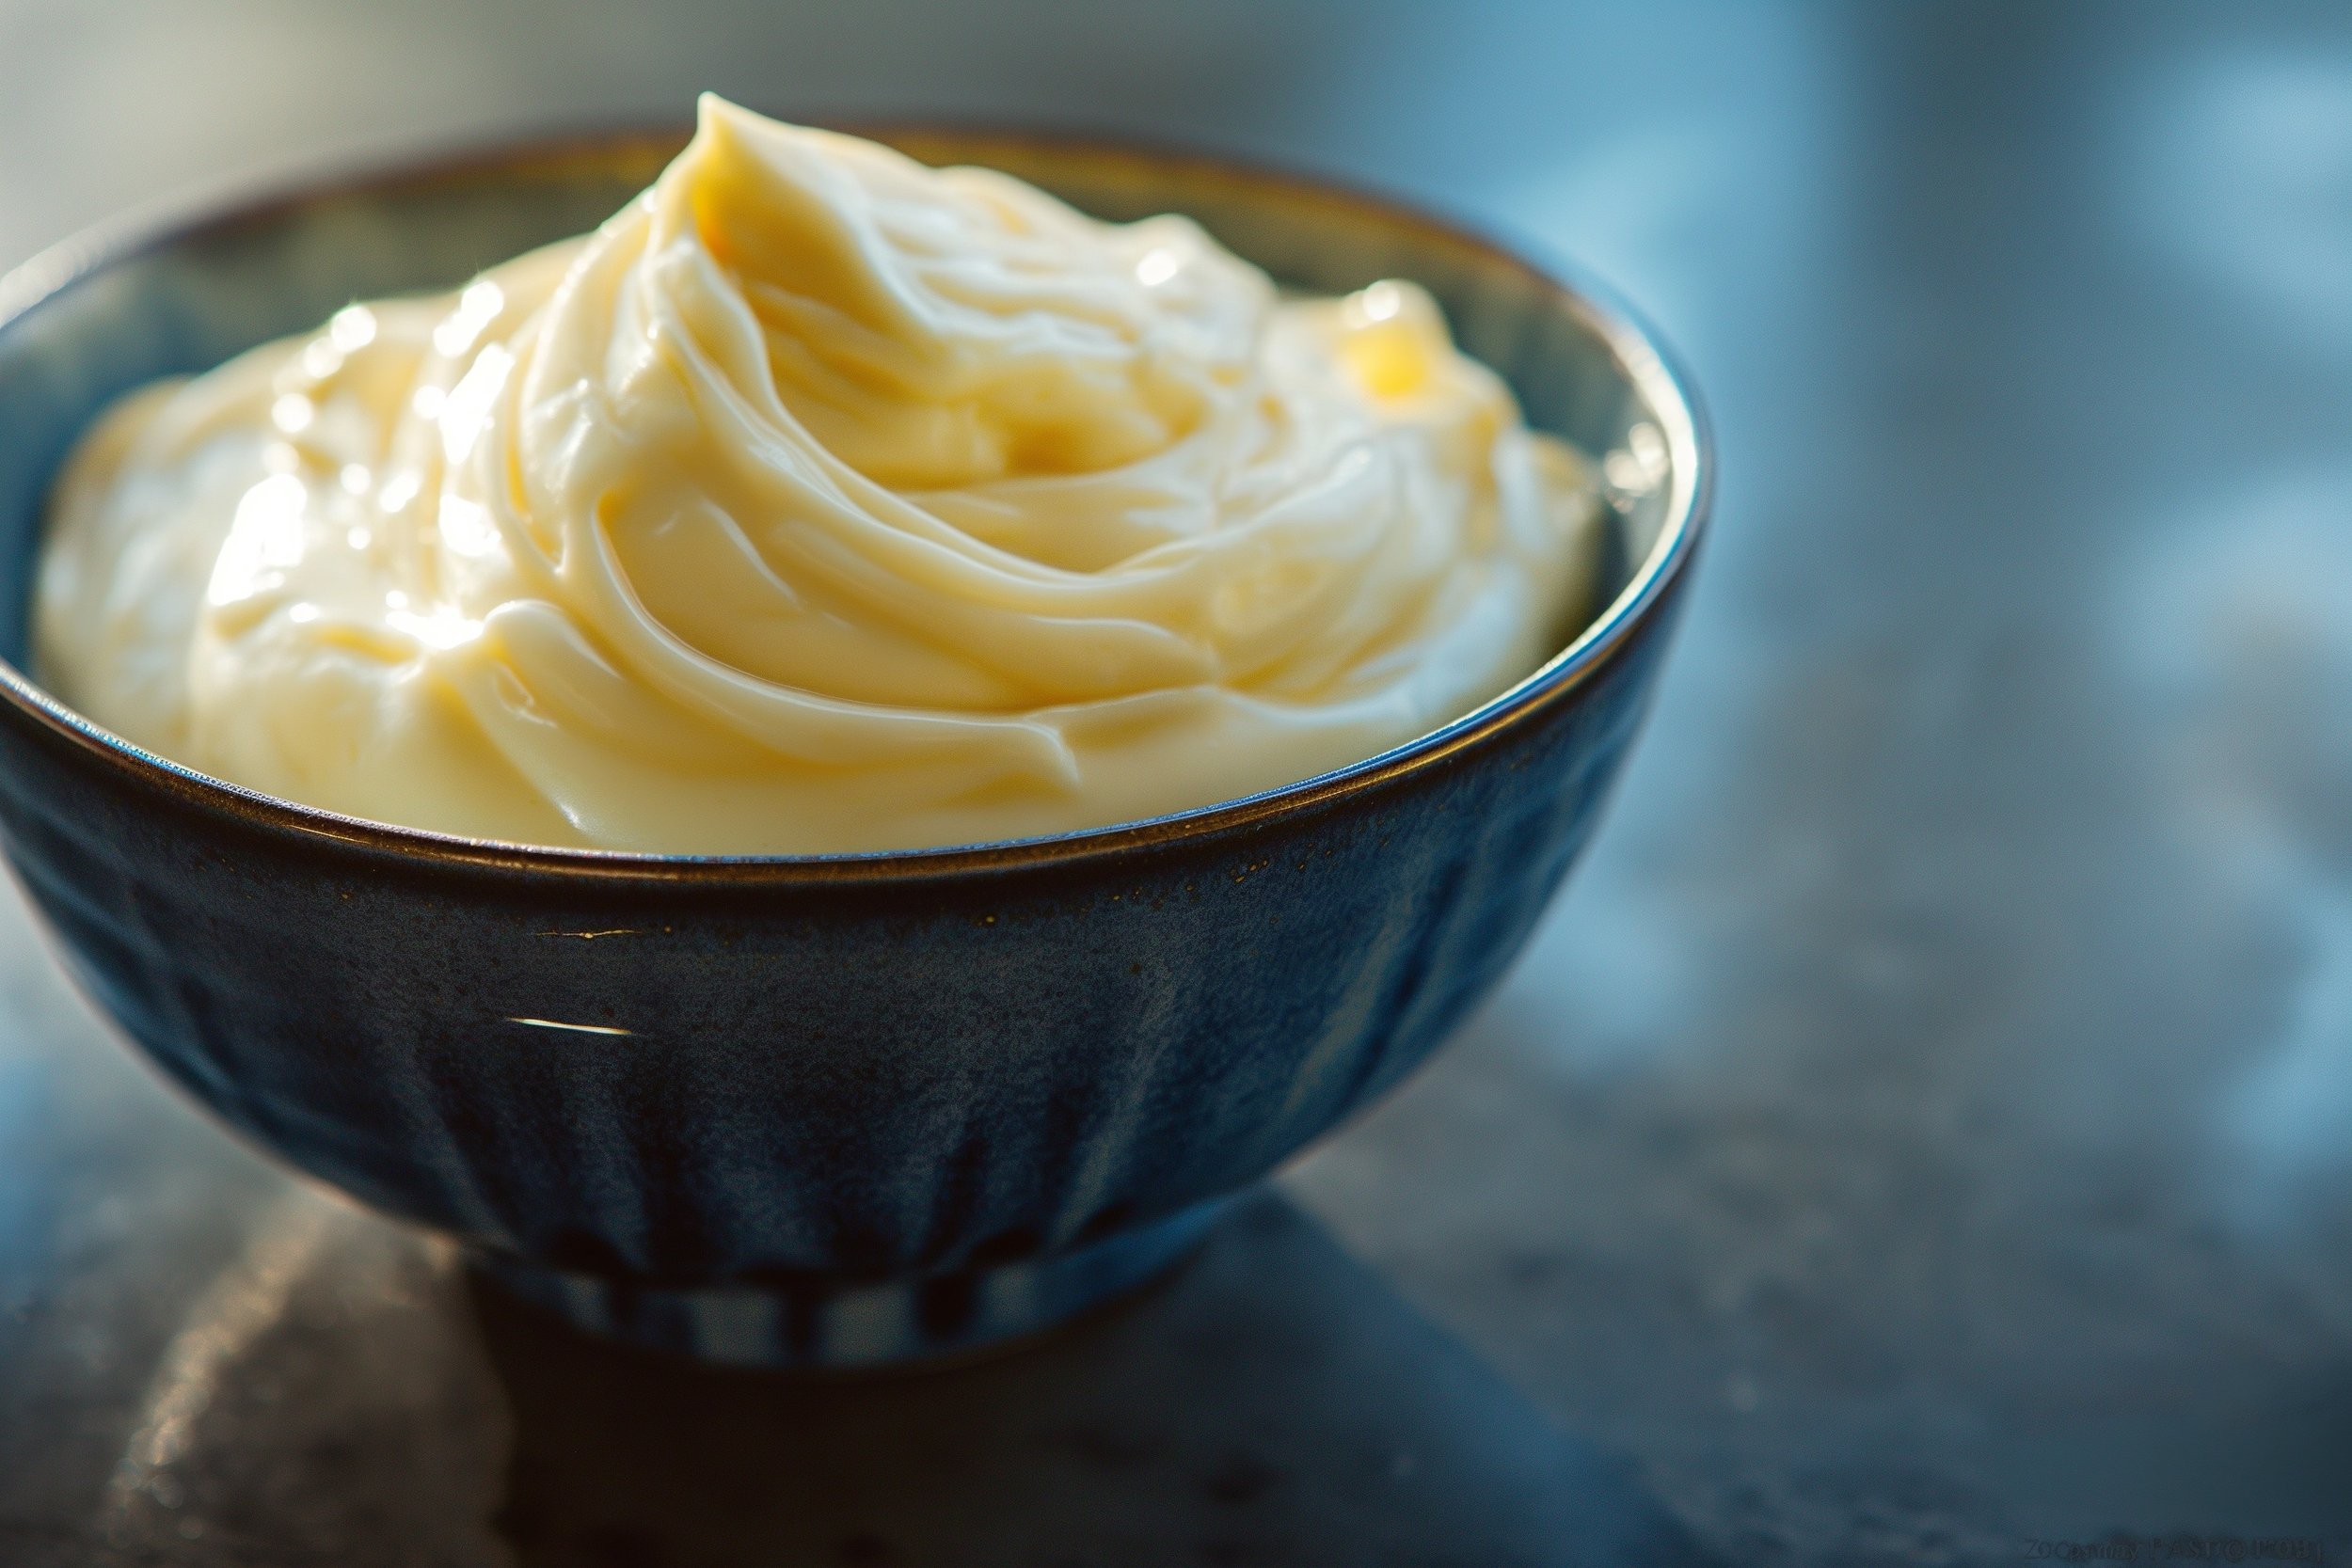
Now, some culinary purists might argue that true Aioli shouldn't even have egg yolks, sticking to its garlic and olive oil roots. However, in many modern kitchens, Aioli has evolved to include egg yolks, a touch of mustard, and lemon juice, to act as a stabilizer but making it virtually indistinguishable from its supposed “cousin” mayo, excepting that bold garlic punch.
So, is Aioli just a dressed-up mayo?
Kinda, but with its garlicky charisma, it's like mayo went on a gourmet holiday and came back with a new zest for life. To today’s standards, guess what. Mayo and Aoili are basically the same thing, the only difference is garlic.
Why? Because, Science!
Emulsification: At the heart of Aioli lies the process of emulsification. This might sound like a high-school chemistry term, but it's actually a straightforward concept. Emulsification is about blending two liquids that usually resist each other, like oil and water. Here's where the magic of egg yolks comes into play. They act as peacekeepers, encouraging these liquids to mingle and create a smooth, unified mixture.
Egg Yolks: Why egg yolks, you ask? These little powerhouses contain lecithin, a substance that's essentially the superhero of emulsification. Lecithin molecules have a special talent: one end loves water, and the other loves oil. This allows them to form a bridge between oil and water, leading to a stable, seemingly creamy and velvety sauce. Let me know if you want more in depth breakdown on the science of eggs regardless by dm @eugefood.
Stabilization: But there's more to yolks than just lecithin. They're packed with proteins that lend a helping hand in thickening and stabilizing our Aioli, ensuring it stays together, come what may. This means that even when we introduce heat or mix in other ingredients, our Aioli remains smooth and consistent. Plus, these yolks enrich the Aioli with a creamy texture and a depth of flavor that's simply irresistible.
Ingredients
2 large egg yolks
1 tablespoon lemon juice (15 mL)
1 tablespoon Dijon mustard (15 mL)
¾ cup + 1 tablespoon approx. neutral oil, like vegetable or grapeseed oil (200 mL )
2 cloves of minced garlic
Salt and pepper, to taste
Tools Needed
A tall, narrow cup or jar (wide enough to fit the head of the immersion blender). I like to use a Liter (4cup/ 32oz tall) deli container
An immersion blender
A garlic press
Optional Add- in Ingredients
Infused oils (basil, rosemary, chili)
Citrus zest (lemon, lime, orange)
Natural colorants (spirulina, beet juice)
Roasted garlic, instead of raw
Fresh herbs (dill, tarragon, chives)
Chopped capers or pickles
Smoked paprika or a few drops of liquid smoke
Miso paste or finely grated Parmesan
Spicy elements (Sriracha, harissa, wasabi)
Finely ground nuts (almonds, hazelnuts)
Method:
Combine Ingredients:
Before you start, ensure all your ingredients are measured and ready. This will make the process smoother.
Take a tall, narrow cup or jar that's just wide enough for your immersion blender to fit in. This shape helps in creating a strong vortex, making the emulsion process more efficient.
Add 2 egg yolks into the container. Egg yolks are the base of your emulsion, acting as a binder for oil and lemon juice.
Pour in 1 tablespoon of lemon juice. The acidity from the lemon juice not only adds flavor but also helps stabilize the emulsion by cooking the proteins.
Add 1 tablespoon of Dijon mustard. Mustard is another emulsifying agent and adds a tangy depth to your aioli.
Season with a pinch of salt and pepper. These will enhance the flavors of your aioli.
Lastly, add 3/4 c plus 1 tablespoon of neutral oil (like vegetable or grapeseed) and 2 minced garlic cloves. The oil is the main ingredient that will be emulsified into the egg yolk mixture, and the garlic adds a classic aioli flavor.
Blending:
Place the head of the immersion blender all the way to the bottom of the cup, ensuring it's fully submerged.
Turn on the blender. Keep it still at the bottom for about 20 seconds. You'll see the mixture at the bottom begin to emulsify and thicken. This is because the blades are pulling the oil into the egg yolk mixture, creating an emulsion.
Emulsify:
After you see the bottom part has thickened, start moving the blender up and down slowly. This motion allows the rest of the oil to blend evenly with the emulsified mixture.
Continue this gentle up-and-down motion until all the oil is incorporated, and the mixture is thick and creamy. This step is crucial for a stable aioli. If you move the blender too fast, you might break the emulsion.
Taste and Adjust:
Once your Aioli is thick and creamy, give it a taste. If it needs more salt or lemon juice for acidity, now is the time to add it. Remember, it's easier to add more seasoning than to correct an overly seasoned sauce.
If the Aioli is too thick, you can thin it out with a teaspoon of warm water, blending it in gently.
Storage:
Transfer your freshly made Aioli into an airtight container or squeeze bottle.
Store it in the refrigerator. It's best used within one week, ensuring freshness, the vinegar and seasonings will cook the yolks for safe consumption.
Eugene’s Extra Tips
Ingredient Temperature: Room temperature ingredients blend more easily and help in forming a stable emulsion. If your eggs are cold, you can place them in warm water for a few minutes to bring them to room temperature.
Blending Tips: The initial step of keeping the blender stationary is crucial to start the emulsion. Only start moving it once you see that the mixture at the bottom has thickened.
Troubleshooting: If your aioli seems too thin or if it separates (breaks), don't panic. You can try to salvage it by placing another egg yolk in a new cup and slowly blending the broken aioli into it to reform the emulsion.
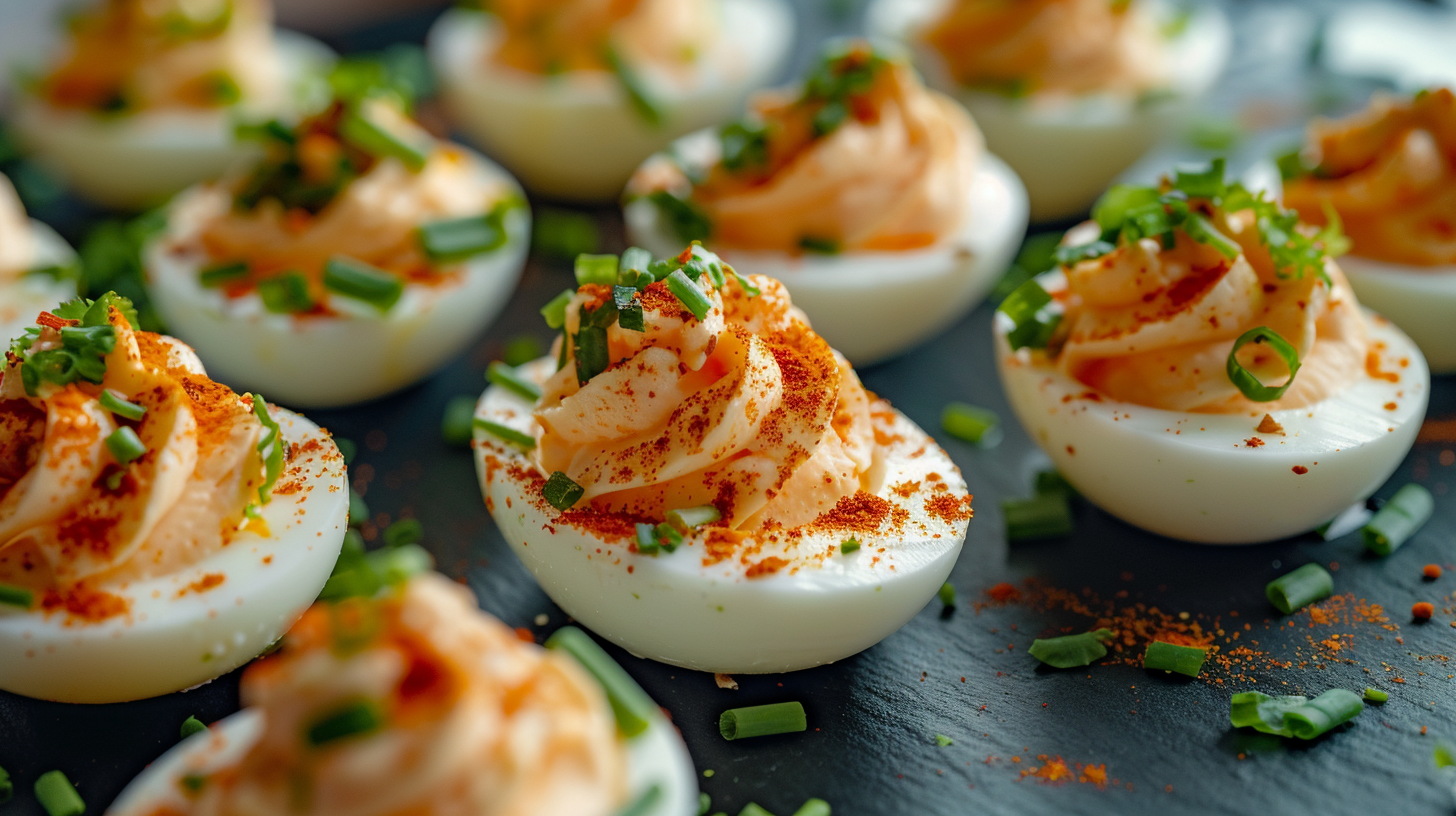
And there you have it, my foolproof Aioli. Whether you're slathering it on a sandwich or dunking some fries, it's a little touch that makes everything better.
Now, I'm all about keeping it real and sharing the goodness. Feel free to add any of the optional ingredients listed above or get creative.
What are your favourite seasonings, perhaps a twist of your own?
Tried my recipe?
Hit me up in the comments, drop a review, or tag me @the_eugefood when you next make this. Let's keep this culinary conversation going
You’ll Also Love These
Hi, I'm Eugene, but many of you might recognize me as "The_EugeFood". With over two decades working in diverse kitchens, I've come to cherish the genuine connections and shared experiences that cooking brings. For me, it's not about the high-pressure, competitive world you see on TV. It's about the joy of gathering around a table, the stories shared over simmering pots, and the laughter that follows a shared meal. I'm here to demystify the culinary world, to show you that if you can boil water for cup noodles, you're already on your way. Cooking isn't just a skill; it's a journey of discovery, and I invite you to join me on this adventure to becoming a better cook.


