How We Started a Family Tradition with Weekend Waffles
Yield: Serves 4
Prep & Cook Time: 30 minutes
Create your own family traditions.
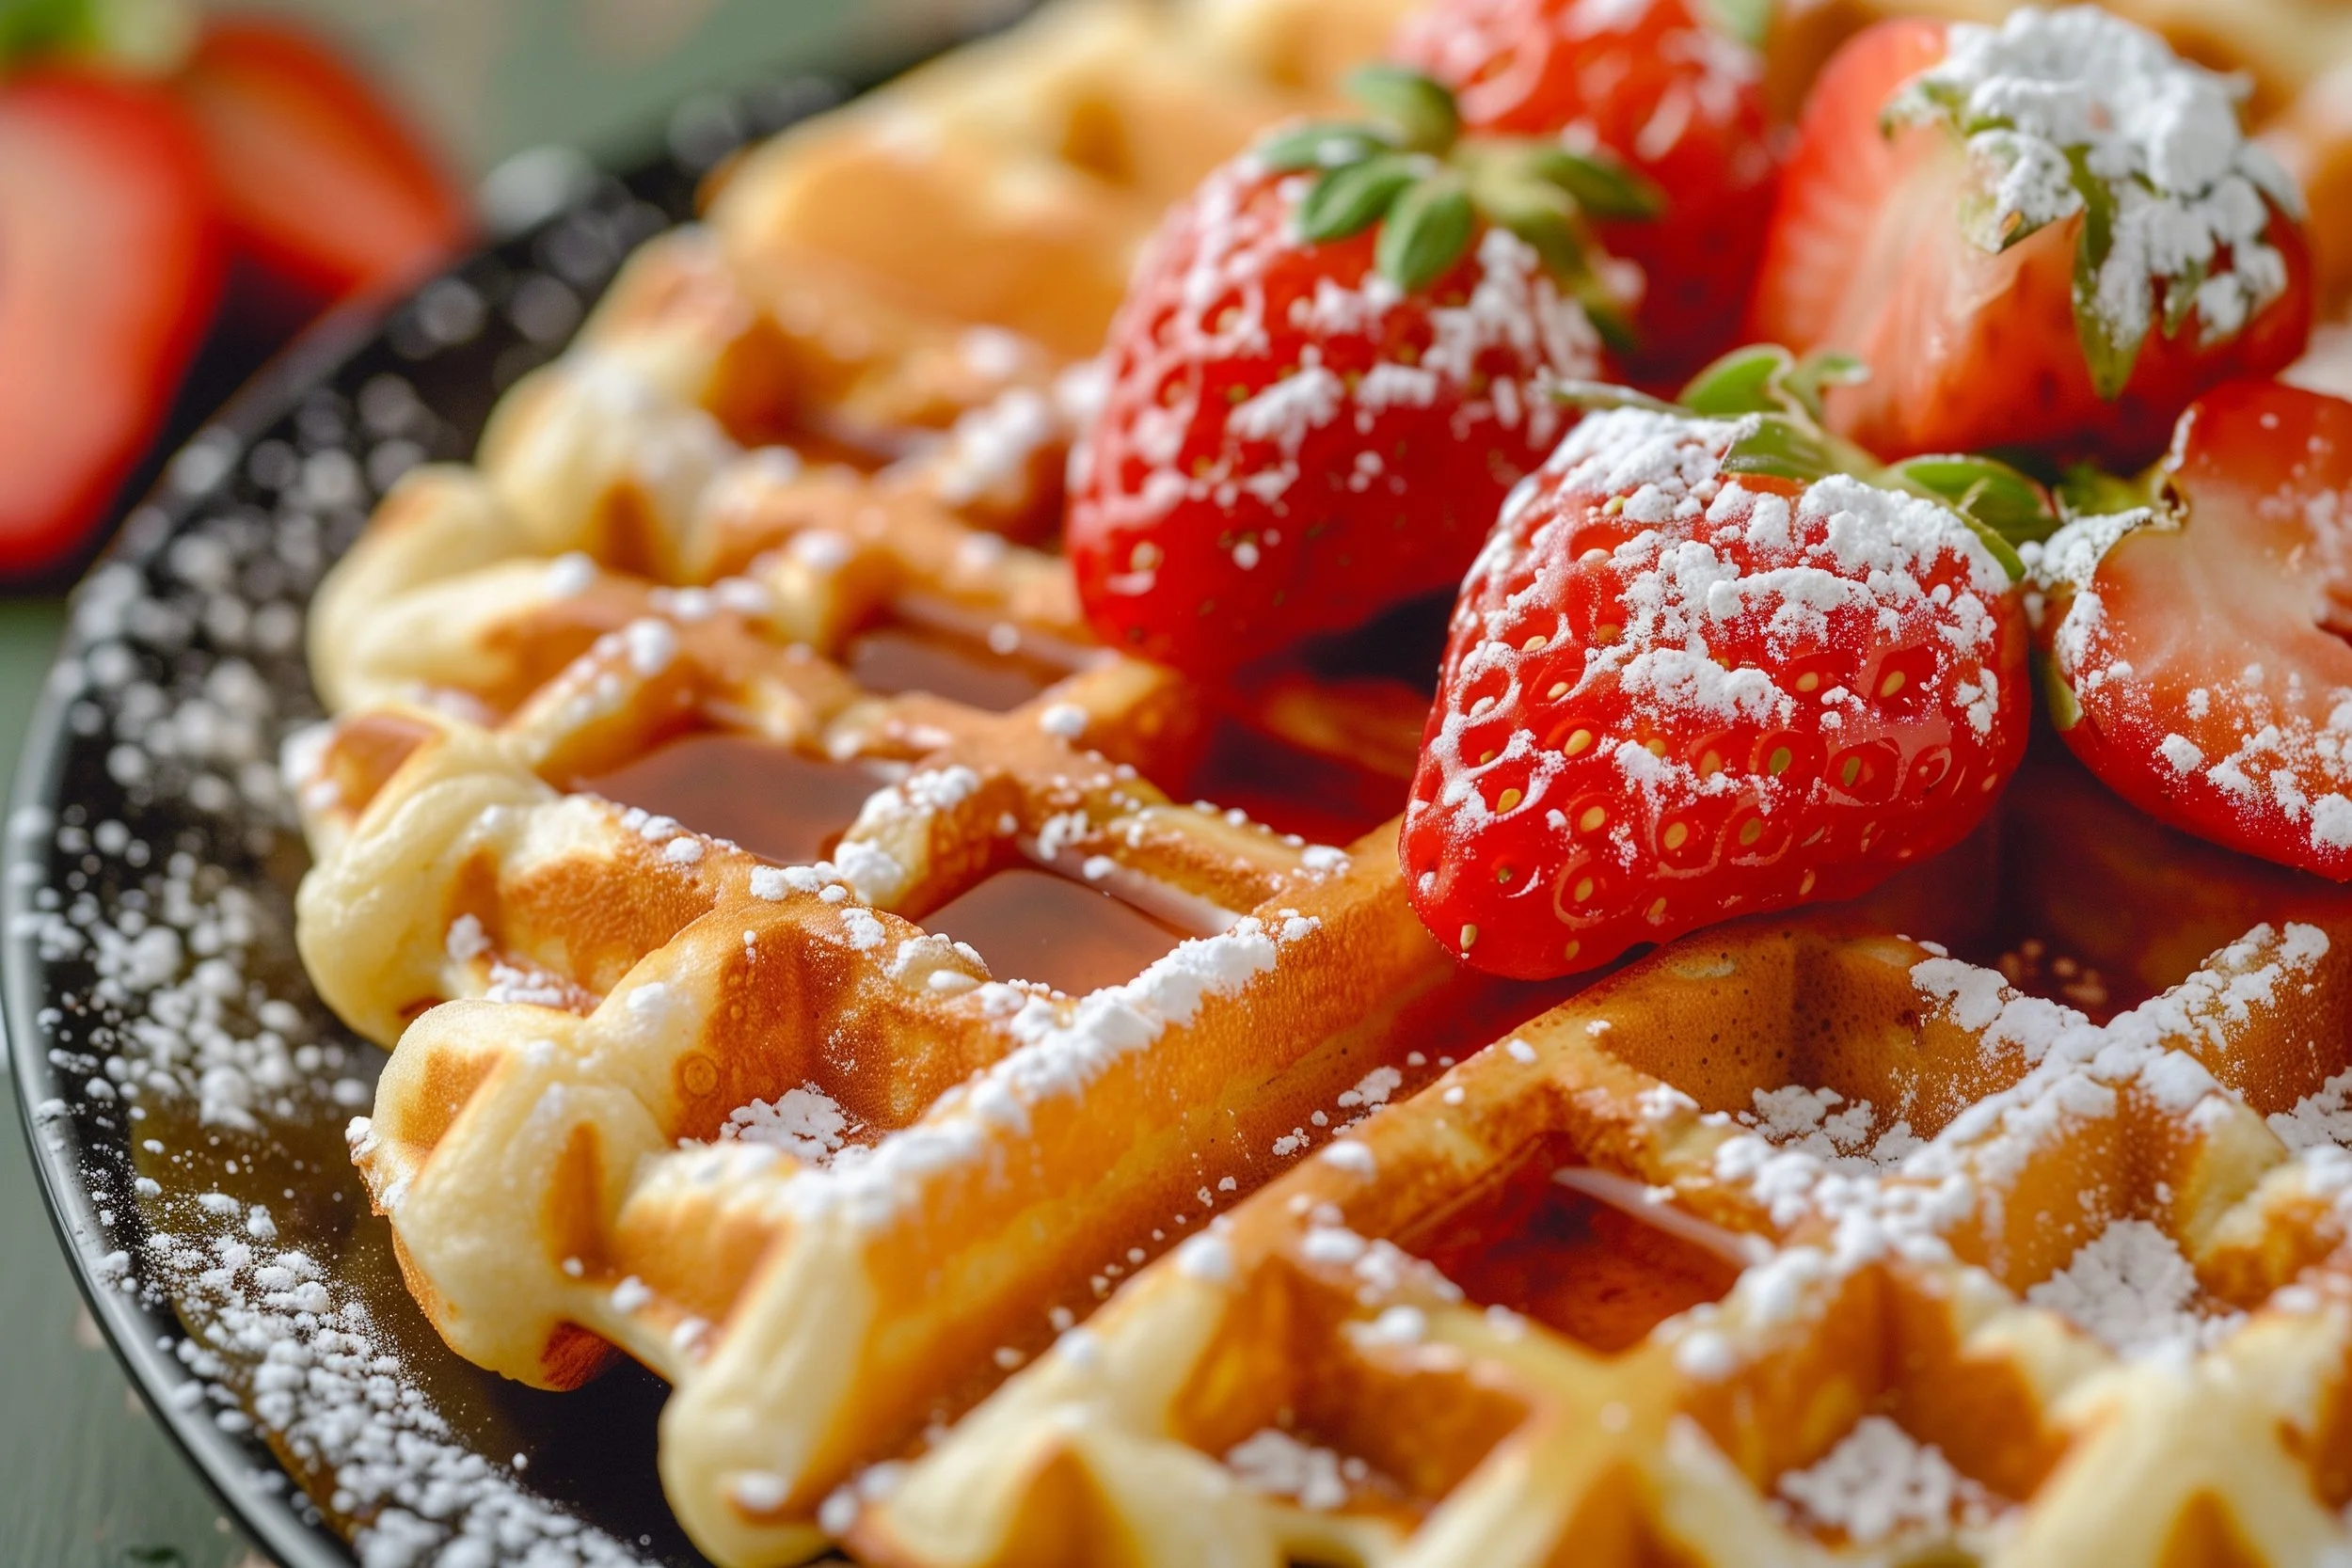
I'm creating a brand new family tradition in my house where we make waffles on the weekend, which will transition nicely into making a fun breakfast item in the future. My son Ian loves making waffles with me, and it's kind of becoming our thing. Every Weekend in the mornings, the kitchen fills with the sweet, comforting aroma of freshly made waffles. It's more not just breakfast; it's a special time for us to bond and create memories together.
Ian is always excited to help, and I let him mix the ingredients so he can learn how to cook. It's a fun way to get him involved and to understand where his food comes from. Plus, it increases the chances that he'll eat the food knowing that he made it. Watching him measure out flour or mix the batter with such concentration is both heartwarming and a little messy, but it's all part of the experience.
Why? Because Science
My household never has buttermilk on the regular, and we don't really use it in other recipes. However, I know buttermilk is the secret to making the best pancakes and waffles because it has;
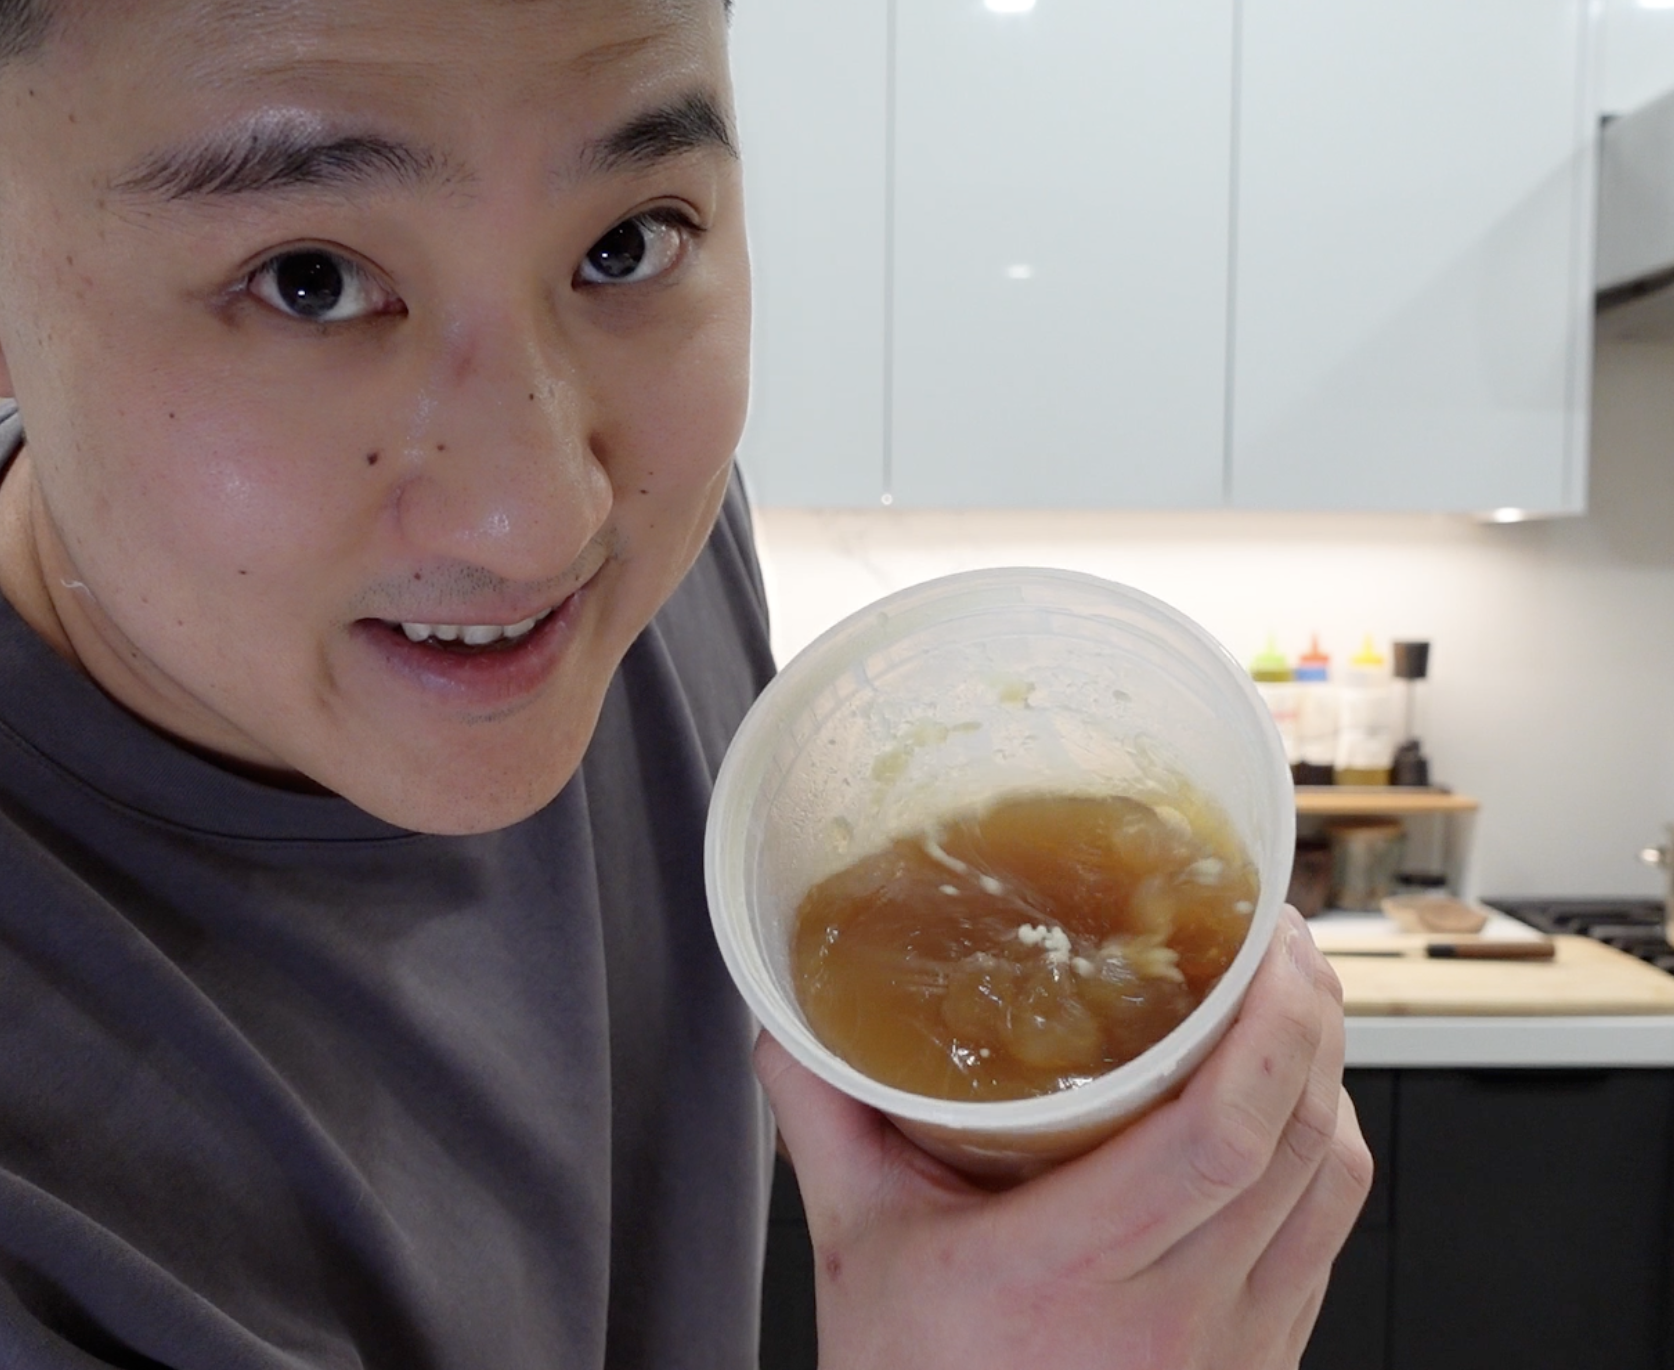
Acidity that reacts with the baking soda, creating a fluffy texture. Instead of buying buttermilk, I like to use this simple alternative: just take regular milk and add an acid to it, like lemon juice or white vinegar, to transform it into something similar to buttermilk. This trick is a lifesaver and works perfectly every time.
1 c milk; 1 tbsp. acid (lemon juice, vinegar etc.), let stand for 5- 10 min to activate
Tenderizing Proteins: The acidity in buttermilk breaks down gluten strands in the batter, resulting in a more tender texture. This is particularly beneficial in pancakes, where a delicate crumb is desired.
Enhanced Flavour: Buttermilk adds a subtle tanginess to pancakes, which enhances their flavour profile. This tanginess can make pancakes taste richer and more complex compared to those made with regular milk.
Thicker Consistency: Buttermilk is typically thicker than regular milk, which contributes to a thicker batter. This thicker batter helps to create pancakes that are more substantial and less likely to spread too thin on the griddle.
Ingredients:
125g (1 cup) all-purpose flour
25g (2 tbsp) sugar
1/2 tsp (2.5g) baking powder
1/4 tsp (1.25g) baking soda
1/4 tsp (1.25g) salt
1 tsp (5g) cinnamon
1/4 tsp (1.25g) nutmeg
237ml (1 cup) buttermilk (see note for alternative)
57g (1/4 cup) unsalted butter, melted
1 large egg
1/2 tsp (2.5ml) vanilla extract
Substitutions and or Alternatives:
Alternative with Milk and Vinegar:
If you don't have buttermilk, use 237ml (or substitute with 1 cup of milk mixed with 1 tbsp lemon juice or white vinegar. Let it sit for 5 - 10 minutes before using)
Optional Flavor Add-ins: (Choose one)
1 ripe banana, mashed
1 shredded apple
Zest of 1 lemon or orange
1/2 cup finely chopped nuts or chocolate chips
Dusting of icing sugar
1 tbsp honey in place of sugar for a different sweetness
Oat milk or almond milk for a lactose free version
Tools Needed:
Waffle iron
Mixing bowls
Whisk
Wire rack to cool waffles
Scale
Method:
Preheat your waffle iron to medium-high heat.
Buttermilk: If using the buttermilk alternative, mix the milk with your vinegar first and let it sit while you prepare the rest of the recipe.
Weigh and Melt Butter: Weigh the butter and melt it in the microwave or use a double boiler. I recommend the microwave because it's faster and easier.
Mix Dry Ingredients: In a large bowl, combine the flour, sugar, baking powder, baking soda, salt, cinnamon, and nutmeg.
Combine Wet Ingredients: In another bowl, whisk together the buttermilk, melted butter, egg, and vanilla extract.
Incorporate Optional Fruits: If using mashed banana or shredded apple, add them to the wet ingredients before combining with the dry ingredients.
Combine Wet and Dry Mixtures: Pour the wet ingredients into the dry ingredients. Stir until just combined; it's okay if there are a few lumps.
Add Optional Flavorings: If using other optional add-ins, gently fold them into the batter now.
Cook the Waffles: Pour enough batter onto the preheated waffle iron to just cover the waffle grid. Close the lid and cook until the waffle is golden brown. This usually takes about 4-5 minutes, but every waffle iron is different, so you might need to find the right temperature to achieve the desired crust.
Cool on Wire Rack: When the waffles are done, place them on a wire rack to let them cool. The reason for this is to keep the waffles crispy.
Eugene’s Extra Tips:
Correctly Measuring Ingredients: Every Chef knows that using a scale to weigh ingredients is far more accurate than using measuring cups.
Melting Butter: Melt butter in short bursts in the microwave (10-15 seconds) and stir between each burst to prevent overheating and splattering. Alternatively, melt butter over low heat on the stove for better control.
Buttermilk Substitute: If using the milk and vinegar substitute for buttermilk, mix 237ml (1 cup) of milk with 1 tablespoon of white vinegar or lemon juice and let it sit for 5-10 minutes until it slightly curdles and thickens
Avoid Overmixing: Combine wet and dry ingredients just until they are mixed to prevent tough, chewy waffles. In other words, don’t stir it too much.
Resting the Batter: Let the batter rest for about 5 minutes after mixing to help the gluten relax and the baking powder start its reaction, resulting in lighter waffles.
Using a Wire Rack: After cooking, place the waffles on a wire rack instead of stacking them to prevent them from becoming soggy due to steam.
Adjusting Waffle Iron Temperature: Every waffle iron is different, so you may need to adjust the temperature to find the perfect setting for a golden-brown crust. Start with the manufacturer's recommendation and tweak as necessary.
Freezing and Reheating: To freeze waffles, let them cool completely, then place them in a single layer on a baking sheet and freeze. Once frozen, transfer them to a freezer bag. Reheat in a toaster or oven for a quick breakfast option. I do this with my son.
Incorporating Fruits: If adding fruits like mashed bananas or shredded apples, ensure they are well-mixed into the wet ingredients to distribute evenly throughout the batter. Note that this will change the cook time in the waffle iron.
One of the best parts of making waffles is making extra to freeze for the week. This simple step means that on busy weekday mornings, we can still enjoy a homemade breakfast. Just pop a frozen waffle into the toaster or oven, and it’s as good as fresh. It makes for an easy breakfast to make for my son. I came to the realization that…
I can just make up any traditions that I want
if they stick, that is. Cooking with my kids can get a bit messy, but it’s absolutely worth the extra cleanup. It's a wonderful way to bond and pass on essential life skills. If you try this recipe, comment below, leave a review, and tag me on socials @the_eugefood. Happy cooking!
You’ll Also Love These
Hi, I'm Eugene, but many of you might recognize me as "The_EugeFood". With over two decades working in diverse kitchens, I've come to cherish the genuine connections and shared experiences that cooking brings. For me, it's not about the high-pressure, competitive world you see on TV. It's about the joy of gathering around a table, the stories shared over simmering pots, and the laughter that follows a shared meal. I'm here to demystify the culinary world, to show you that if you can boil water for cup noodles, you're already on your way. Cooking isn't just a skill; it's a journey of discovery, and I invite you to join me on this adventure to becoming a better cook.


