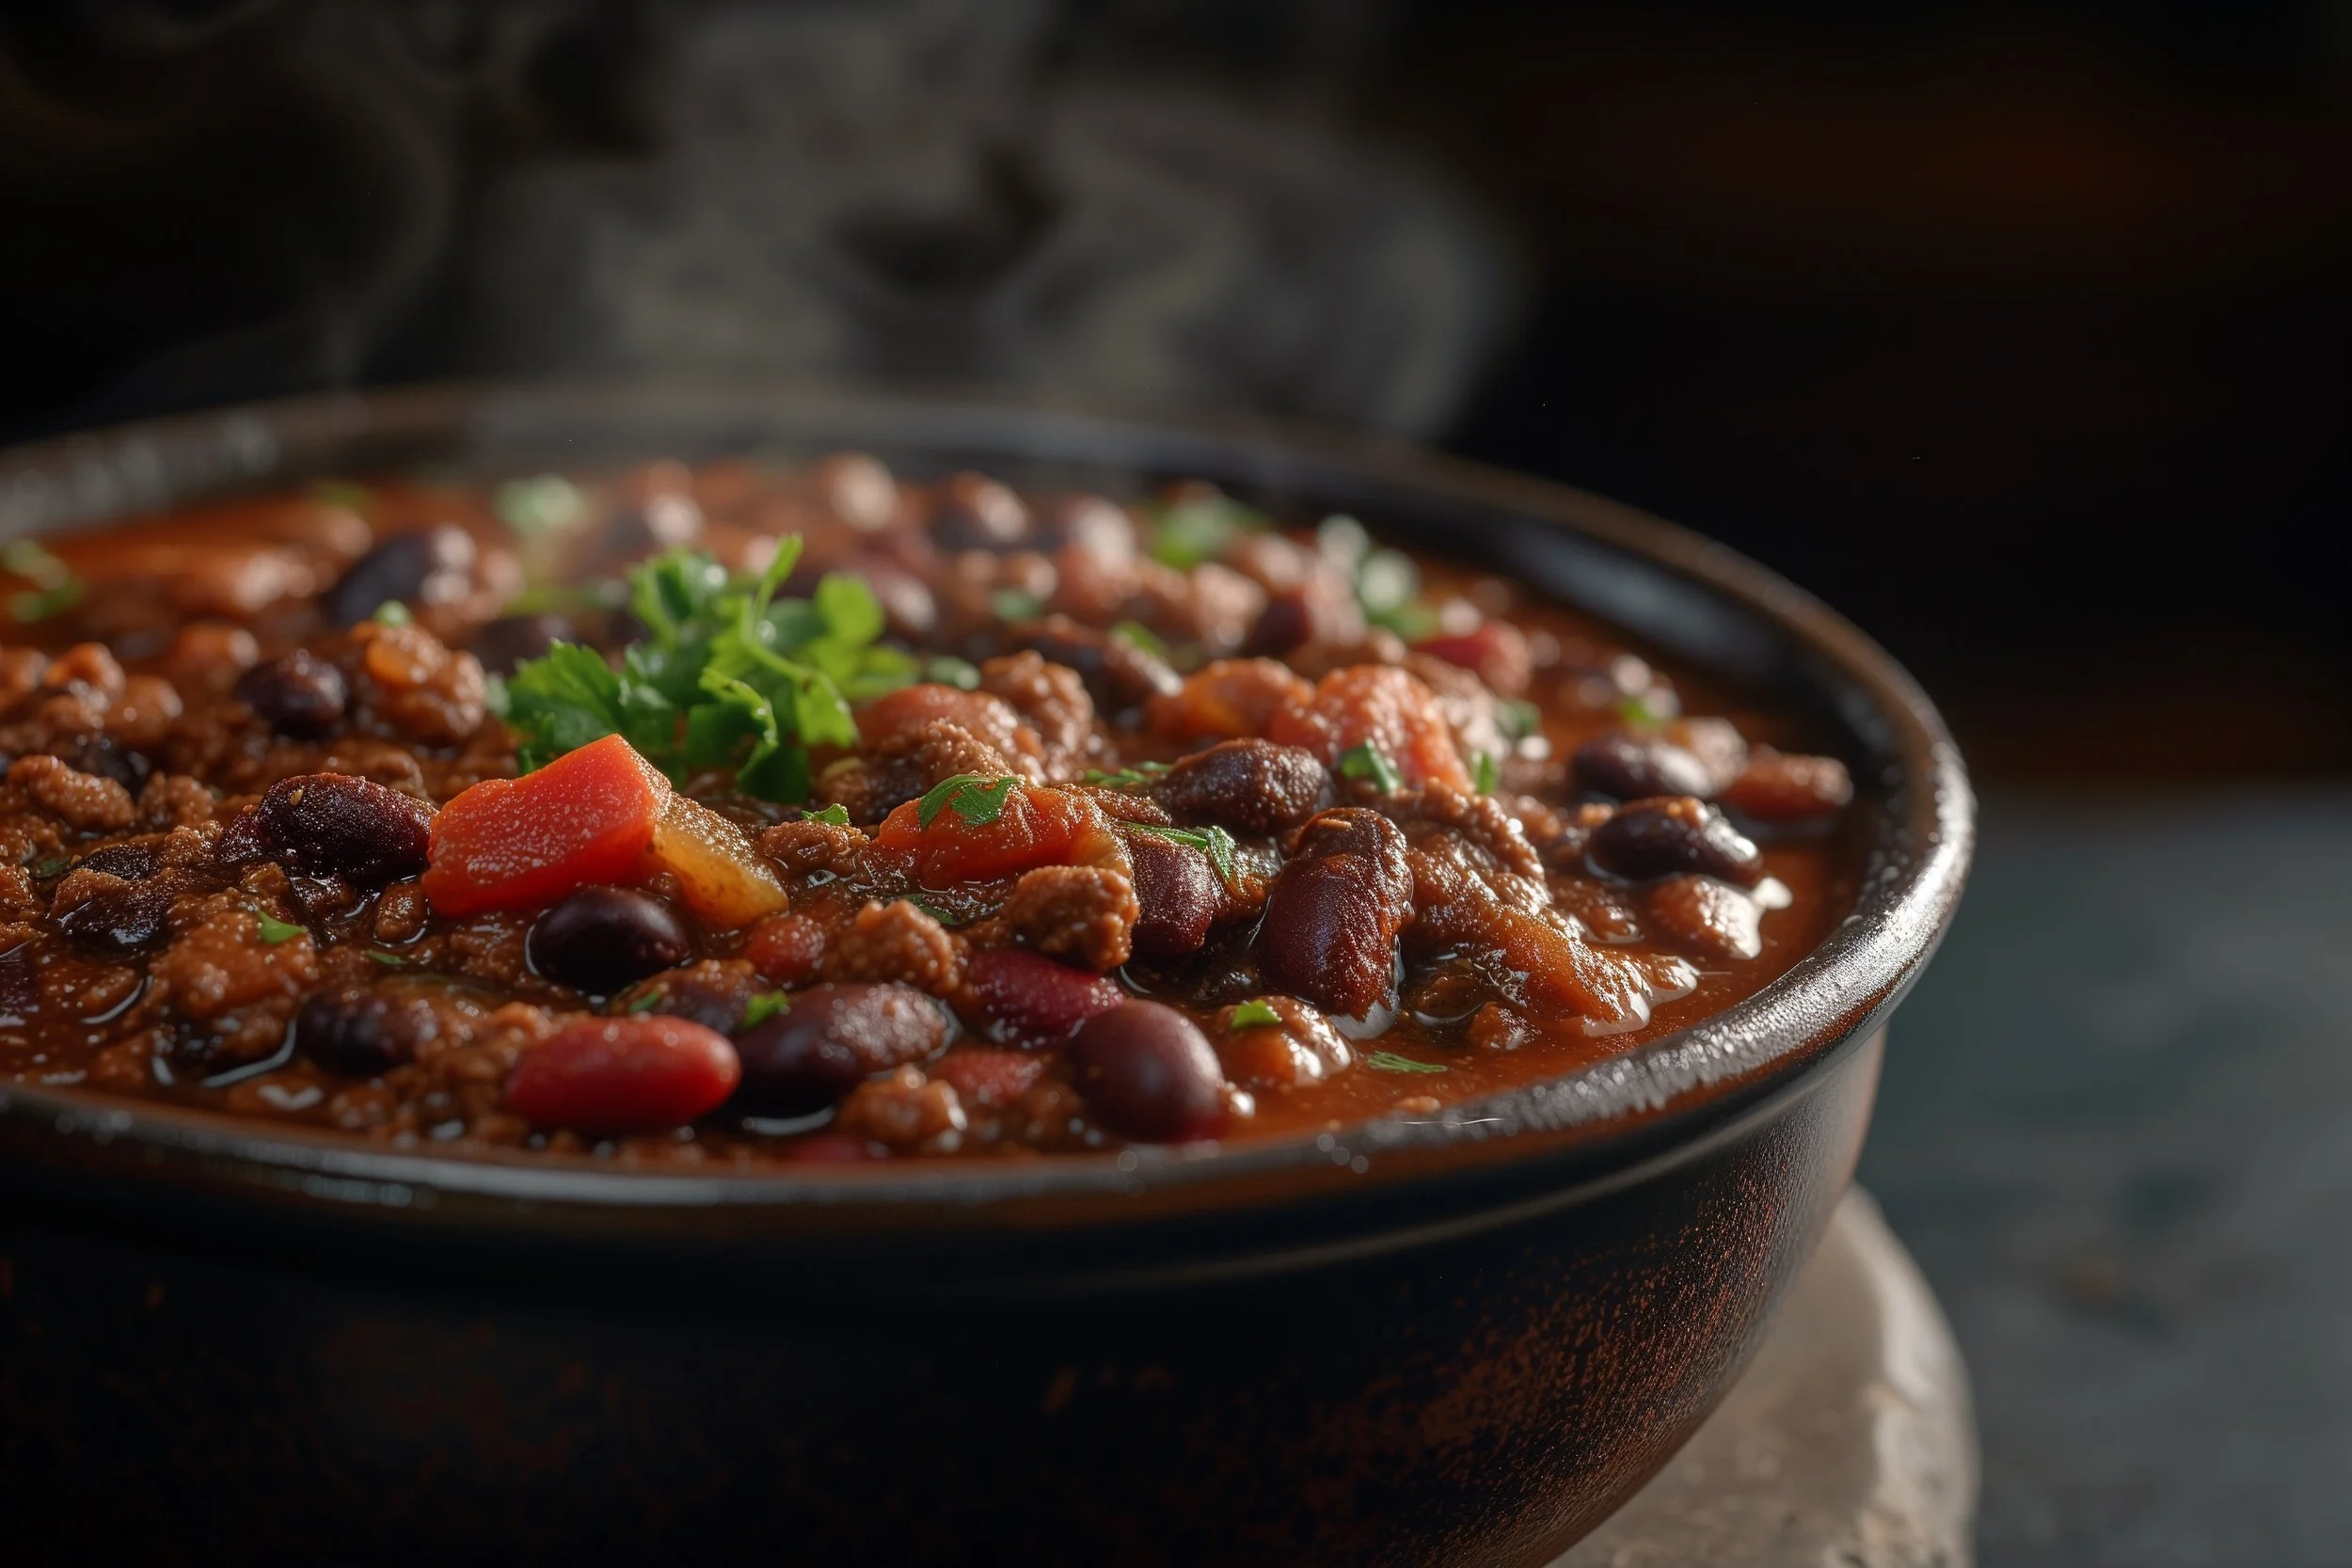
Chilli Transformed: From Fast Food to Homemade
Yield: Serves 6-8 people
Prep Time: 30 minutes
Cook Time: 1 hour
Total Time: 1 hour 30 minutes
Truthfully, the first time I ever had chilli was at Tim Hortons. For many of us Canadians, Tim Hortons is not just a coffee shop; it's a national icon. My winters were incomplete without their comforting bowl of chilli, served with a side of bread, which was just a little bun, a donut, and a steaming cup of coffee. When I was younger, I had no concept of culinary anything. I grew up in a middle-class neighbourhood surrounded by the ghetto, so I just ate what was around me.
The Spark of Homemade Chilli
The moment I learned to make chilli from scratch was a revelation, this was much later in my life. The rich, complex flavours of freshly cooked ingredients were leagues ahead of anything I'd ever tasted from a can or a fast-food counter. From that first successful pot of homemade chilli, I was hooked. Once I tasted freshly made chilli, Tim Horton's chilli was never the same again. I would be lying if I said I didn’t eat Timmy’s chilli again, but I did for a while for nostalgia. But I can’t eat store-bought or ready-made chilli ever again.
The Trials of Perfection
As my passion for cooking grew, so did my ambition. I wasn't content with just making good chilli; I wanted to perfect it. This quest led me to experiment with dried beans, an ingredient that promised an authentic and hearty chilli experience. However, this was no easy feat. My initial attempts were met with frustration as I grappled with the nuances of cooking dried beans. They were either too hard or mushy, never quite hitting that perfect tender spot. It was a culinary puzzle that tested my patience and skills. Beans are a tricky thing to learn for a beginner because if you mess it up, you're going to be spending time on the toilet; and yes, that was me.
A Recipe Worth Sharing
Through trial and error, I've crafted a chilli recipe that I'm not only proud of but also eager to share. This Pinto and Kidney Bean Chilli with Ground Meat is the culmination of my journey from a fast-food enthusiast to a home cook dedicated to the craft of chilli making.
Equipment Needed:
Pressure Cooker: For cooking beans quickly and efficiently (if using dried beans).
Large Pot or Dutch Oven: For making the chilli on the stovetop.
Ingredients:
For the Beans:
200g (7 oz) dried pinto beans, soaked overnight and drained
200g (7 oz) dried kidney beans, soaked overnight and drained
You can use canned beans instead if you want. Make sure to drain and rinse the beans out of the can.
Optional: 1 Bay Leaf
For the Chilli:
500g (1.1 lbs) lean ground beef (you can substitute with different kind of meats like ground turkey if you like).
2 tablespoons olive oil
1 large onion, chopped into small pieces
4 cloves of garlic, minced
1 red bell pepper, diced into small pieces
2 cans (400g or 14 oz each) of diced tomatoes, including the juice
1 (8 oz) can tomato sauce
3 tablespoons tomato paste
500ml (2 cups) beef (can use vegetable broth as a substitute)
1 tablespoon rock sugar (can use brown sugar as a substitute)
1 tablespoon smoked paprika
1/2 teaspoon chipotle powder (adjust based on spice preference)
2 tablespoons chilli powder (I use Ancho-based because it’s milder and sweet)
1 tablespoon ground cumin
1 tablespoon garlic powder
Salt and black pepper to taste
Optional Garnishes:
Fresh cilantro, chopped
Sour cream
Shredded cheese
Lime wedges
Instructions:
If Using Dried Beans (Pressure Cooker Method):
Place your dried beans in a large bowl or container and cover them with about 2-3 inches of cold water. Leave them to soak overnight, or for at least 8 hours. This allows enough room for the beans to expand and believe me they will expand by at least half the initial size of their dried size.
If you're short on time, you can use the quick soak method. Place the beans in a pot, cover with water, and bring to a boil. Let them boil for 2 minutes, then remove from heat, cover, and let stand for 1 hour. This method is almost as effective as overnight soaking but I would not recommend it because the overnight soak is just better for consistency.
Once the beans have soaked, drain and rinse them thoroughly under cold water. This helps to remove any dirt and the sugars that leach out into the soaking water.
Place the pre-soaked pinto and kidney beans into the pressure cooker. Add fresh water to cover the beans by about 2 inches. Add the bay leaf if you have it.
Secure the lid of your pressure cooker, making sure the valve is set to the seal position. Select the "Manual" or "Pressure Cook" setting and set the timer for 25 minutes at high pressure. This cooking time is optimal for beans that have been soaked overnight.
Finish the Beans:
Once the pressure cooking cycle is complete, let the pressure release naturally. This means you don't do anything to the cooker and allow it to depressurize on its own (literally meaning don’t touch it).
This process can take about 20 minutes. It's important to wait until the pressure indicator shows that it's safe to open the lid. The reason why we don’t release the pressure right away is because it could rupture the beans too quickly and some of them will lose their shape and open up. This will compromise the texture of the chilli.
When the pressure is gone carefully open the lid, keeping your face and hands away from the steam. Drain the beans using a strainer, find and remove the bay leaf and set them aside. They're now ready to be added to your chilli.
If Using Canned Beans:
If you're opting for canned beans for convenience, simply open the cans using a can opener. Drain the liquid from the beans using a colander and give them a good rinse under cold water. This helps to remove excess sodium and any canning liquid, leaving you with beans that are ready to be used in your chilli.
Making the Chili on Stovetop:
Prep the vegetables and Ingredients:
Mince the garlic, dice the bell peppers and open up all of the cans so that they are ready to go.
Brown the Meat:
Heat the olive oil in a large pot or Dutch oven over a medium flame. Once the oil is shimmering, add the ground meat to the pot and break the meat into smaller chunks. I use a specialized ground meat tool to help break up the ground meat more easily. Stir occasionally and cook until the meat is fully browned with no pink spots remaining. This process should take about 5-7 minutes. Once browned, transfer the meat to a plate and set it aside.
Cook the Vegetables:
In the same pot used for the meat, add the chopped onion, minced garlic, and diced bell pepper; cook on medium-low eat. The fond from the meat will add extra flavour to the vegetables. Cook, stirring occasionally, until the onions turn translucent and the bell peppers soften about 5 minutes.
Combine the Chili Ingredients:
Bring the browned meat back into the pot with the sautéed vegetables. Add the diced tomatoes with their juice, tomato sauce, and tomato paste. Pour in the beef or vegetable broth, which will form the liquid component of your chilli. Stir in the rock or brown sugar, along with smoked paprika, chipotle powder, chilli powder, ground cumin, and garlic powder. Mix everything thoroughly to ensure the spices are well distributed.
Simmer:
Increase the heat to bring the mixture to a gentle boil. Once boiling, reduce the heat to low and cover with a lid slightly open, allowing the chilli to simmer. Stir occasionally to prevent sticking at the bottom. Simmering for at least 30 minutes allows the flavours to meld and intensify, creating a rich and cohesive chilli. You can simmer this chilli for a couple of hours.
Add Beans:
Add the prepared beans to the pot. Stir them into the chilli, ensuring they're well distributed. Continue to simmer the chilli. This step allows the beans to absorb the flavours of the chilli and heat through.
Season and Serve:
Taste your chilli and adjust the seasoning with salt and black pepper as needed. Every palate is different, so this step ensures the chilli suits your taste preference. Serve the chilli hot in bowls, and offer optional garnishes like fresh cilantro, sour cream, shredded cheese, and lime wedges on the side for a customizable experience.
Cooking Tips for Beginners:
Soaking Beans: Soaking dried beans overnight helps to reduce cooking time and improve digestibility. Beans contain sugars (oligosaccharides) that can cause gas since our bodies can't fully digest them. Soaking and rinsing beans helps reduce these sugars, making beans easier to digest and less likely to cause discomfort.
Simmering Chilli: Slow simmering melds the flavours together and tenderizes the beans and meat. If the chilli becomes too thick, add a little more broth to reach your desired consistency. Stir occasionally to prevent sticking and burning. If you don’t have anymore broth, just use water.
Natural Release is Crucial: After pressure cooking the beans, allow the pressure to release naturally. Quick releasing can cause the beans to burst, affecting the texture. The natural release method also ensures that the beans are cooked evenly and thoroughly.
Embracing the Chilli Craft
This chilli recipe is more than just a dish; it's a narrative of my culinary evolution. From the simplicity of a Tim Hortons meal to the complexities of home cooking, every bowl of chilli I now serve is a testament to the journey I've undertaken. It's a dish that invites experimentation, patience, and, most importantly, a love for hearty, comforting flavours.
I encourage you to try this recipe out and not just make it by the book. Feel free to experiment with your own flavours and spice levels (some like it hotter than others). Remember, great cooking isn't just about following a recipe; it's about making it your own. Just remember to follow the basics and the foundation of the recipe and add your kick to it.
Enjoy the recipe, and don't forget to comment below, leave a review, and tag me on socials @the_eugefood with your chilli creations!
You’ll Also Love These
Hi, I'm Eugene, but many of you might recognize me as "The_EugeFood". With over two decades working in diverse kitchens, I've come to cherish the genuine connections and shared experiences that cooking brings. For me, it's not about the high-pressure, competitive world you see on TV. It's about the joy of gathering around a table, the stories shared over simmering pots, and the laughter that follows a shared meal. I'm here to demystify the culinary world, to show you that if you can boil water for cup noodles, you're already on your way. Cooking isn't just a skill; it's a journey of discovery, and I invite you to join me on this adventure to becoming a better cook.


