The Best Pumpkin Pie Recipe
Yield: 1 (9-inch) pie | Servings: 8
Prep Time: 30 minutes
Cook Time: 1 hour
Total Time: 1 hour 30 minutes
Simply the Best Pumpkin Pie: A Classic Made Better
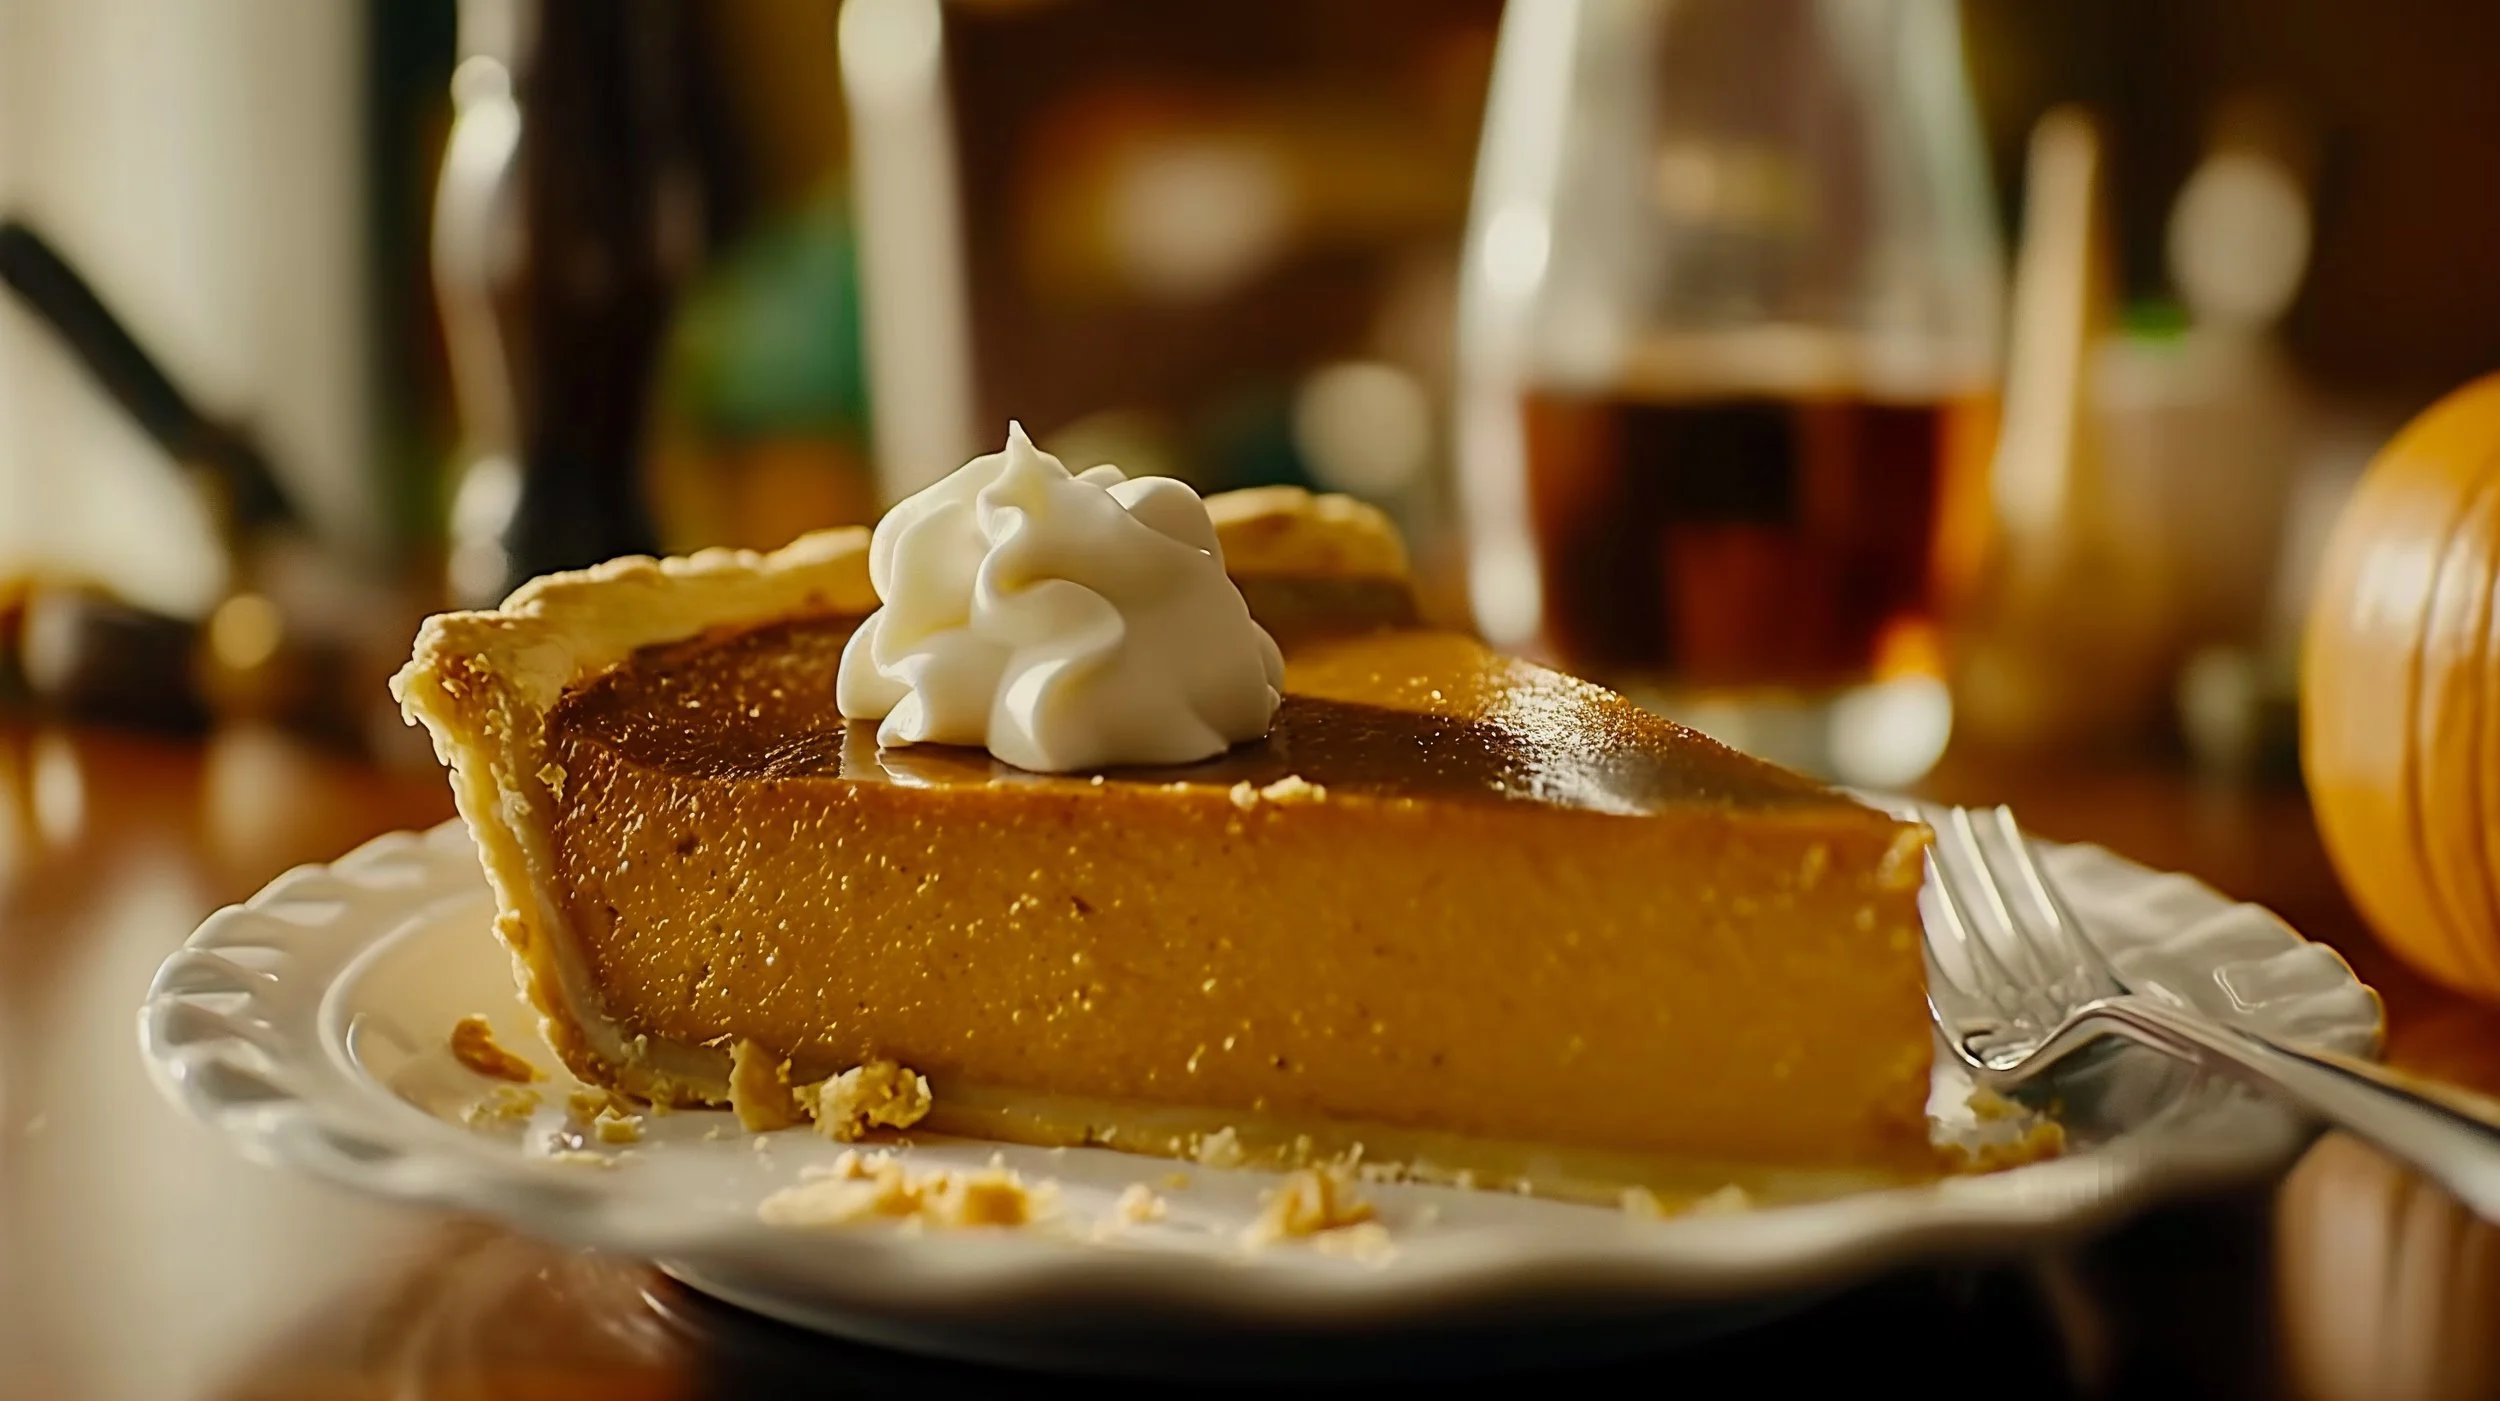
When it comes to favourite pies, pumpkin pie is always at the top of my list (competing with the classic apple). There’s something special about the smooth, creamy filling and that warm mix of spices that just feels comforting and timeless. This recipe is my tried-and-true take on pumpkin pie. The secret is the pre-made pumpkin spice I make.
The Secret Behind the Perfect Pie Crust
Let’s start with the crust. If you’re like me and want every slice to have that perfect, flaky bite, then blind-baking is the way to go. Blind baking means pre-baking the crust on its own before adding the filling. The result? No soggy bottoms! The crust stays crisp and golden, creating a satisfying contrast to the smooth pumpkin custard inside. To blind-bake, line the unbaked crust with parchment paper, fill it with pie weights or dried beans, and bake for a few minutes. This technique is especially helpful for liquid-based fillings, like custards, which can easily soften the crust.
If you’re using a pre-made frozen shell, you can skip this step.
Fresh Pumpkin or Canned?
Now, let’s talk about the filling. Canned pumpkin puree is the go-to for many, and for good reason—it’s consistent, convenient, and offers that classic pumpkin flavour every time. But, if you’re in the mood for a bit more hands-on flavour, using fresh pumpkin can take your pie to the next level.
Here’s the trick with fresh pumpkin: since pumpkins naturally have higher water content than canned puree, it’s essential to bake and blend it carefully. Roasting the pumpkin will draw out moisture while deepening its sweetness, helping you avoid a watery filling. Remember to measure it post-baking since pumpkin sizes vary a lot!
Personally, I lean toward canned pumpkin for its reliability, but I won’t deny that fresh pumpkin offers a distinct, slightly earthier taste that’s hard to beat—provided you’ve got fresh pumpkins at hand! Whether you go with fresh or canned, your pumpkin pie is bound to be a winner.
Why? Because Science
This pumpkin pie recipe is essentially a custard, meaning it relies on gently cooked eggs and dairy to set the filling into a smooth, creamy texture. To achieve this, the pie is baked at an initial high temperature of 425°F (220°C) to quickly set the crust. Then, the temperature is lowered to 350°F (175°C) for the remainder of the baking time, allowing the custard-like filling to cook slowly and evenly without overbaking or curdling.
Like all custards, this pie’s filling relies on the gentle coagulation of egg proteins and the gelatinisation of starches. Starting at 425°F (220°C) firms up the crust and outer layer of the filling, creating structure. Lowering the temperature allows the egg proteins to coagulate gradually, creating that classic custard-like consistency without scrambling. This also gives the starches time to swell and gelatinise, resulting in a creamy,
Ingredients:
1x 9-inch pie crust
1 can (15 oz / 425 g) pumpkin puree (or fresh pumpkin puree)
1 can (12 oz / 354 ml) evaporated milk
3 large eggs
200 g (1 cup) packed dark brown sugar
1 ½ tbsp pumpkin spice - or use individual spices:
1.5 tsp ground cinnamon
1 tsp ground ginger
0.75 tsp ground nutmeg
0.5 tsp ground allspice
0.5 tsp ground cloves
1 tbsp cornstarch
1 tsp vanilla extract
½ tsp salt
Tools Needed:
9-inch pie dish
Parchment paper
Pie weights or dried beans
Medium mixing bowl
Large mixing bowl
Whisk
Wire rack
Method:
Prepare the Pie Crust
Preheat your oven to 425°F (220°C). Place the pie crust in a 9-inch pie dish, crimping the edges. If desired, pre-bake the crust by covering it with parchment paper and filling it with pie weights or dried beans. Bake for 10-12 minutes.
Make the Filling
In a medium bowl, whisk together the dry ingredients: dark brown sugar, pumpkin spice (or individual spices listed above), cornstarch, and salt. In a separate large mixing bowl, combine the wet ingredients: pumpkin puree, evaporated milk, eggs, and vanilla extract, whisking until smooth. Gradually add the dry ingredients to the wet mixture, stirring until everything is well combined.
Fill and Bake
Carefully pour the filling into the prepared pie crust, smoothing the top if needed. Place the pie in the oven and bake at 425°F (220°C) for 15 minutes.
After 15 minutes, reduce the oven temperature to 350°F (175°C) and continue baking for 40-50 minutes. To check for doneness, gently shake the pie; if the center still has a noticeable jiggle, it needs more time. The center should have a slight wobble but will set fully as it cools.
Serving Suggestions
Top with whipped cream, or serve with a scoop of vanilla ice cream for a classic pairing that enhances the pie’s warm, spiced flavours.
Cool and Serve
Allow the pie to cool completely on a wire rack for at least 2 hours before serving. This cooling period helps the pie set and brings out the full depth of the spices.
Eugene’s Extra Tips:
Don’t Overmix the Filling
When mixing the filling ingredients, stir gently just until combined. Overmixing can add air bubbles, which may cause the pie to crack or bake unevenly.
Prevent a Soggy Bottom Crust
To avoid a soggy crust, pre-bake (or “blind bake”) your pie crust. Use parchment paper and pie weights (or dried beans) to keep the crust from puffing up. Bake it for about 10-2 minutes, then remove the weights and bake for another 5 minutes to let it crisp up before adding the filling. Be careful to not over brown the edges otherwise the edges may burn when you bake the full pie.
Shield the Crust Edges
To keep the crust from browning too quickly, cover the edges with aluminium foil or a pie crust shield. This will prevent the edges from burning before the filling has fully cooked.
Avoid Overbaking
Pumpkin pie should be baked until the centre is just set and still has a slight jiggle. Overbaking can cause cracks and make the pie too dense. It will continue to set as it cools, so don’t worry if it looks a bit soft when you first take it out.
Let the Pie Cool Completely
Allow the pie to cool on a wire rack for at least 2 hours. This helps the filling set properly, making it easier to slice and enhancing the flavour.
Use a Knife Test for Doneness
A simple way to check if your pie is done is to insert a knife about an inch from the edge. If it comes out clean, the pie is likely ready. The very centre might still be slightly jiggly, which is normal—it will set as it cools.
Plan Ahead with Make-Ahead Tips
You can make the filling a day in advance and keep it refrigerated. The crust can also be prepped the day before and kept in the fridge. On baking day, pour the filling into the crust and bake. This can help you manage time and stay relaxed in the kitchen.
Use Room Temperature Ingredients
Room temperature ingredients allow for smoother, more even mixing, which is essential for custards. This helps the filling set consistently and reduces the likelihood of cracks or an uneven texture.
I used to think pumpkin spice was a single spice, like cinnamon or nutmeg. It was only after a chef friend laughed and explained it to me that I learned the truth: pumpkin spice is actually a mix of cinnamon, ginger, nutmeg, allspice, and cloves. Over the years, I’ve fine-tuned my own blend to get just the right amount of warmth in every bite. And here’s a tip—if you want even bolder flavour, try toasting the whole spices before grinding them. It’s a small step that brings out their essential oils, giving your pie a more intense and aromatic spice profile.
Serving It Up
Once baked, let the pie cool completely to let the flavours settle and the custard set. You can enjoy it as is, or with a dollop of whipped cream. If you’re feeling a bit indulgent, a scoop of vanilla ice cream on the side is always a winner.
This pumpkin pie is simple, classic, and packed with flavour. It’s the kind of dessert that’s easy enough for any occasion but special enough to make an impression. So give it a try, enjoy the process, and let me know how it turns out! And if you snap a picture, don’t forget to tag me @the_eugefood—I’d love to see your creation!
You’ll Also Love These
Hi, I'm Eugene, but many of you might recognize me as "The_EugeFood". With over two decades working in diverse kitchens, I've come to cherish the genuine connections and shared experiences that cooking brings. For me, it's not about the high-pressure, competitive world you see on TV. It's about the joy of gathering around a table, the stories shared over simmering pots, and the laughter that follows a shared meal. I'm here to demystify the culinary world, to show you that if you can boil water for cup noodles, you're already on your way. Cooking isn't just a skill; it's a journey of discovery, and I invite you to join me on this adventure to becoming a better cook.


