The Classic 3-2-1 Ratio Pie Dough Recipe
Yield: 2 pie crusts (enough for a double-crust 9-inch pie or two single-crust 9-inch pies)
Prep Time: 20 minutes
Cook Time: Varies depending on the pie recipe
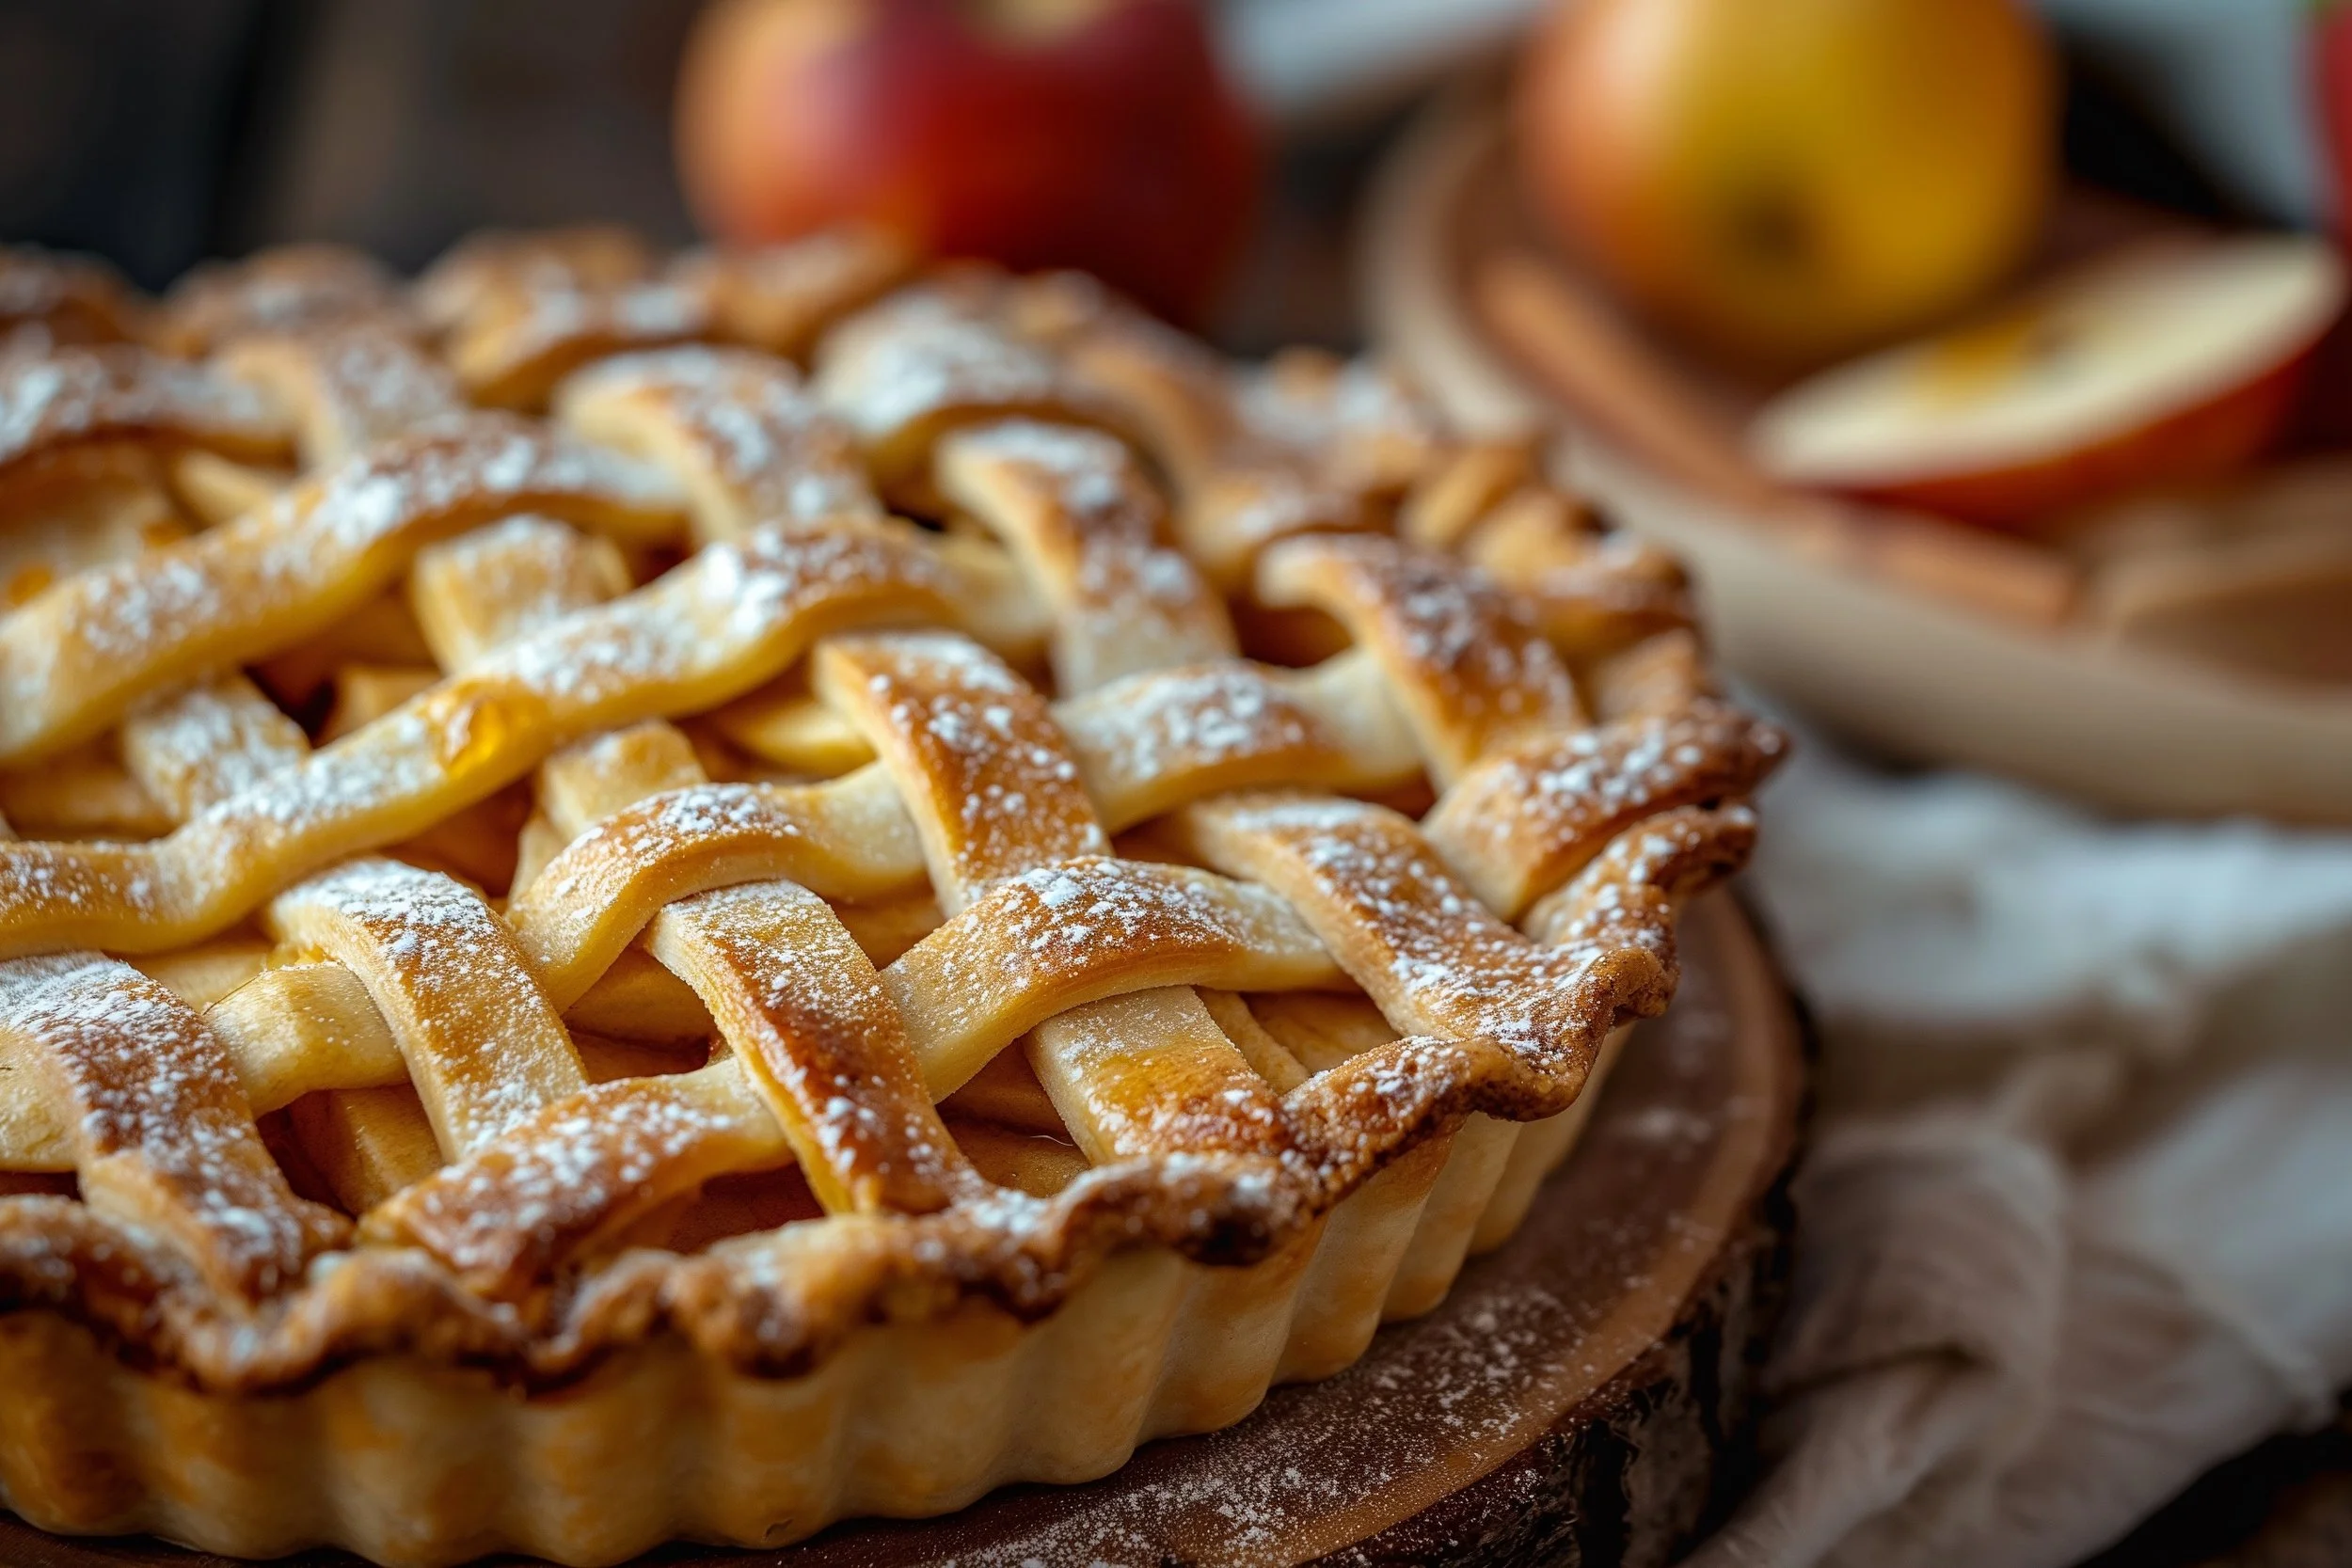
This isn't just any recipe; it's a tried-and-true formula that I've been using for years, and it's never let me down. Whether you're whipping up a savoury chicken pot pie, a sweet apple pie, or a delightful quiche for breakfast, this versatile dough is gonna be one of those back pocket recipes you can pull out whenever. It's a fundamental, to say the least, it’s the classic 3-2-1 pie dough recipe.
The Magic Ratio of 3-2-1
So, what's the deal with the 3-2-1 ratio, you ask? It's simple, yet brilliant. The ratio represents three parts flour, two parts fat, and one part water. This balance is crucial because it ensures that your pie dough has just the right texture—flaky, tender, and oh-so-delicious. Too much fat and your dough gets greasy; too little, and it turns tough. The 3-2-1 ratio is the sweet spot that keeps everything in harmony. The beauty of a ratio is that it's adaptable, serving as a reliable base that can be tweaked based on the specific dish you're aiming for.
What You Will Need:
Food processor
Scale
Saran Wrap
Rolling Pin
Pie Dish
Ingredients:
300g (12 oz) – All-Purpose Flour
200g (8 oz) – Unsalted Butter, cold
100g (4 oz) – Ice Water (adjust as needed)
Pinch of Salt
Method:
If Using a Food Processor:
Prepare the Butter and Ice Water: Cut the butter into small cubes and freeze them for at least 10 minutes. Also, prepare a cup of ice water to use later.
Combine Flour and Salt: Place the flour and salt in the food processor. Pulse a few times to mix them evenly. This step ensures the salt is dispersed evenly in the salt.
Add Cold Butter: Distribute the cold butter cubes evenly over the flour mixture in the food processor. Pulse in short bursts until the mixture looks like coarse crumbs. You should see small, pea-sized pieces of butter within the flour.
Incorporate Ice Water: Slowly pour just the water from the ice water cup through the feeding tube of the food processor, pulsing as you go. Stop adding water once the dough starts to clump together (should be about 100g/ml). If you pinch some dough and it holds together, it's ready. Be careful not to add too much water or process too long, as this can lead to a tough dough, due to the gluten in the flour being overworked.
Form the Dough: Pour the contents of the food processor into either a bowl or directly on a clean counter. Gently bring the dough together with your hands and divide it into two equal parts. Press each half into a flat disk and wrap them in plastic wrap. Refrigerate the disks to let the dough rest. This resting period allows the gluten in the dough to relax and the butter to chill, making the dough easier to roll out and helping to ensure a flaky texture once baked.
If Mixing by Hand:
Prepare the Ingredients: Ensure the butter is cold. Instead of cubing, consider grating the butter using a cheese grater. After grating, place the butter in the freezer for a few minutes until you're ready to use it. This technique makes it easier to mix the butter into the flour and helps prevent the dough from becoming too warm. Ensure your water is ice-cold as well.
Blend Flour and Butter: In a large mixing bowl, combine the flour and salt. Add the grated frozen butter to the flour mixture. Using your fingertips, work the butter into the flour until the mixture resembles coarse crumbs with some small, pea-sized pieces of butter. These bits of butter are what will create the flaky layers in your crust.
Incorporate the Water: Make a well in the centre of the flour-butter mixture and drizzle the cold water into the mixture. Gently mix until the dough starts to come together. It should be just moist enough to stick together when pinched but not so wet that it becomes sticky. Add more water, one tablespoon at a time, if the dough is too dry. If it's too wet, add a bit more flour.
Form the Dough: Gently bring the dough together with your hands and divide it into two equal parts. Press each half into a flat disk and wrap them in plastic wrap. Refrigerate the disks to let the dough rest. This resting period allows the gluten in the dough to relax and the butter to chill, making the dough easier to roll out and helping to ensure a flaky texture once baked.
Rolling Out the Pie Dough:
Prepping Your Workspace: Sprinkle a light layer of flour on the surface where you'll roll out the dough. This prevents the dough from sticking. Also, flour your rolling pin. If the dough starts to stick as you roll, add a bit more flour underneath and on top. However, use flour sparingly, as too much can make the dough tough.
Rolling Technique: Start rolling from the center to the edges in all directions, not just back and forth. This helps maintain an even thickness. If the dough sticks to the rolling pin, add a bit more flour to the pin. Keep turning the dough a quarter turn after a few rolls to ensure an even circle and to prevent sticking.
Checking the Size: The dough should be rolled out into a circle that's about 2-3 inches larger than your pie dish and about 1/8 inch thick. You can place the pie dish upside down on the dough to check the size.
Transferring the Dough: To move the dough without tearing it, gently roll it around the rolling pin, lift it, and then unroll it over the pie dish. Another method is to fold the dough gently in half or in quarters, lift it, place the point in the center of the dish, and unfold.
Fitting the Dough in the Dish: Once the dough is in the dish, gently press it into the bottom and sides. Don't stretch the dough, as it will shrink back when baked. Use your fingers to press the dough into the corners of the dish.
Trimming and Edging: Trim any excess dough from the edges with a knife or kitchen scissors, leaving about a half-inch overhang. Fold the overhang under itself along the rim of the pie dish and use your fingers or a fork to crimp or decorate the edges.
Blind Baking the Pie Crust:
Why Blind Bake: Blind baking ensures the crust is fully cooked before adding wet fillings, which prevents the crust from becoming soggy. It's especially important for custard-based pies or pies with quick-cooking fillings.
Docking the Dough: Before blind baking, prick the bottom of the crust all over with a fork. This technique, called docking, prevents the crust from puffing up in the oven.
Using Weights: Line the dough with parchment paper or foil, making sure to cover the edges to prevent over-browning. Fill the liner with pie weights, dried beans, or rice. These weights keep the dough in place and help maintain the shape of the crust. Keep in mind, once you use beans or rice as the weight for this purpose; they will no longer be edible and cannot be consumed but they can be re-used again as a weight for blind baking.
Initial Baking: Bake the pie shell with weights in a preheated oven of 375F for about 15-20 minutes. This sets the crust's shape.
Removing the Weights: After 15-20 minutes, carefully remove the pie shell from the oven, lift out the parchment or foil along with the weights, and return the crust to the oven if it needs more time. This final bake without the weights allows the bottom of the crust to cook through and turn golden; roughly about 2-3 minutes.
Cooling: Let the crust cool completely before adding your filling. This helps to prevent the crust from becoming soggy when the filling is added.
Enhanced Extra Detailed Cooking Tips:
Quick Handling: When using your hands to blend the butter and flour, try to be quick to prevent the warmth of your hands from melting the butter. This warmth can affect the texture of your dough. If you do find the dough warming up too much, feel free to stick the whole bowl of dough mix in the fridge for about 10 minutes to allow the butter to chill again.
Moisture Test: To check if the dough has the right amount of water, perform a simple squeeze test. Take a small amount of dough and squeeze it in your hand. It should hold together without feeling dry or crumbly. If it falls apart, it's too dry and needs more water. If it feels sticky, it's too wet.
Avoid Overworking: Overworking the dough activates the gluten, leading to a tough crust. Whether you're using a food processor or mixing by hand, mix just until the dough comes together to keep it tender and flaky.
Temperature Control: If the dough becomes too soft or warm at any point, especially when rolling it out, place it back in the refrigerator for a few minutes to firm up. This helps maintain the butter in solid form, which is crucial for achieving flaky layers.
Flour Dusting: When rolling out the dough, lightly flour the surface and the rolling pin to prevent sticking. However, use flour sparingly to avoid making the dough tough.
Rest and Relax: After forming the dough into disks, the resting phase in the refrigerator is crucial. It allows the gluten strands to relax and the butter to chill, making the dough easier to roll out and reducing shrinkage during baking.
Uniform Thickness: When rolling out the dough, aim for even thickness to ensure uniform cooking. Rotate the dough as you roll it out to maintain an even shape and thickness.
Freezing the Dough: After shaping your dough into disks, place them in a vacuum-sealed bag or a ziplock with the air removed. This way, you can freeze the dough for 6 to 12 months, ensuring it stays fresh until you're ready to roll it out for your next delicious pie.
Your Kitchen means your rules
So there you have it, the classic pie dough recipe. This recipe is a cornerstone for many of the world's best chefs, who often begin with this fundamental ratio to craft the perfect pie dough for their culinary creations.
Feel free to adapt this ratio to suit your taste. Consider adding a touch of sugar for a sweet apple pie or a sprinkle of cinnamon for added aroma. Your kitchen is your creative playground, so never let anyone limit your culinary imagination. After all, your kitchen means your rules. Have fun out there.
Tag me!
Got a pie pics to share? Comment below, leave a review or share your culinary creations with me on socials @the_eugefood. Let's celebrate the joy of baking, one pie at a time!
You’ll Also Love These
Hi, I'm Eugene, but many of you might recognize me as "The_EugeFood". With over two decades working in diverse kitchens, I've come to cherish the genuine connections and shared experiences that cooking brings. For me, it's not about the high-pressure, competitive world you see on TV. It's about the joy of gathering around a table, the stories shared over simmering pots, and the laughter that follows a shared meal. I'm here to demystify the culinary world, to show you that if you can boil water for cup noodles, you're already on your way. Cooking isn't just a skill; it's a journey of discovery, and I invite you to join me on this adventure to becoming a better cook.


