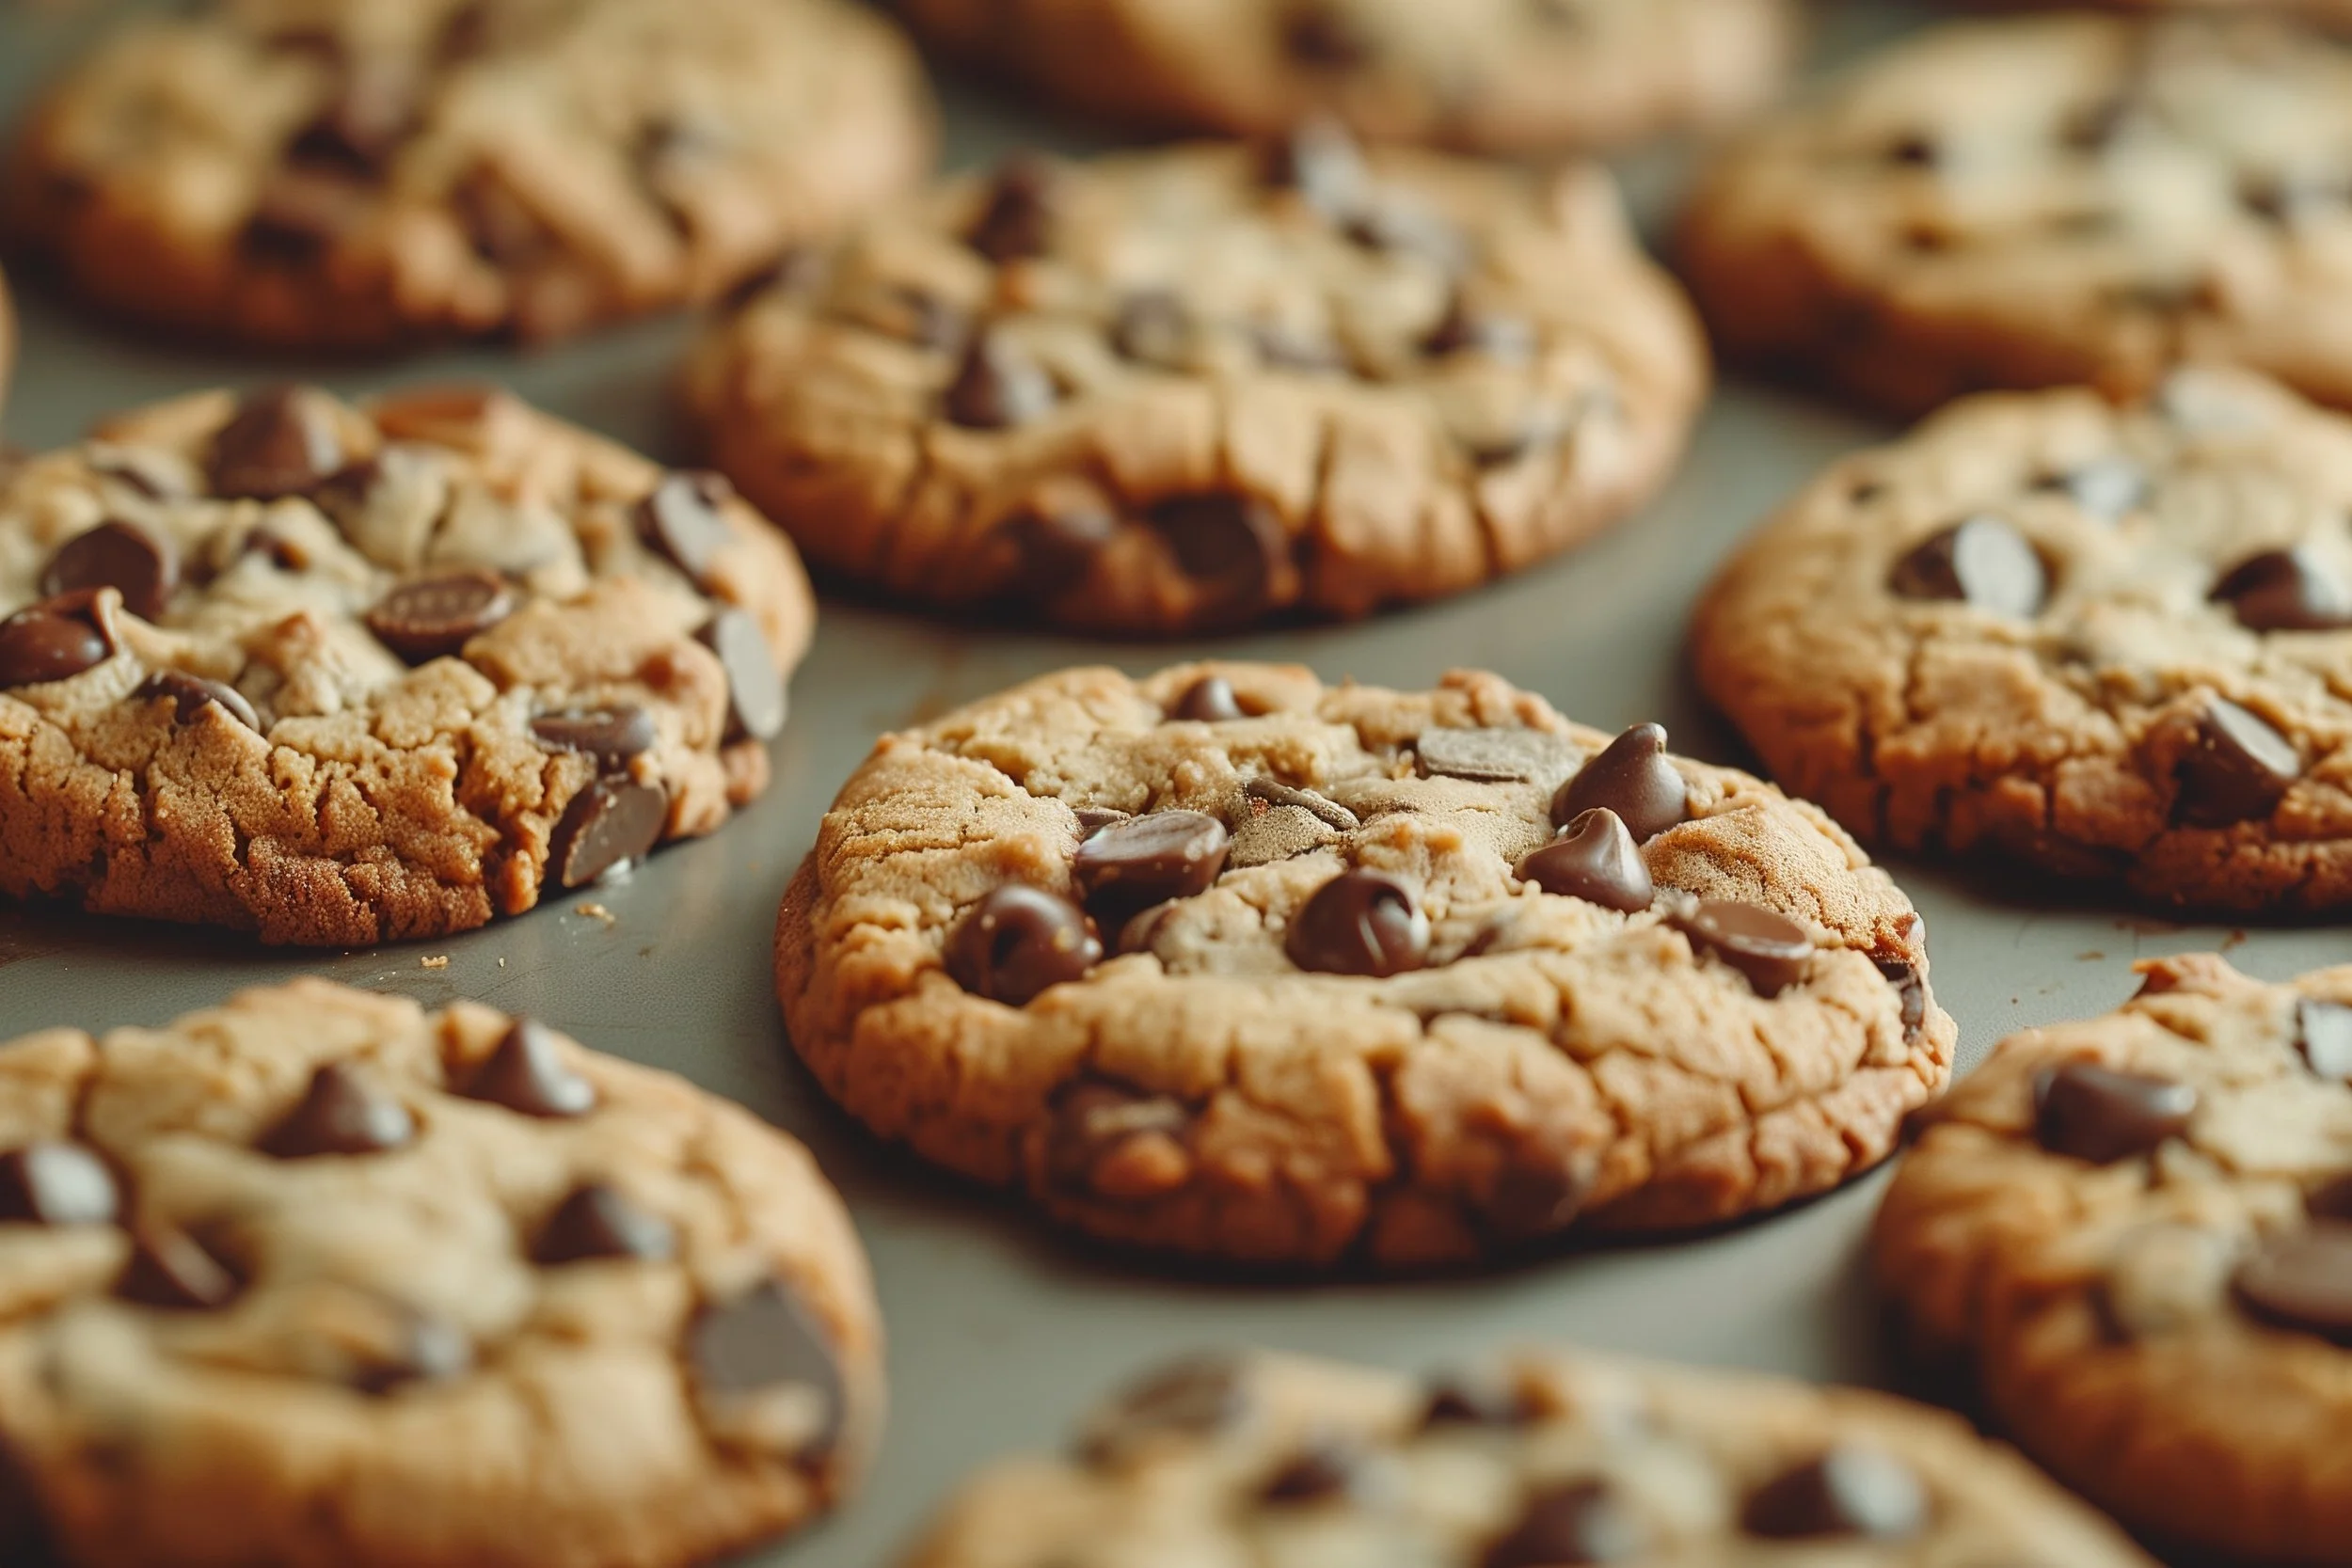
Ultimate Brown Butter Chocolate Chip Cookies
Yield:
approximately 24-30 cookies.
Prep time: 20 minutes
(includes browning butter)
Cook time: 10-12 minutes
Total time: 30-32 minutes
The Sweet Taste of Memory
These cookies are so much more than just a sweet snack; they're a gateway to the days of my youth, a loving tribute to my dad, and many special moments we shared.
In our family, chocolate chip cookies were a household favourite, not just an occasional indulgence. Dad and I shared a special fondness for these cookies. I remember those hockey mornings when I was little – getting up was always a battle. But Dad would always give me a few chocolate chip cookies because he knew I loved them and I would be less whiney. It turned into our little routine, a bit of sweetness to start a busy hockey day. Baking these cookies now, it's like a part of him is right there in the kitchen with me, sharing in the warmth and the memories.
This recipe for Chocolate Chip Cookies with Browned Butter isn't just tried and true – it's a classic recipe that almost every professional pastry chef knows. I've learned over the years that it's hard to make variations on something already so perfect. But this recipe, with its subtle twist, enhances the classic we all know and love without losing the essence of what makes a chocolate chip cookie truly remarkable.
Why? Because Science
Flavour Development
Maillard Reaction: When butter is heated, the milk proteins undergo the Maillard reaction, producing complex flavour compounds that add depth and nuttiness to the cookies. This reaction occurs between amino acids and reducing sugars, forming a variety of new flavours.
Caramelization: The milk sugars in butter caramelize when heated, adding sweetness and richness. This caramelization complements the sweetness of the chocolate and the dough, creating a more robust flavour.
Aroma Enhancement
Aromatic Compounds: Browned butter develops a rich aroma due to the formation of diacetyl and other volatile compounds. Diacetyl, in particular, imparts a buttery, creamy scent that elevates the sensory experience of eating the cookies.
Nutty and Toasty Notes: The process of browning butter releases compounds that evoke nutty and toasty aromas, which enhance the overall appeal of the cookies.
Ingredients:
240g (8.5 oz) All-purpose flour
1 tsp (5 ml) Baking soda
½ tsp Salt
170g (6 oz) Unsalted butter
100g (3.5 oz) Granulated sugar
100g (3.5 oz) Brown sugar
1 tsp Vanilla extract
2 Large eggs
200g (about 7 oz) Dark chocolate chips (70% cocoa), can swap out for other chocolate chip types.
Optional:
100g (3.5 oz) Chopped nuts
Tools Needed:
pot for browning butter
metal bowl for cooling browned butter
wooden spoon
2 mixing bowls
if using mixer, paddle attachment
scoop measure of choice
baking sheet
parchment paper
Method:
Brown the Butter
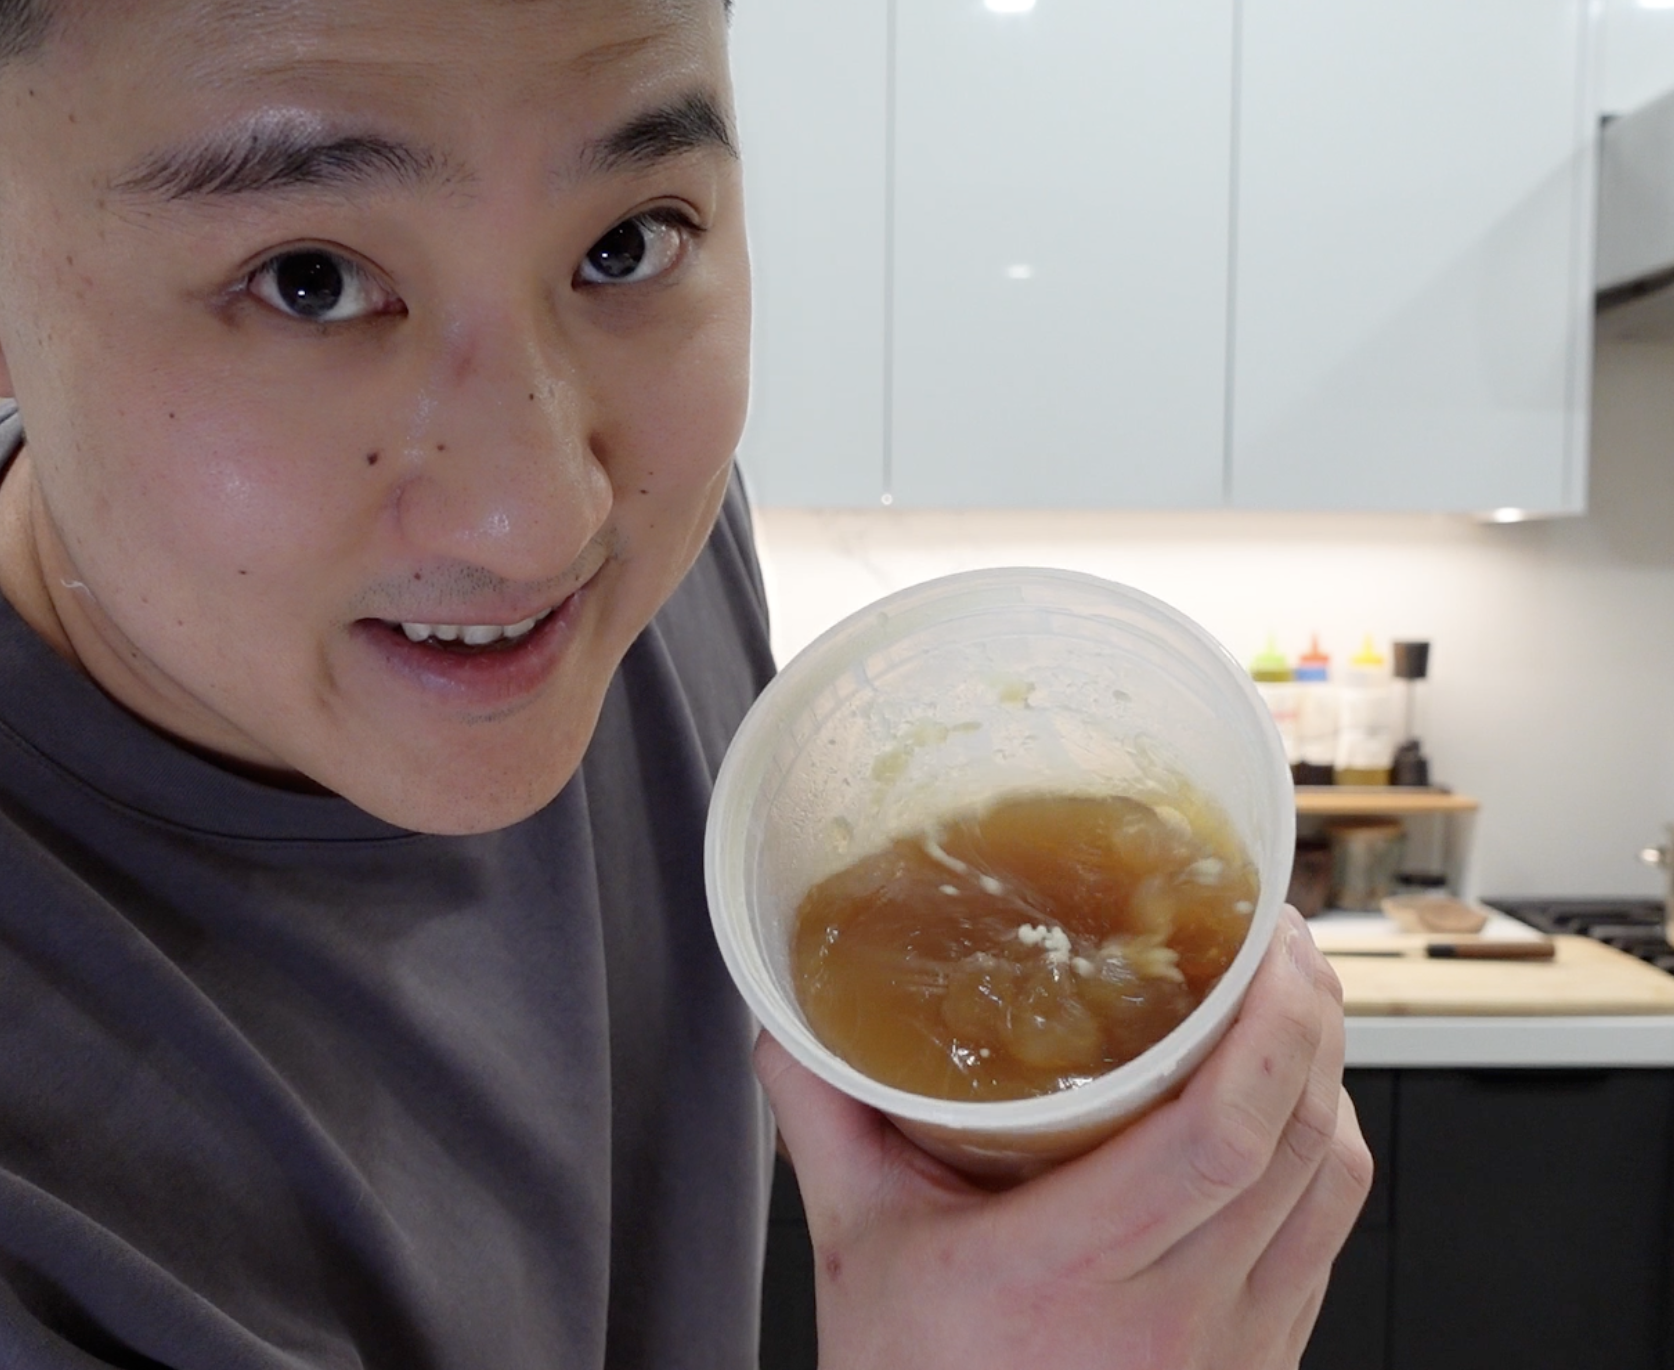
Heat the butter in a small saucepan over medium heat. Watch closely for it to turn golden brown and develop a nutty aroma.
Transfer the browned butter into a bowl and immediately place it in the fridge to cool, ensuring it doesn't overcook.
Prepare the Baking Environment
Preheat your oven to 190°C (375°F). Position your oven racks in the centre of the oven.
Line a baking sheet with parchment paper or a silicone mat.
Mix the Ingredients
In a medium bowl, whisk together the flour, baking soda, and salt.
In a different large bowl, cream the cooled browned butter with granulated and brown sugars.
Use a KitchenAid mixer with the paddle attachment for efficiency.
Mix in the eggs, one at a time, ensuring each is well incorporated. Add the vanilla extract and blend well until butter turns pale and fluffy in texture.
Gradually blend in the dry ingredients mixture.
Stir in the chocolate chips and nuts (if using).
Shape and Bake the Cookies
Scoop and drop the dough onto the prepared baking sheet using an ice cream scoop for consistent sizes.
Bake in the preheated oven for 10-12 minutes, until the edges are golden brown.
Remove the cookies from the oven and transfer them to a wire rack to cool, preventing the bottoms from overcooking and becoming too crispy.
Eugene’s Extra Tips:
Browning the Butter: This is where your cookie goes from good to unforgettable. Watch the butter like a hawk; the line between perfectly browned and burnt is thin. Make sure to have a metal bowl ready to pour butter into; metal is colder than plastic.
Cooling the Butter: Throw the browned butter in the fridge, uncovered, to cool quickly. The butter must be completely cool, not hot or warm, to prevent affecting the eggs in the recipe.
Creaming butter correctly: incorporates air into the mixture allowing for even absorption of the dry mix but also ensures sugars have been incorporated properly and therefore results in a more desirable cookie texture when baked, if you do not cream for long enough the sugars will be still sandy when baked.
Dough Chilling: If you can wait (I know, it's hard), chilling the dough enhances the flavours, especially with the browned butter. This has been tested thoroughly by many experts. It pays off to chill the dough right before baking.
Uniform Size: Use an ice cream scoop to ensure even-sized cookies, which bake more evenly.
Watch Baking Time: Bake until edges are golden and centres are still slightly soft. Cookies continue to cook on the baking sheet after being removed from the oven.
How to Properly Freeze Cookie Dough
Follow the chocolate chip cookie recipe and prepare the dough as usual.
Use a cookie scoop or tablespoon to portion out the dough into balls. Place the dough balls on a baking sheet lined with parchment paper. Make sure the dough balls are not touching each other.
Place the baking sheet with the dough balls in the freezer. Freeze for 1-2 hours or until the dough balls are solid. This step ensures the dough balls do not stick together when stored.
Once the dough balls are frozen solid, transfer them to a freezer-safe bag or airtight container. Label the bag or container with the date and type of cookie dough.
If using a freezer bag (Ziplock), try to remove as much air as possible before sealing. You can use a straw to suck out the air or use a vacuum sealer if you have one. This helps prevent freezer burn.
Proper Freezer Storage Tips
Label and Date: Always label your containers or bags with the type of dough and the date you froze them. This helps you keep track of how long they’ve been in the freezer.
Freeze in Single Layers: When initially freezing the dough balls, make sure they are in a single layer and not touching. This ensures they freeze evenly and don’t stick together.
Use Within Three Months: For the best flavour and texture, use the frozen cookie dough within three months. While it can last longer, quality may diminish over time.
Baking from Frozen
No Thawing Needed: You can bake the cookie dough straight from the freezer. Preheat your oven according to the recipe's instructions.
Adjust Baking Time: Add a few extra minutes to the baking time when using frozen dough. Keep an eye on the cookies and check for doneness by looking for golden edges and a slightly soft centre.
Baking these chocolate chip cookies feels like a cozy stroll down memory lane, always taking me back to those warm moments with my father. For me, it's all about recreating those cherished memories, spreading love, and indulging in a timeless treat.
If you give this recipe a try, don’t forget to tag me @the_eugefood in your social media posts and leave a comment below—I’d love to see your delicious creations!
You’ll Also Love These
Hi, I'm Eugene, but many of you might recognize me as "The_EugeFood". With over two decades working in diverse kitchens, I've come to cherish the genuine connections and shared experiences that cooking brings. For me, it's not about the high-pressure, competitive world you see on TV. It's about the joy of gathering around a table, the stories shared over simmering pots, and the laughter that follows a shared meal. I'm here to demystify the culinary world, to show you that if you can boil water for cup noodles, you're already on your way. Cooking isn't just a skill; it's a journey of discovery, and I invite you to join me on this adventure to becoming a better cook.


