The Simplest Beef Bone Broth
Prep Time: 20 min + 15 min
Cook Time: 4-5 hours
Simple Beef Bone Broth
This is my go-to beef bone broth recipe. It’s rich, clean-tasting, and practical for real life. No roasting, no babysitting a pot all day, and no unnecessary steps. Just a reliable method that works.
Here is the Full Video Recipe.
This version is made in a pressure cooker to save time while still producing a gelatin-rich broth that’s great for soups, sauces, or sipping on its own.
Equipment You’ll Need:
Pressure cooker (Instant Pot 6L or larger)
Fine-mesh strainer
Large bowl or container for straining
Containers to hold the broth
Ice bath setup (large bowl + ice + water)
Ingredients:
2.25 kg beef bones (5 lbs) — mix of marrow, knuckles, oxtail or neck bones
4 medium onions, halved (skins on is fine)
1 large carrot, chopped into big chunks
3 celery stalks, chopped into big chunks
1 whole head of garlic, halved crosswise (no need to peel)
1 bunch fresh thyme
1 tbsp whole black peppercorns
2 tbsp apple cider vinegar
Cold water, enough to cover (stay under max fill line)
Cooking Instructions
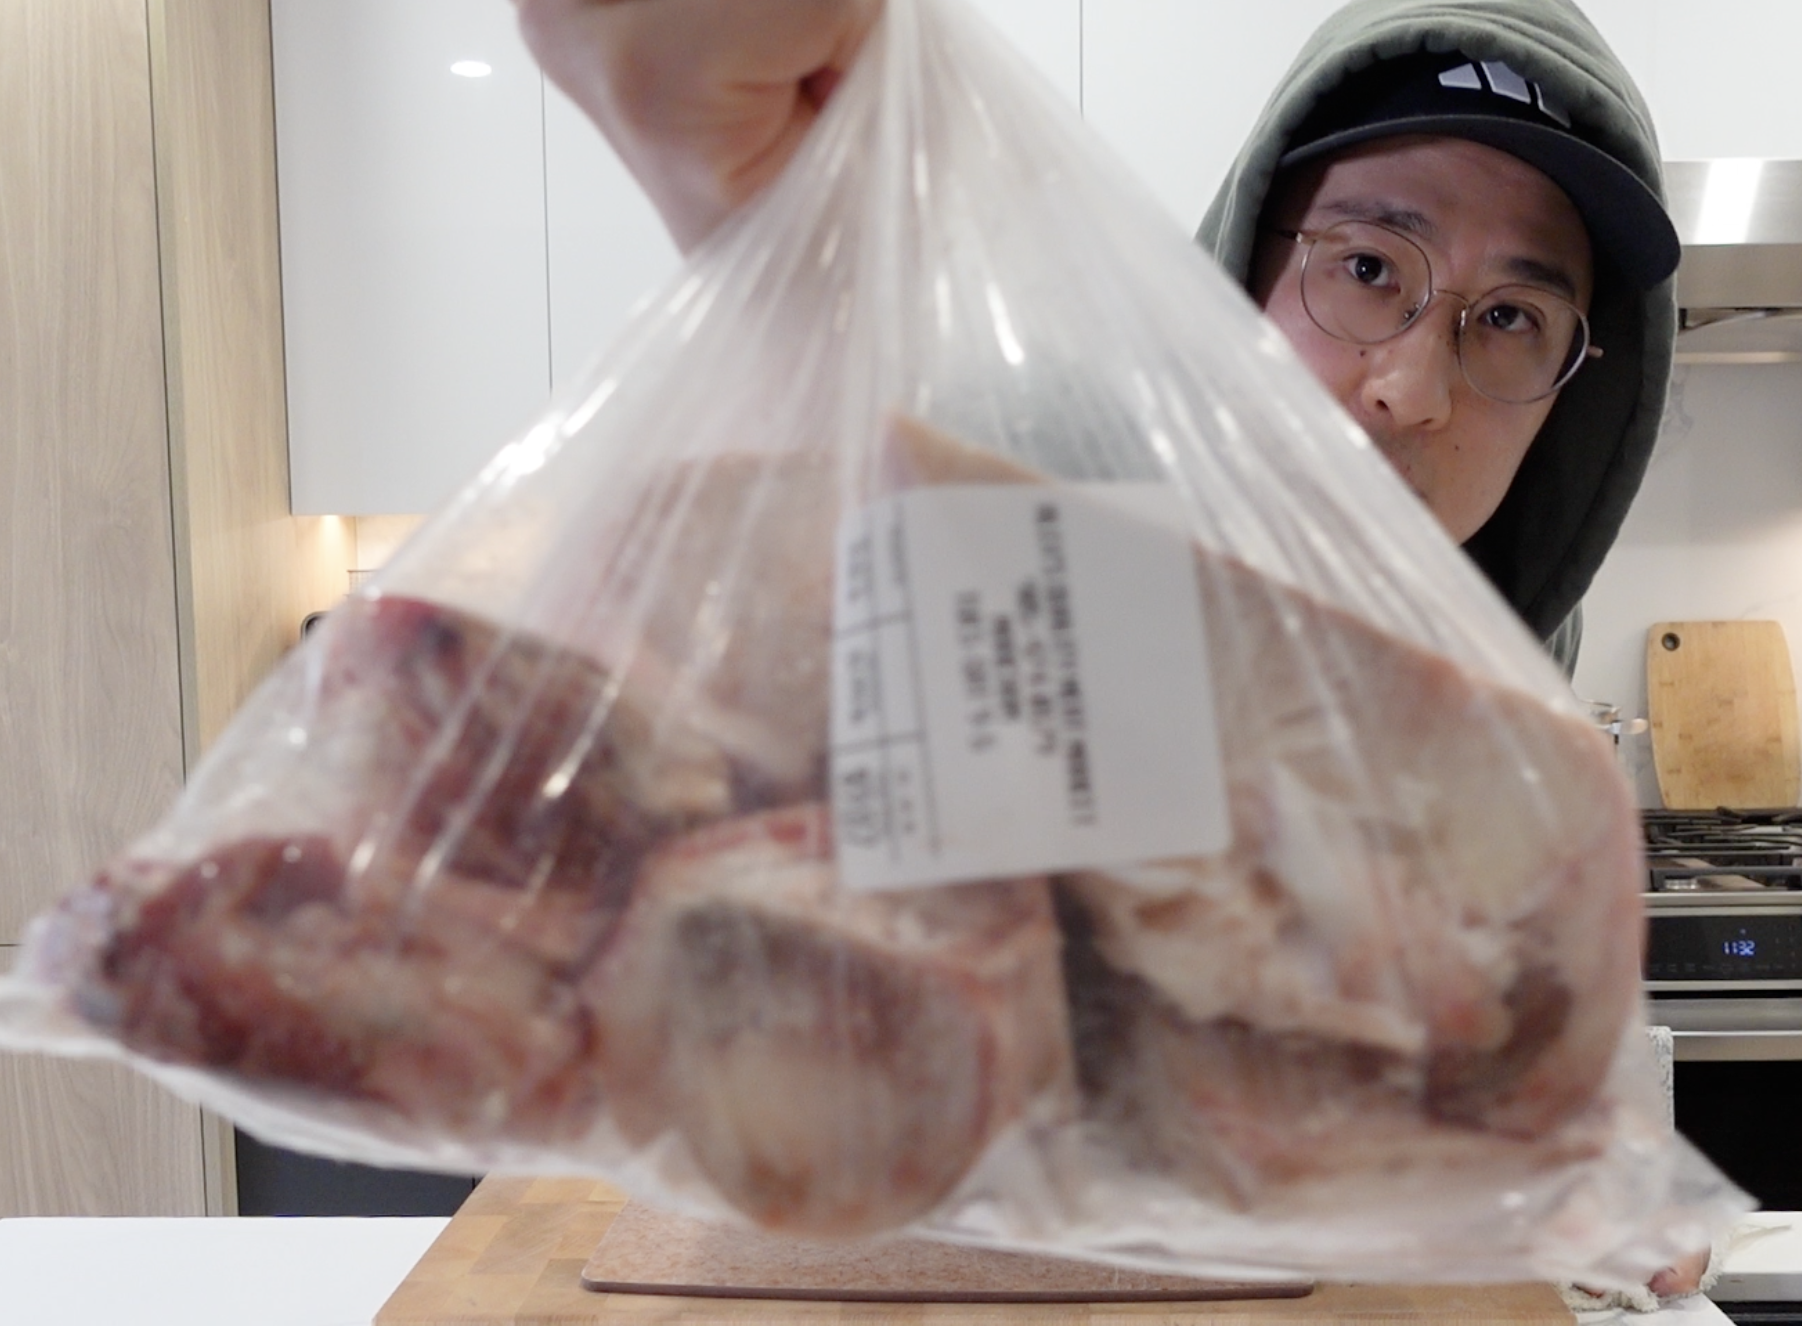
This is about 5 lbs of beef bones
I got it from my local butcher shop.
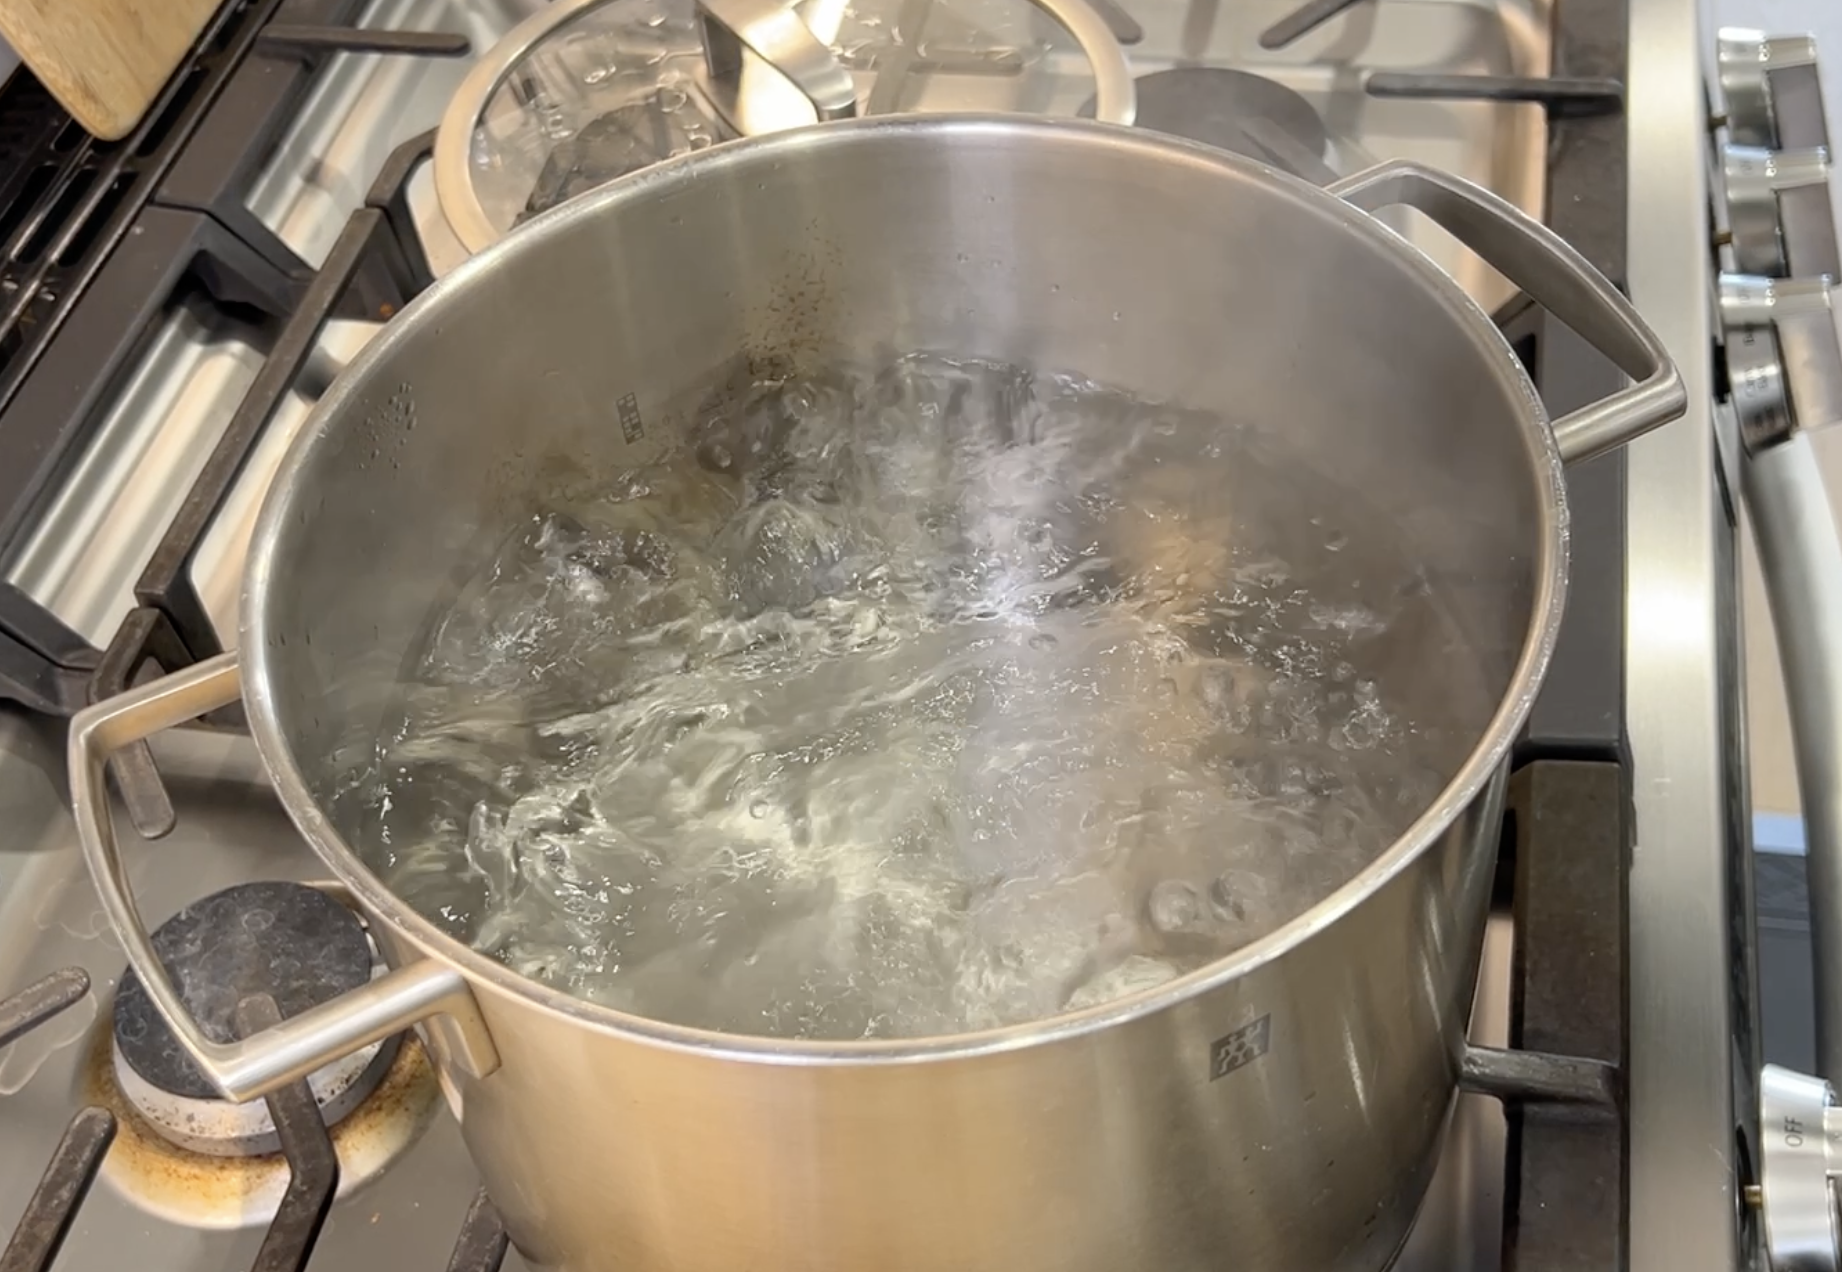
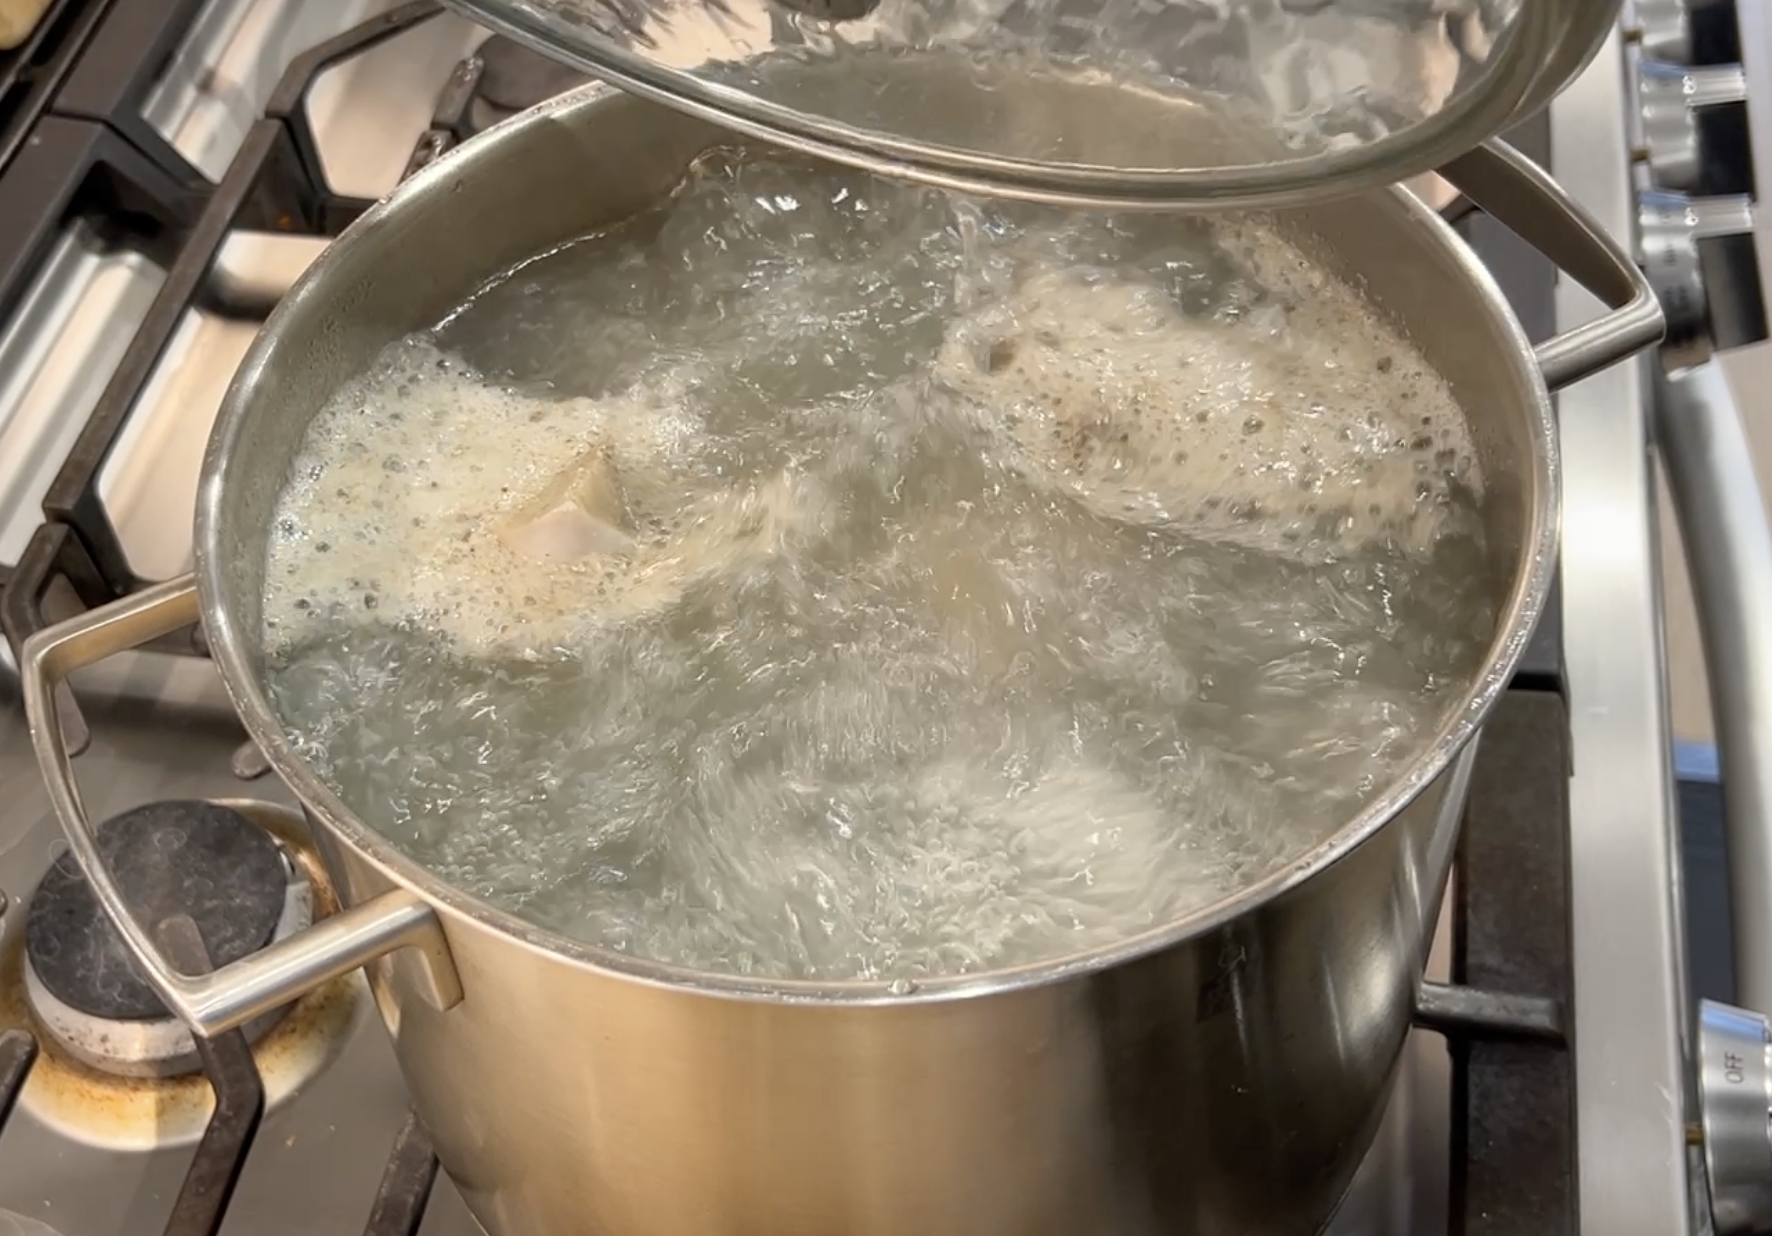
Blanch the Bones
Fill a large pot with water and bring it to a rolling boil. This will take like 20 min so prep everything else while this is happening.
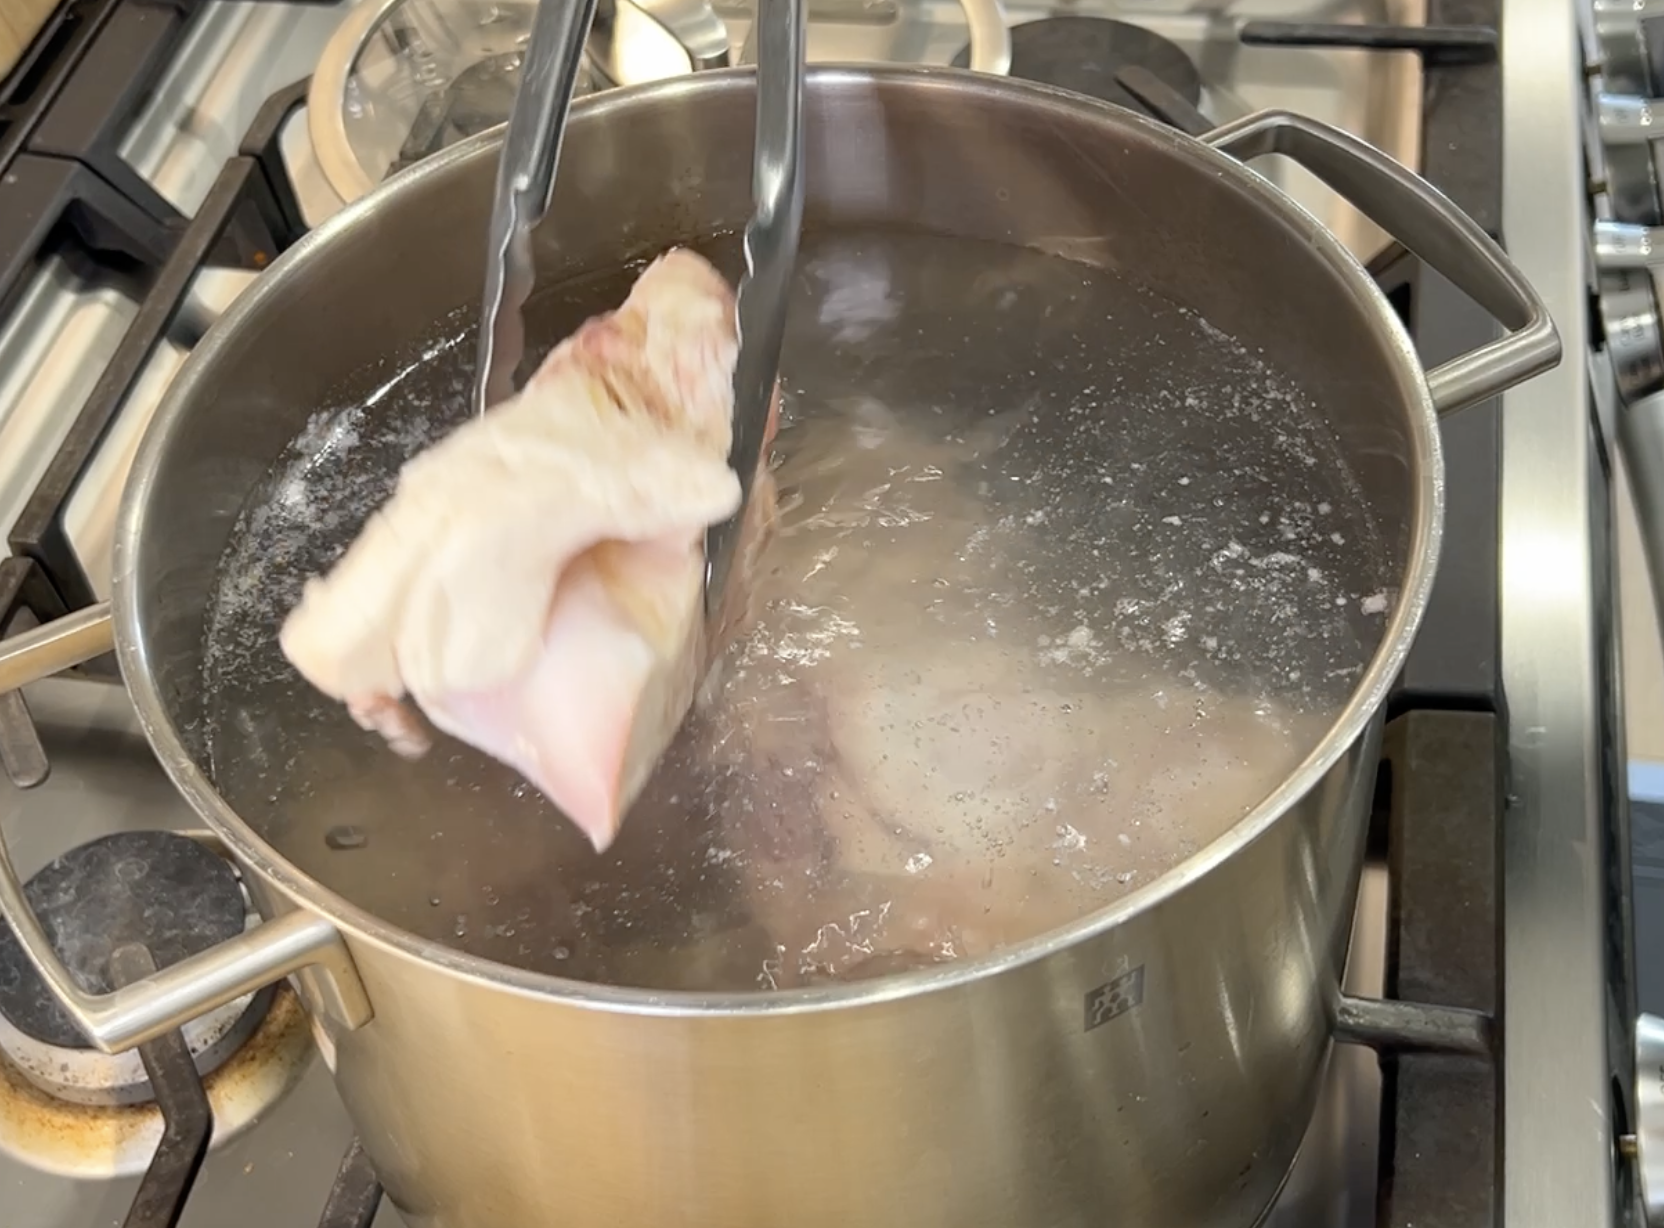
Add the beef bones and boil for 10-15 minutes.
Strain the bones and rinse them well under cold running water. Scrub off any remaining gunk with your hands.
Why this matters: Blanching pulls out the impurities so your broth ends up clear and clean, so it’s less murky.
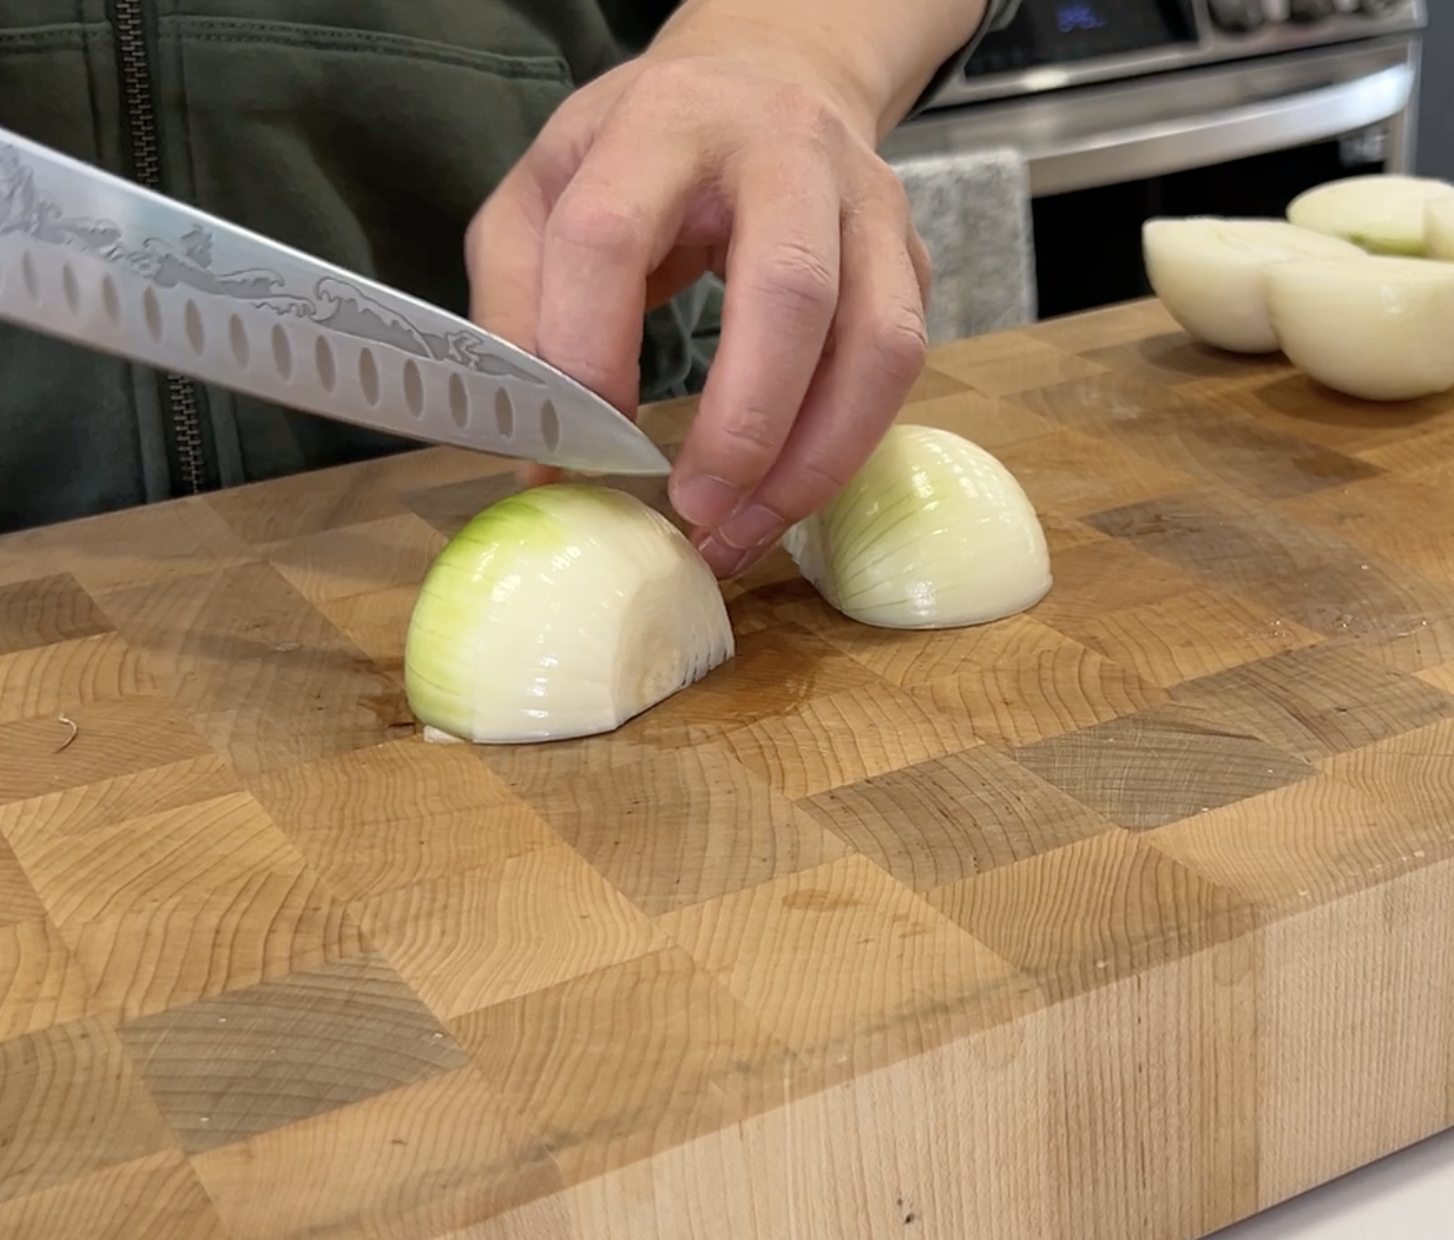
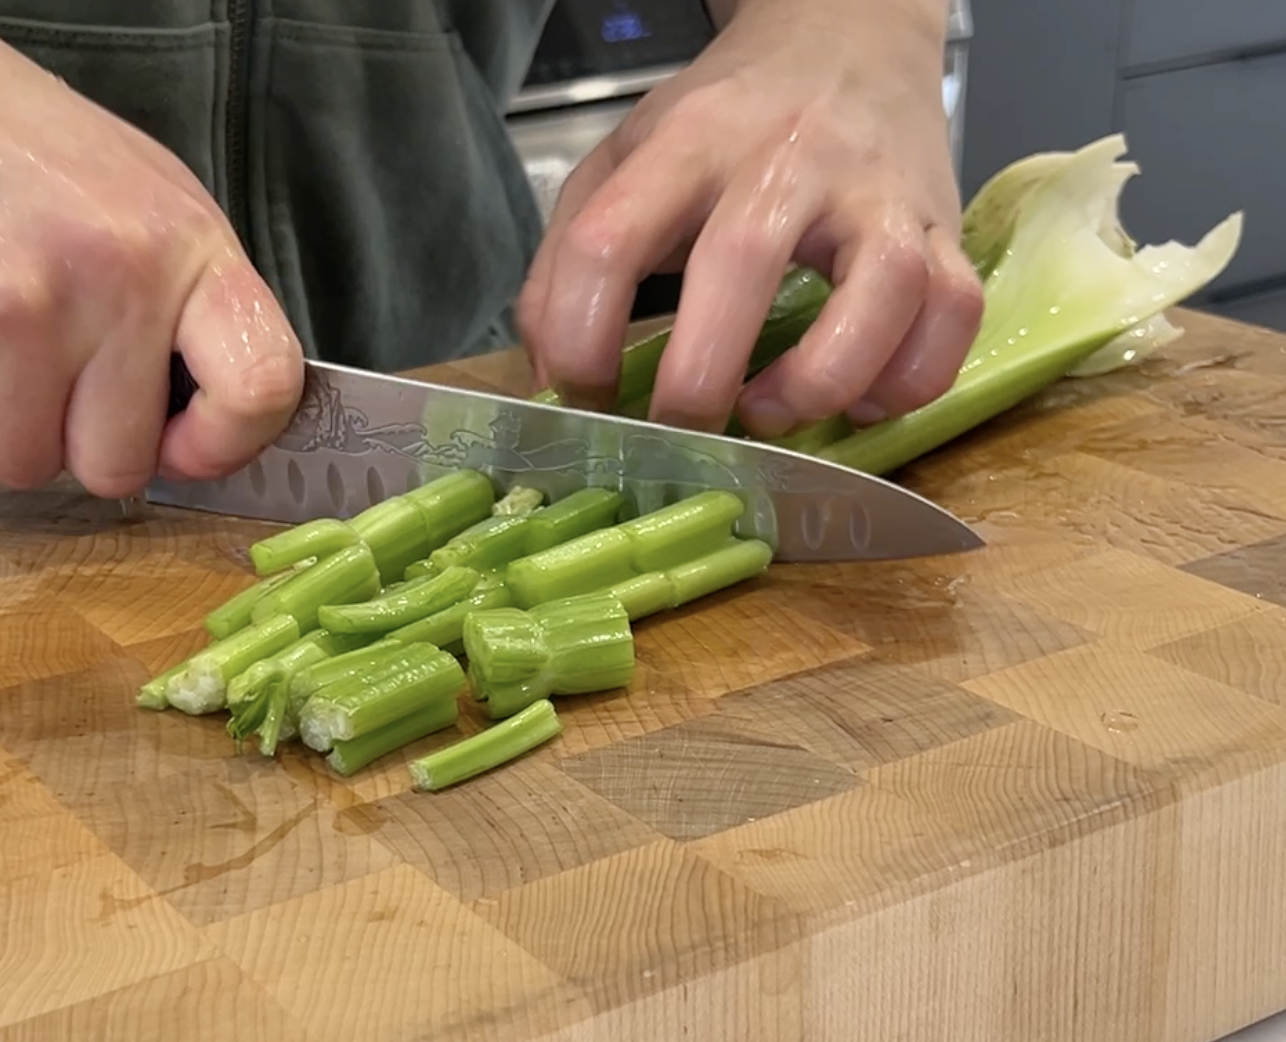
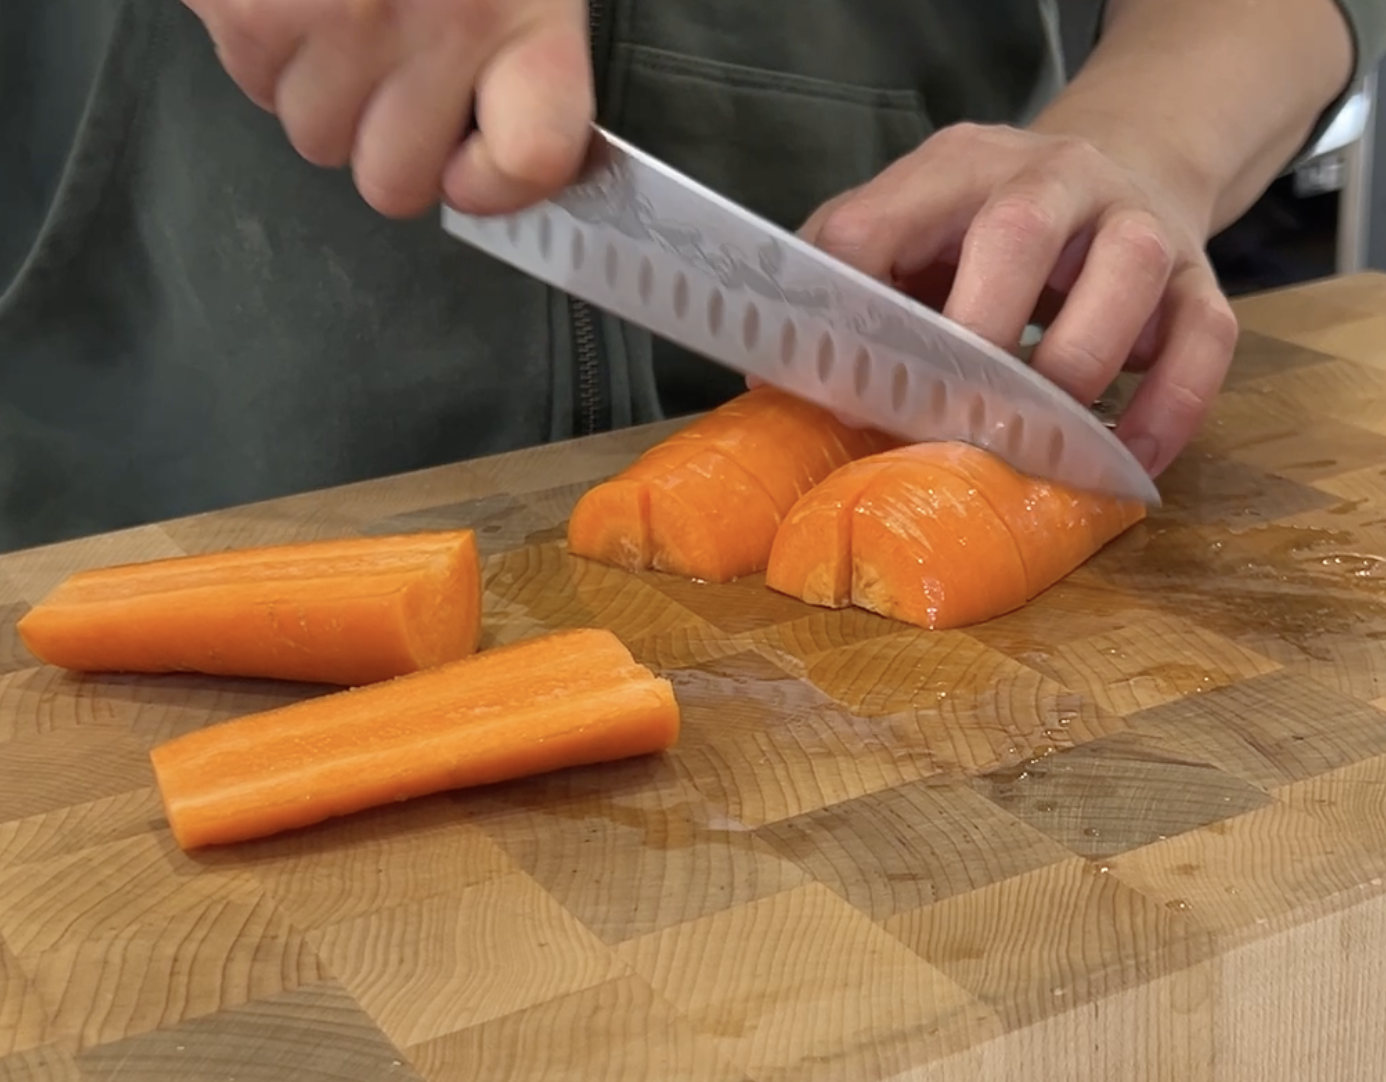
Prep Your Veggies
While the bones are blanching or cooling, get your aromatics ready:
Slice the onions in half or quarters
Chop the carrot and celery into rough chunks.
Slice the garlic bulb in half crosswise. No peeling necessary.
No need to be precise here. It’s broth, we will be discarding everything except the liquid so it doesn’t need to look nice.
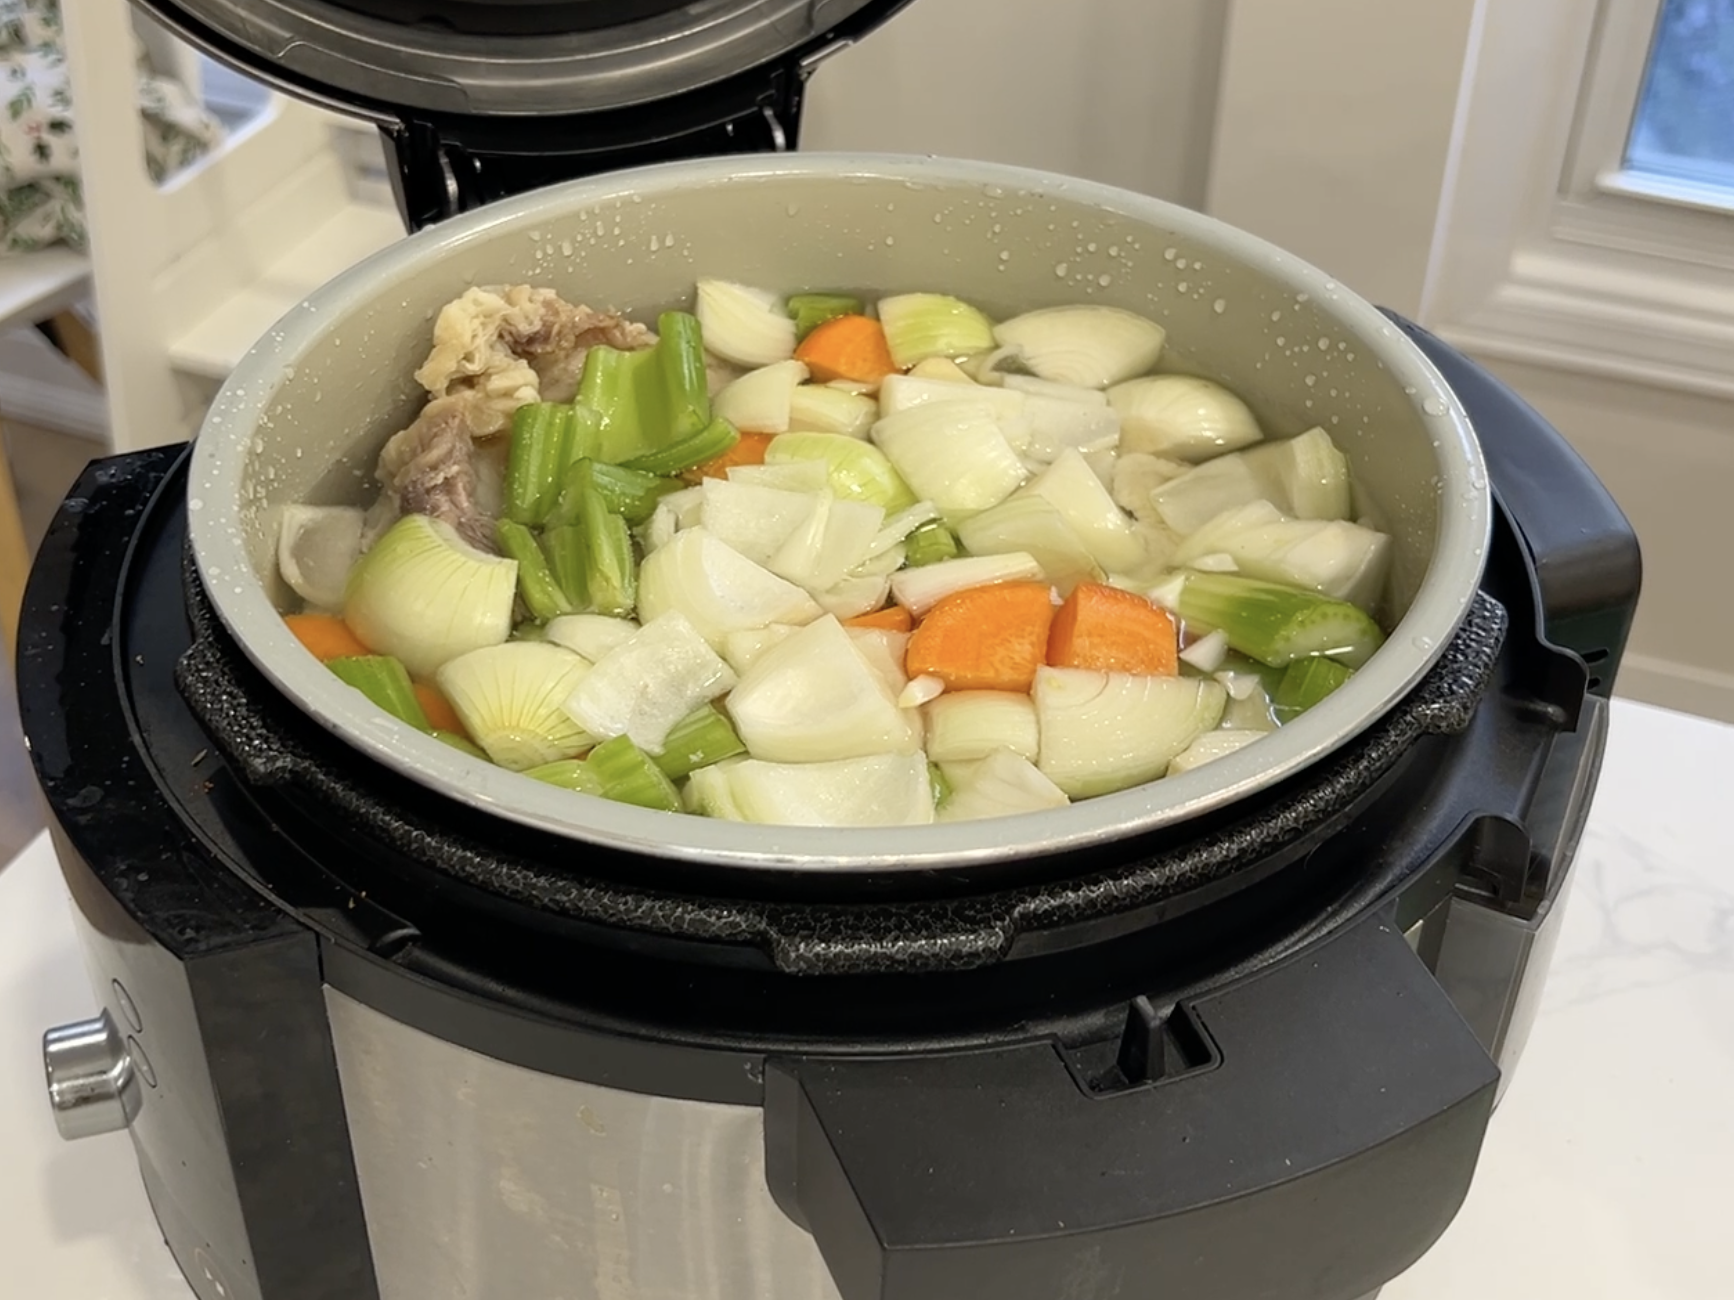
Load the pressure cooker
Place the cleaned bones into the Instant Pot or pressure cooker.
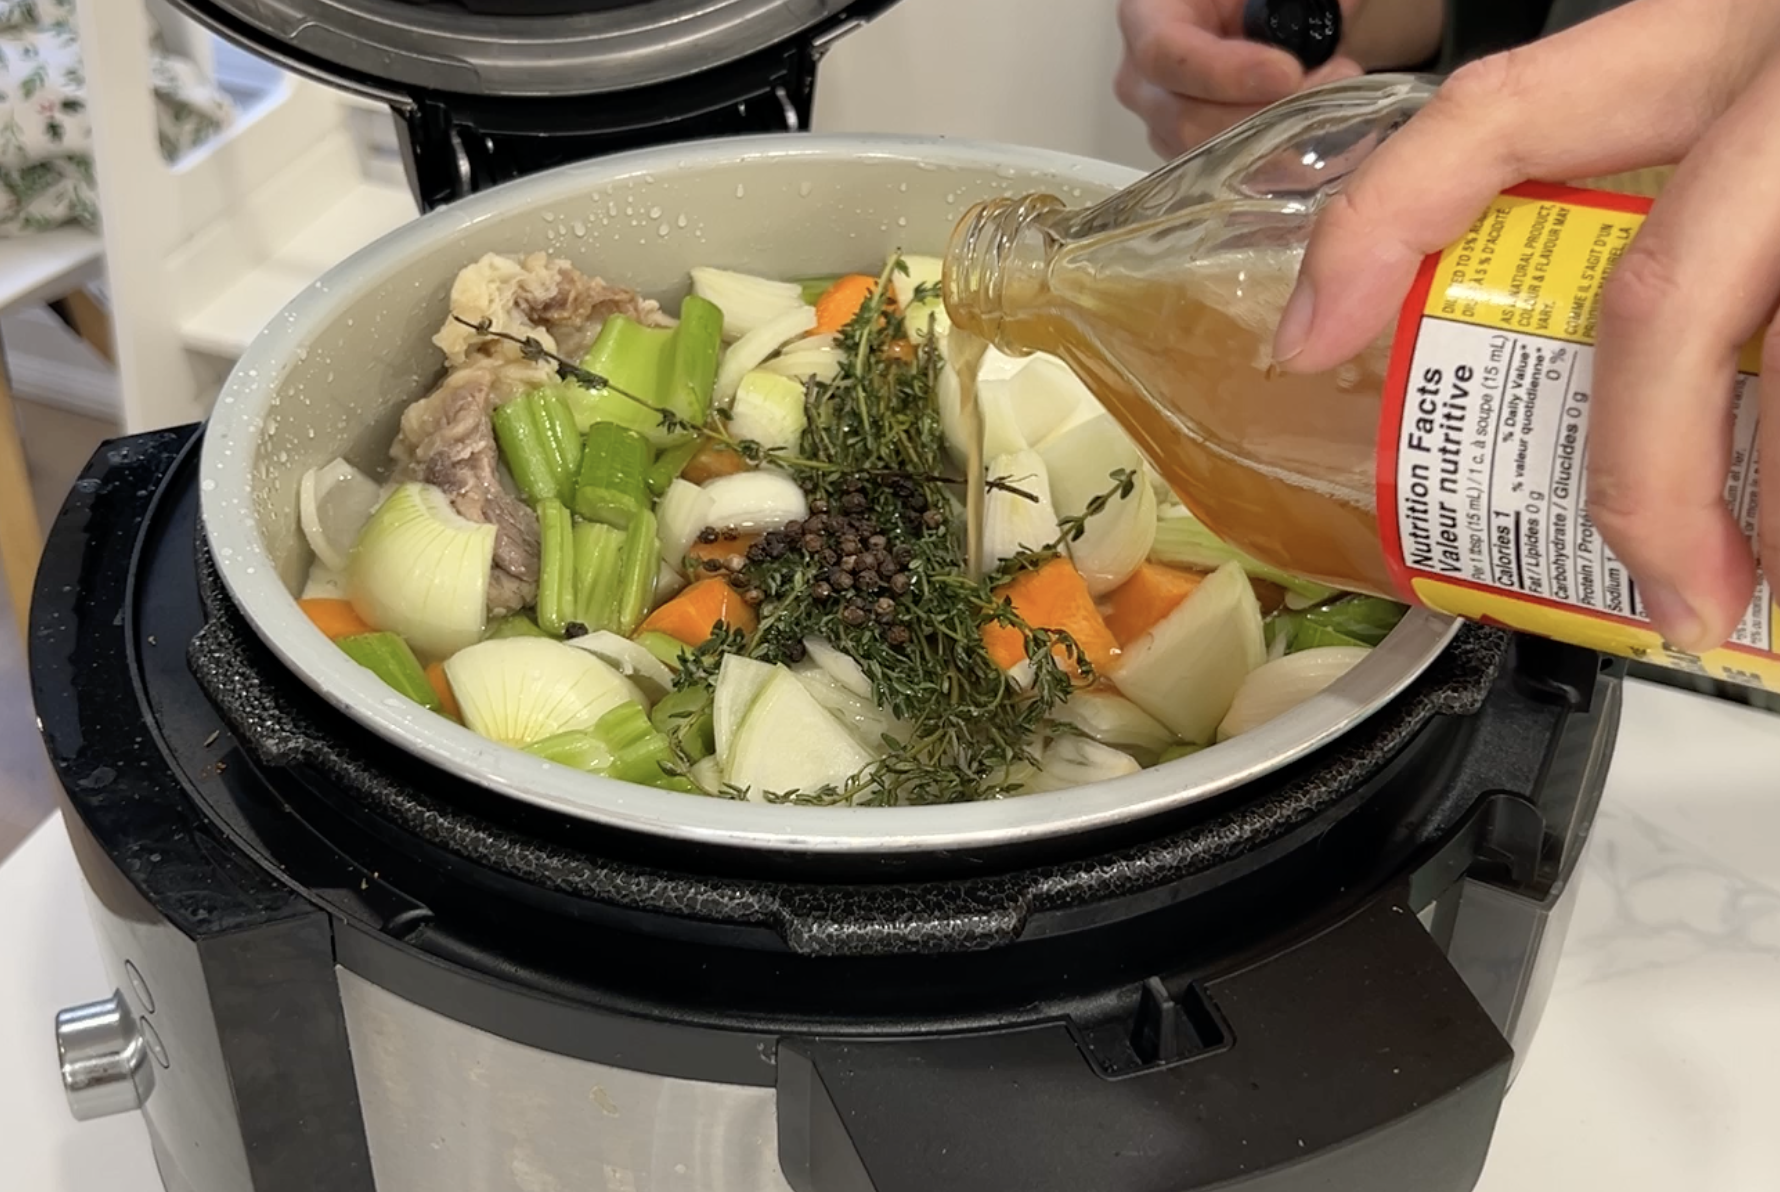
Add the onions, carrot, celery, garlic, thyme, peppercorns, and apple cider vinegar.
Pour in enough cold water to fully cover everything, staying below the maximum fill line of your cooker.
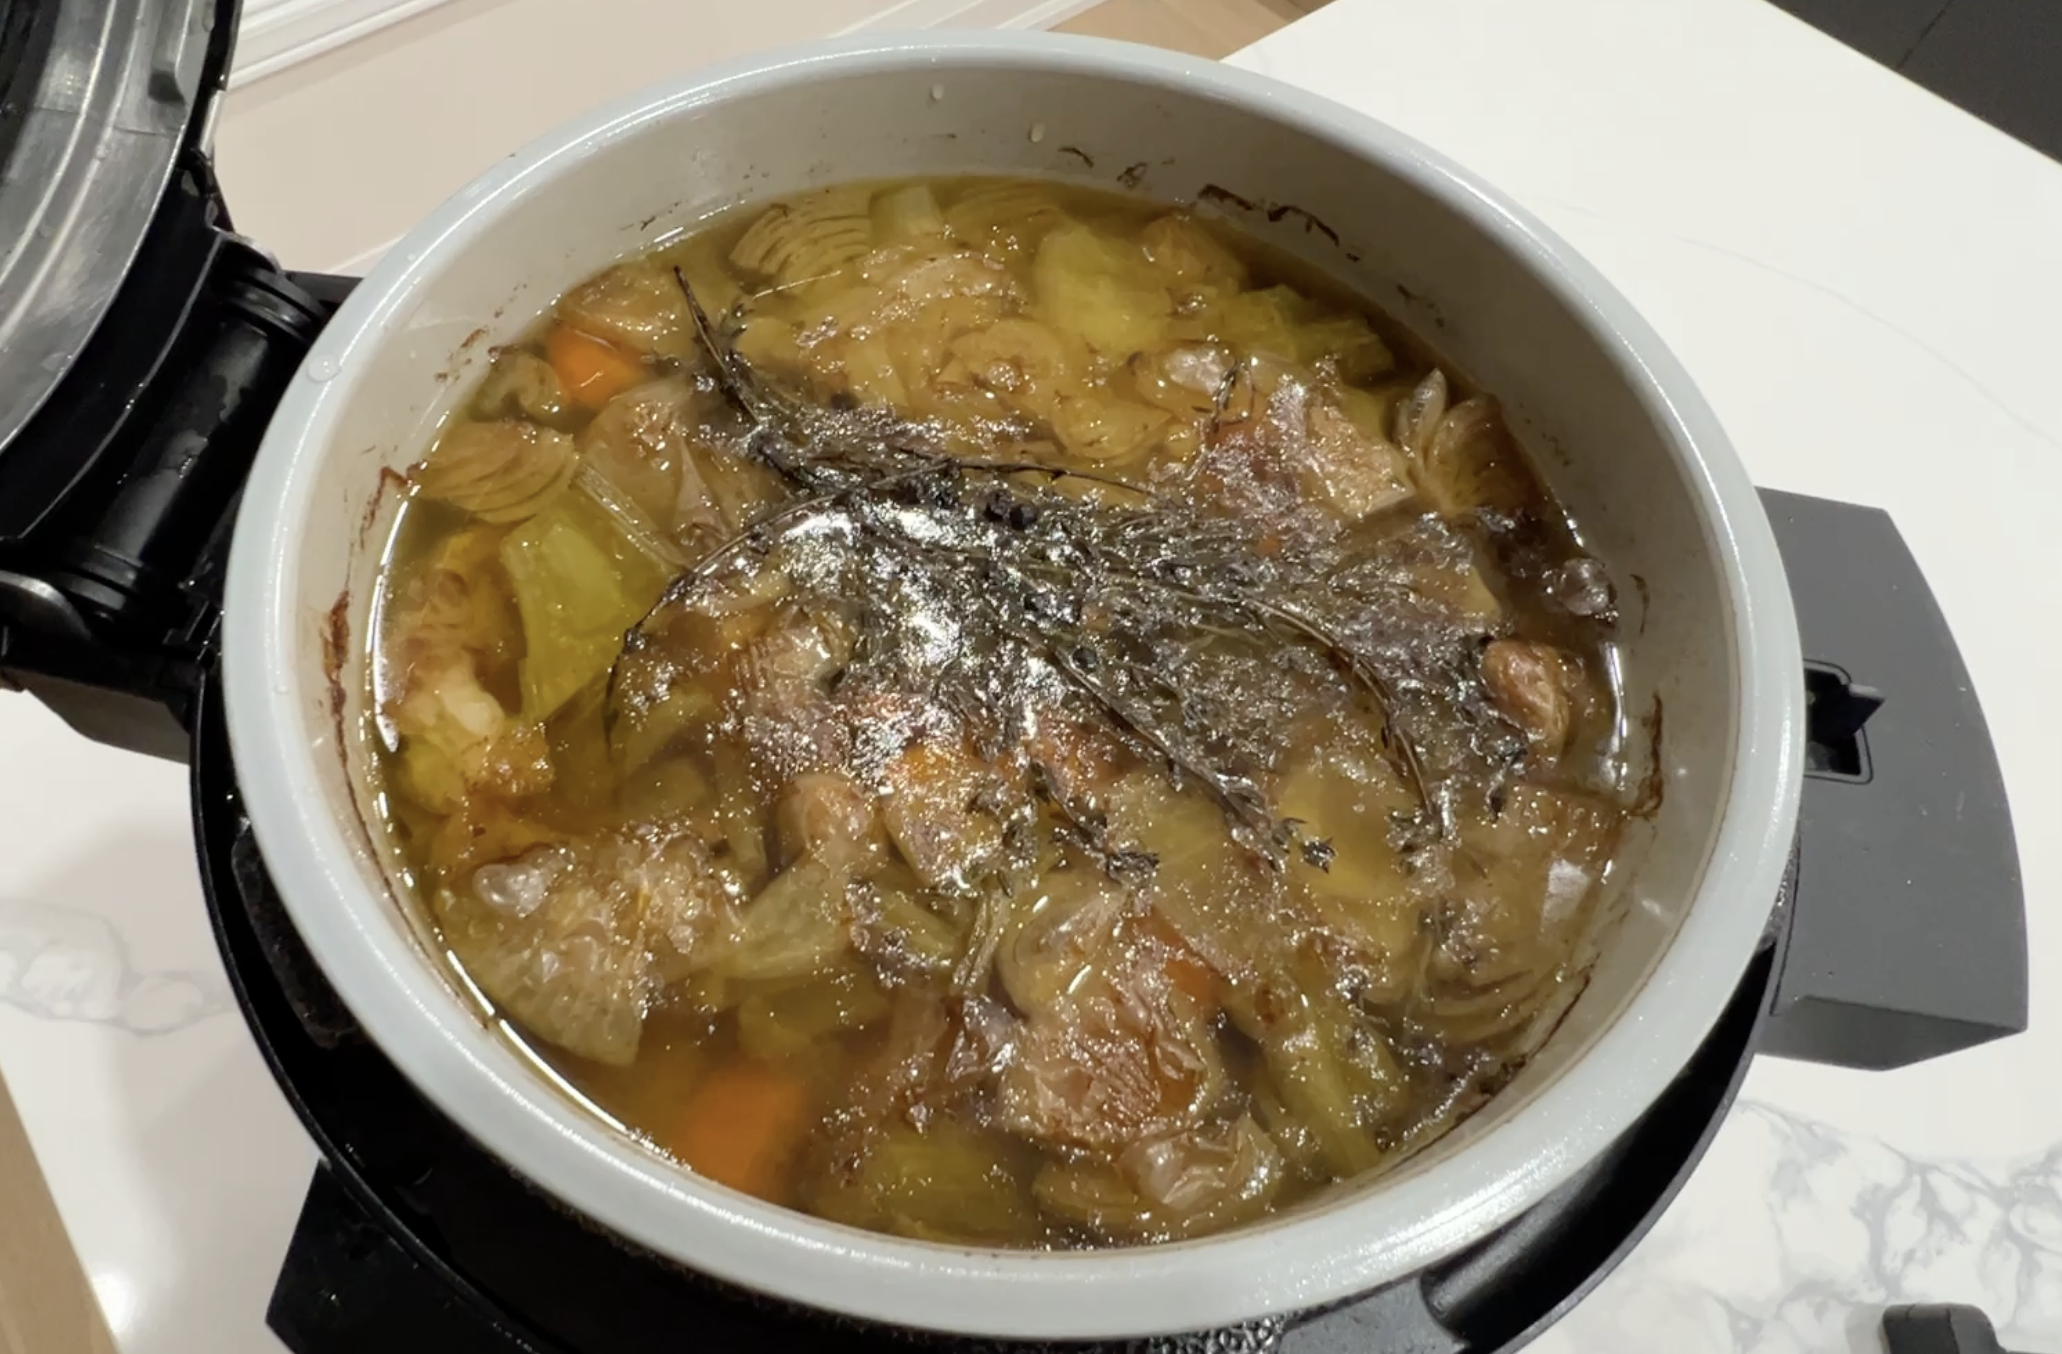
Pressure cook
Secure the lid and set the Instant Pot to high pressure.
Cook for 4 -5 hours.
If setting to 4 hours, allow the pressure to release naturally. If setting for 5 hours, you can release the pressure yourself but I don’t like doing this.
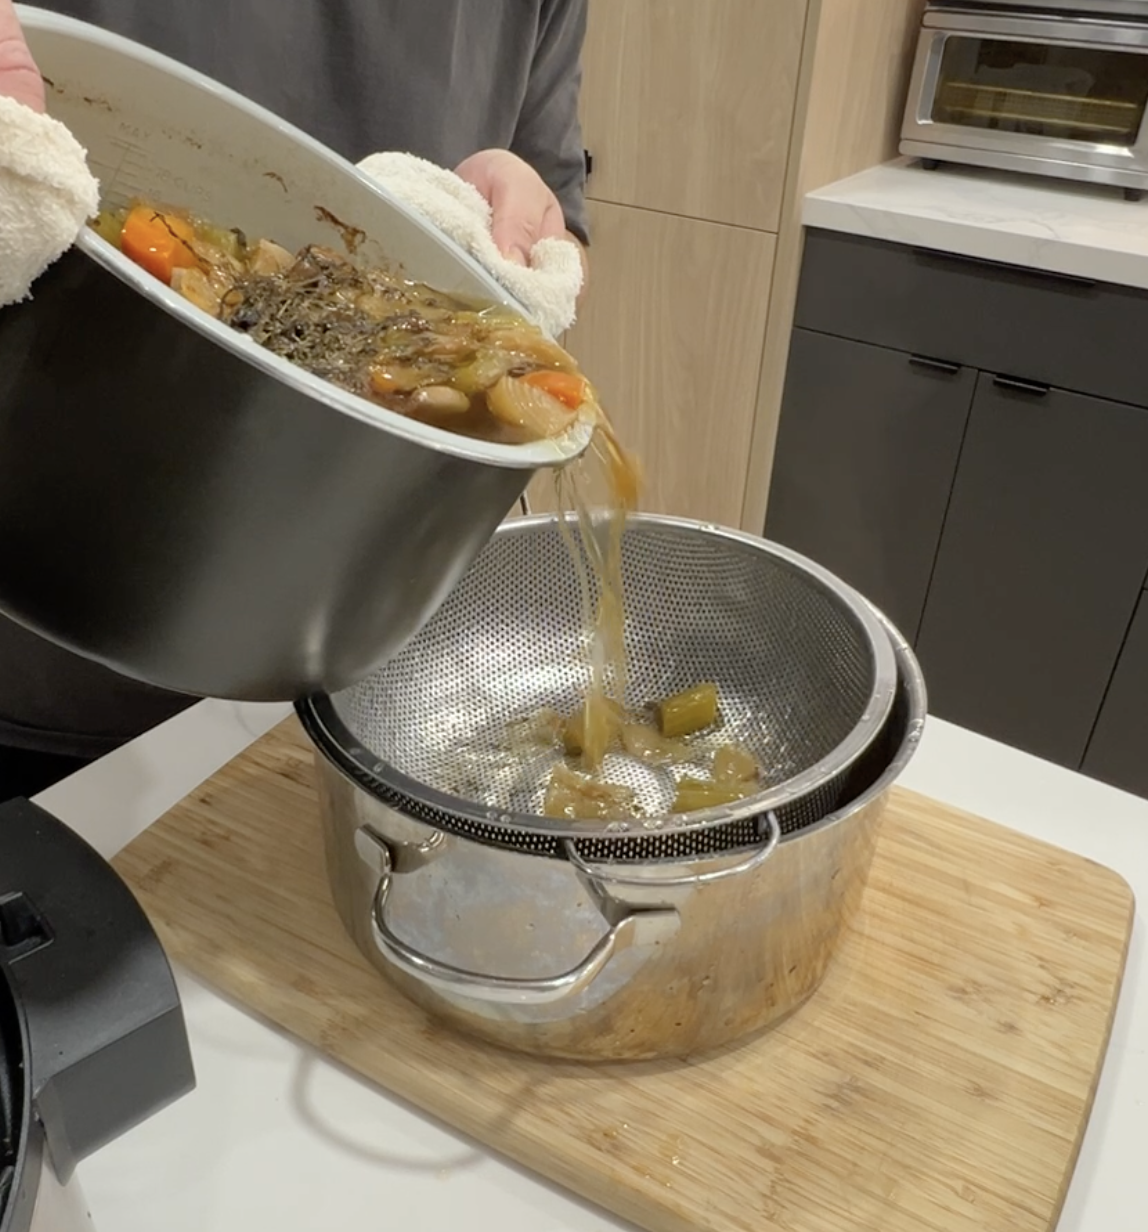
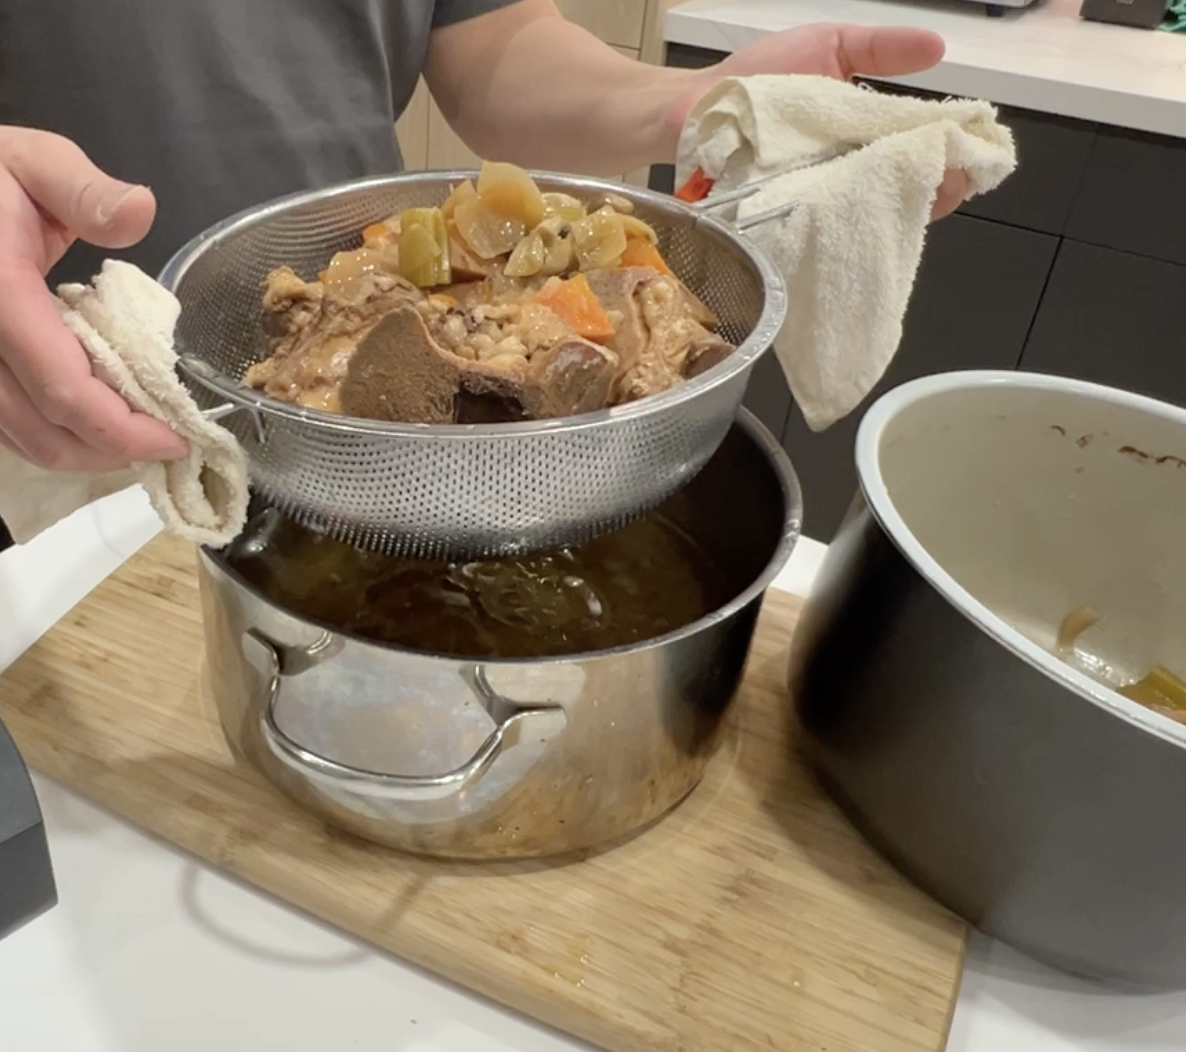
Strain the broth
Carefully strain the broth. I like to do 2 strains, once through a colander (strainer with bigger holes) and then again through a smaller finer one (this gets rid of extra sediment).
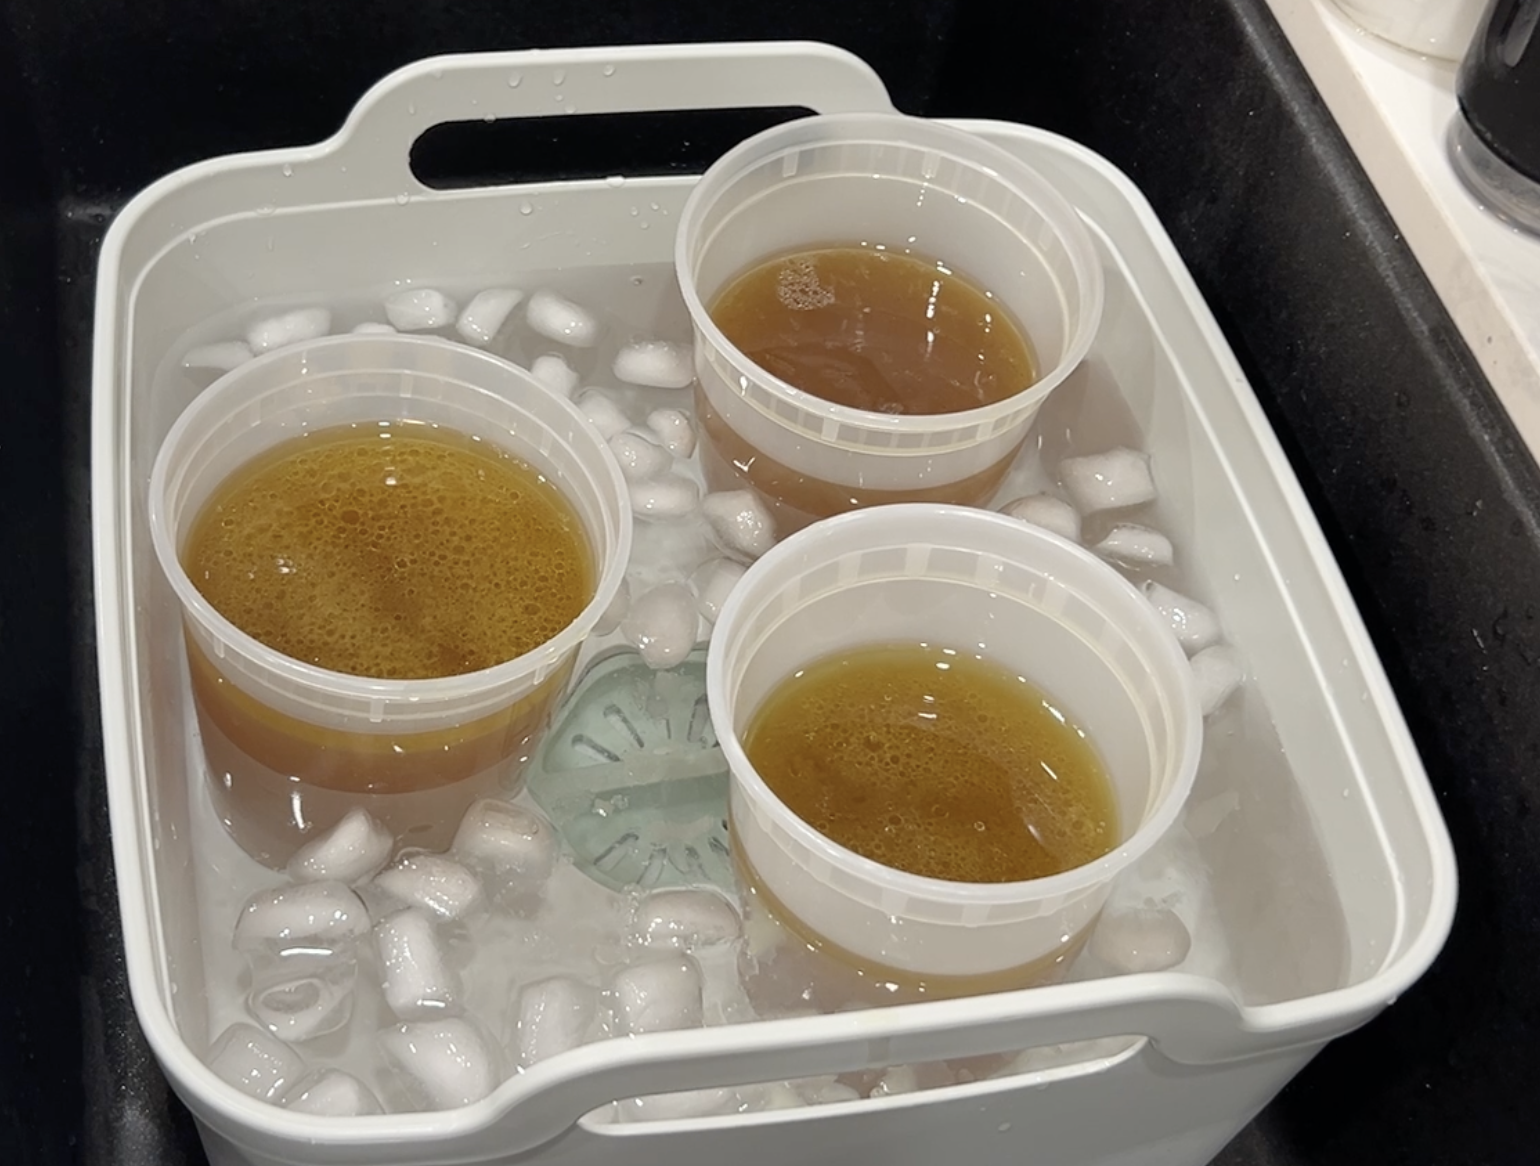
Cool safely
Place the strained broth into an ice bath to cool it down quickly. Stir occasionally to release heat.
I have also left the broth to cool for a little bit on the counter until it’s warm enough to go into the fridge. I have done this before and I’m still alive but from a professional stand point, I would not recommend this. I did this before having kids. I only feed food safe stuff to me kids now a days.
Once cooled, transfer the broth to the refrigerator and chill overnight.
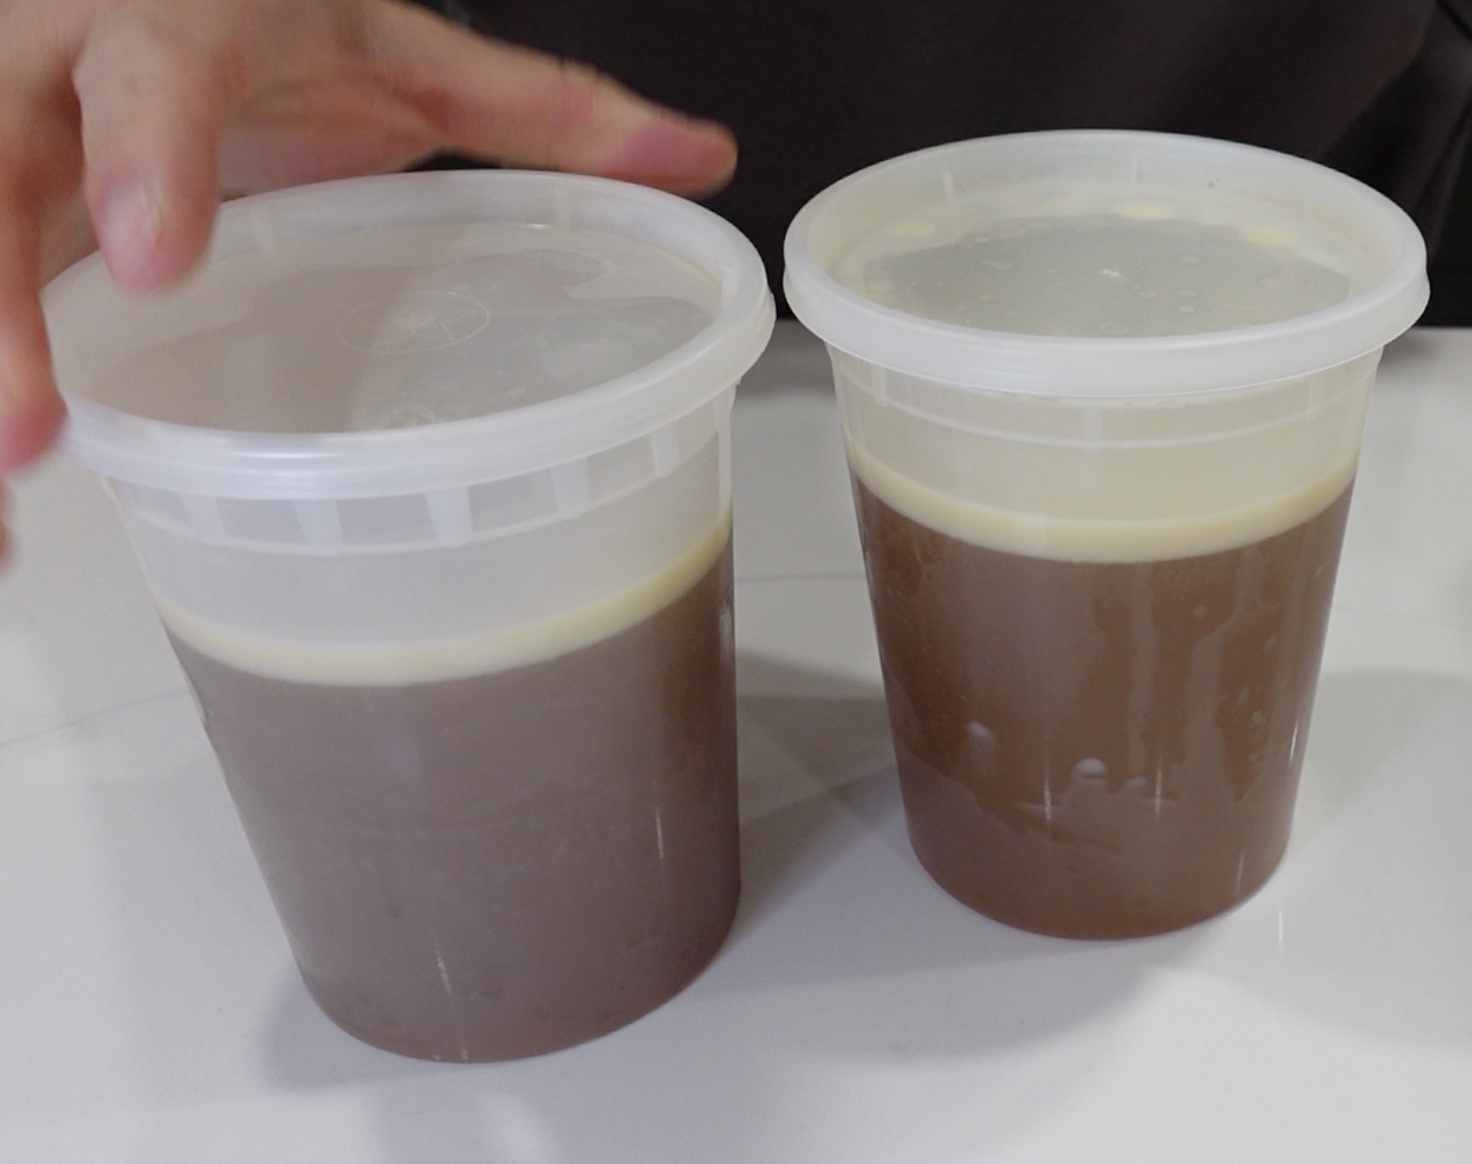
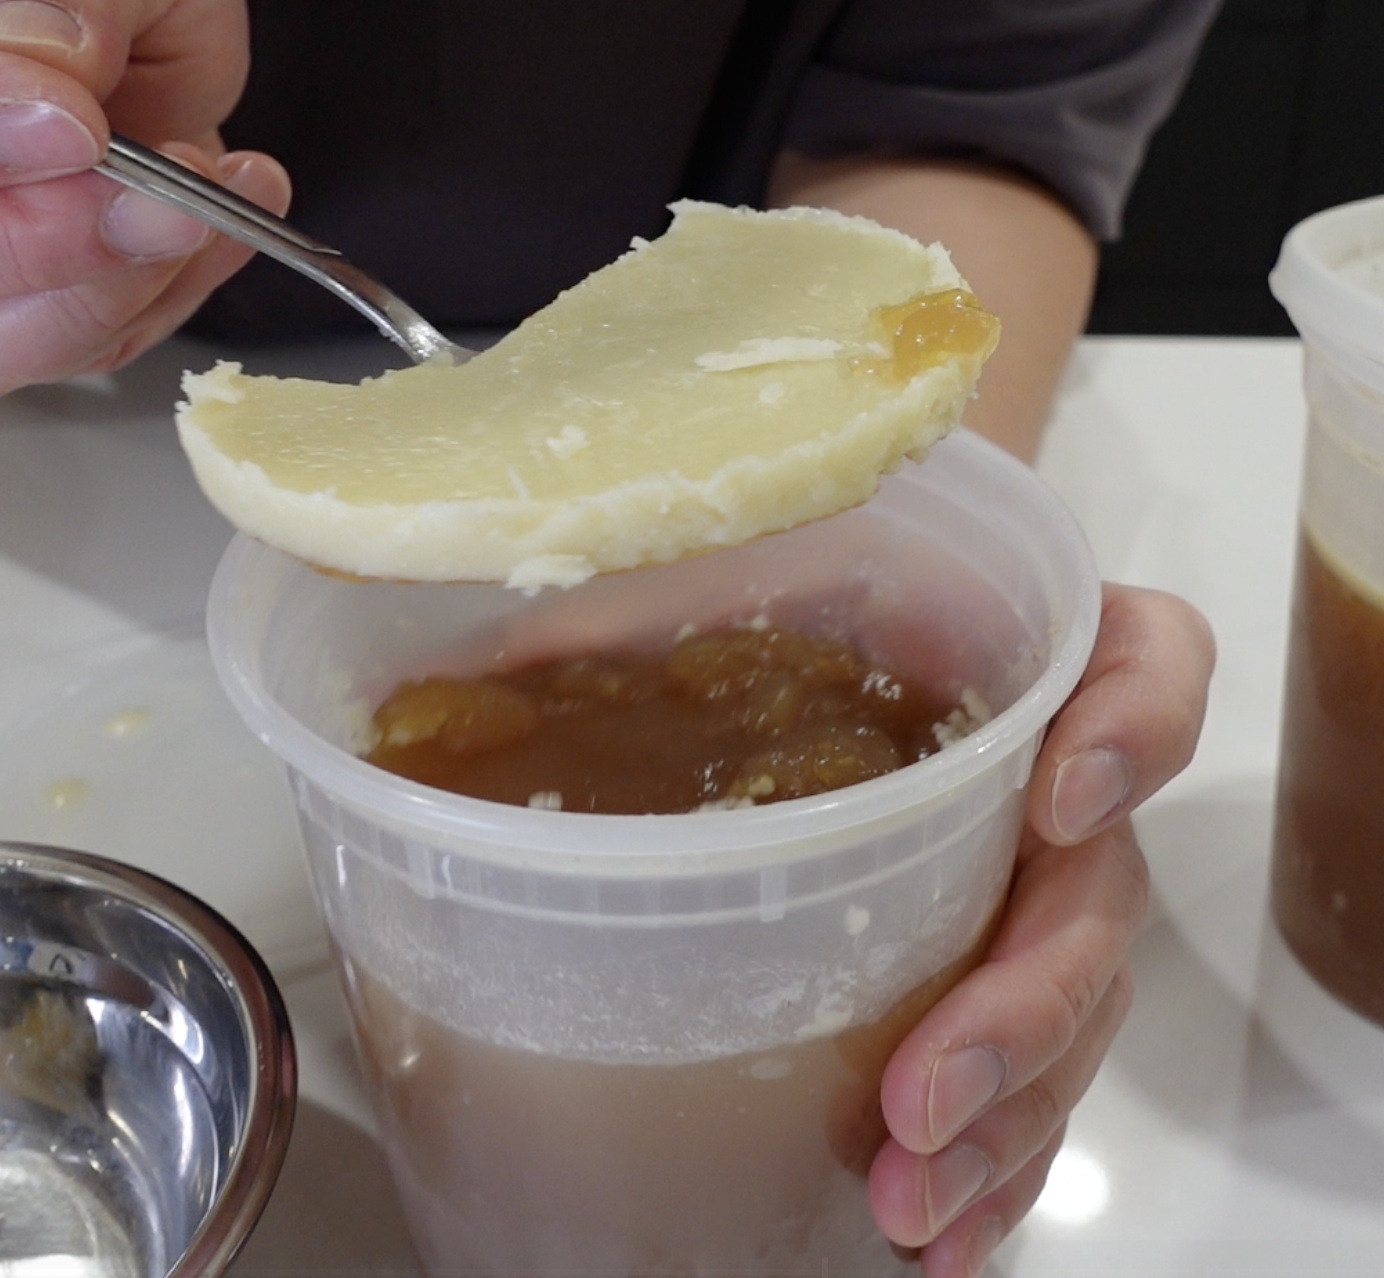
Remove the fat
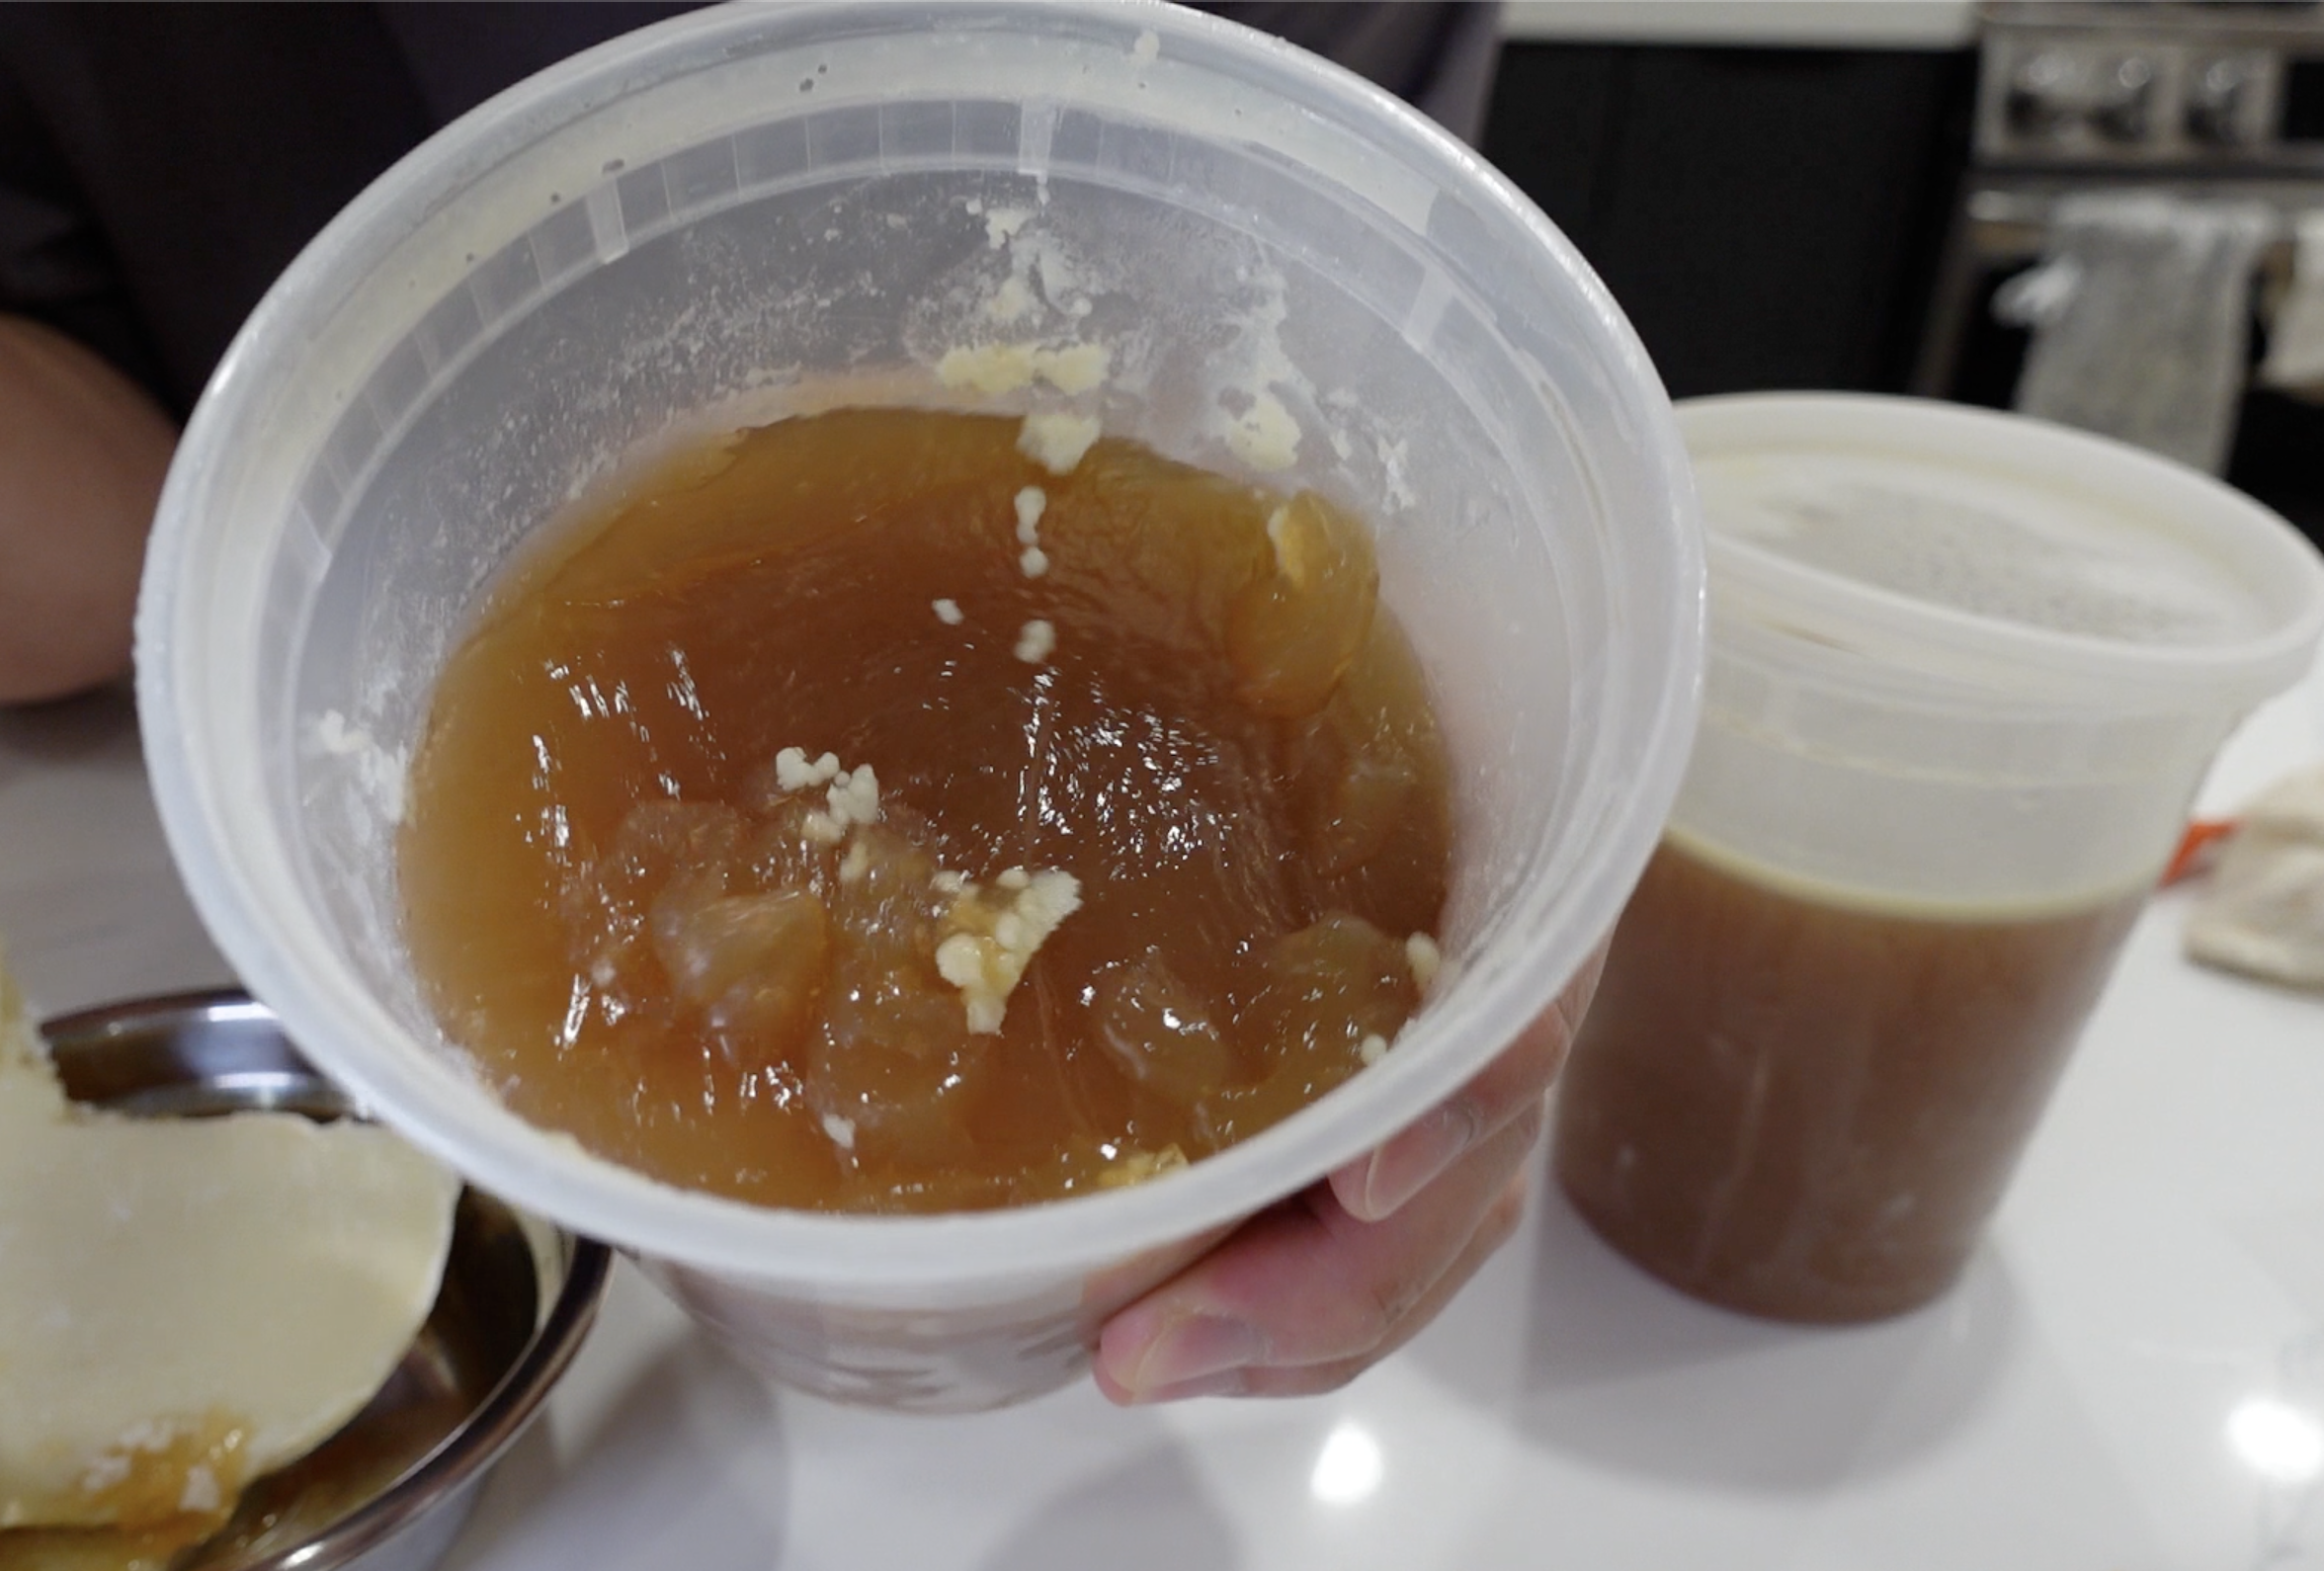
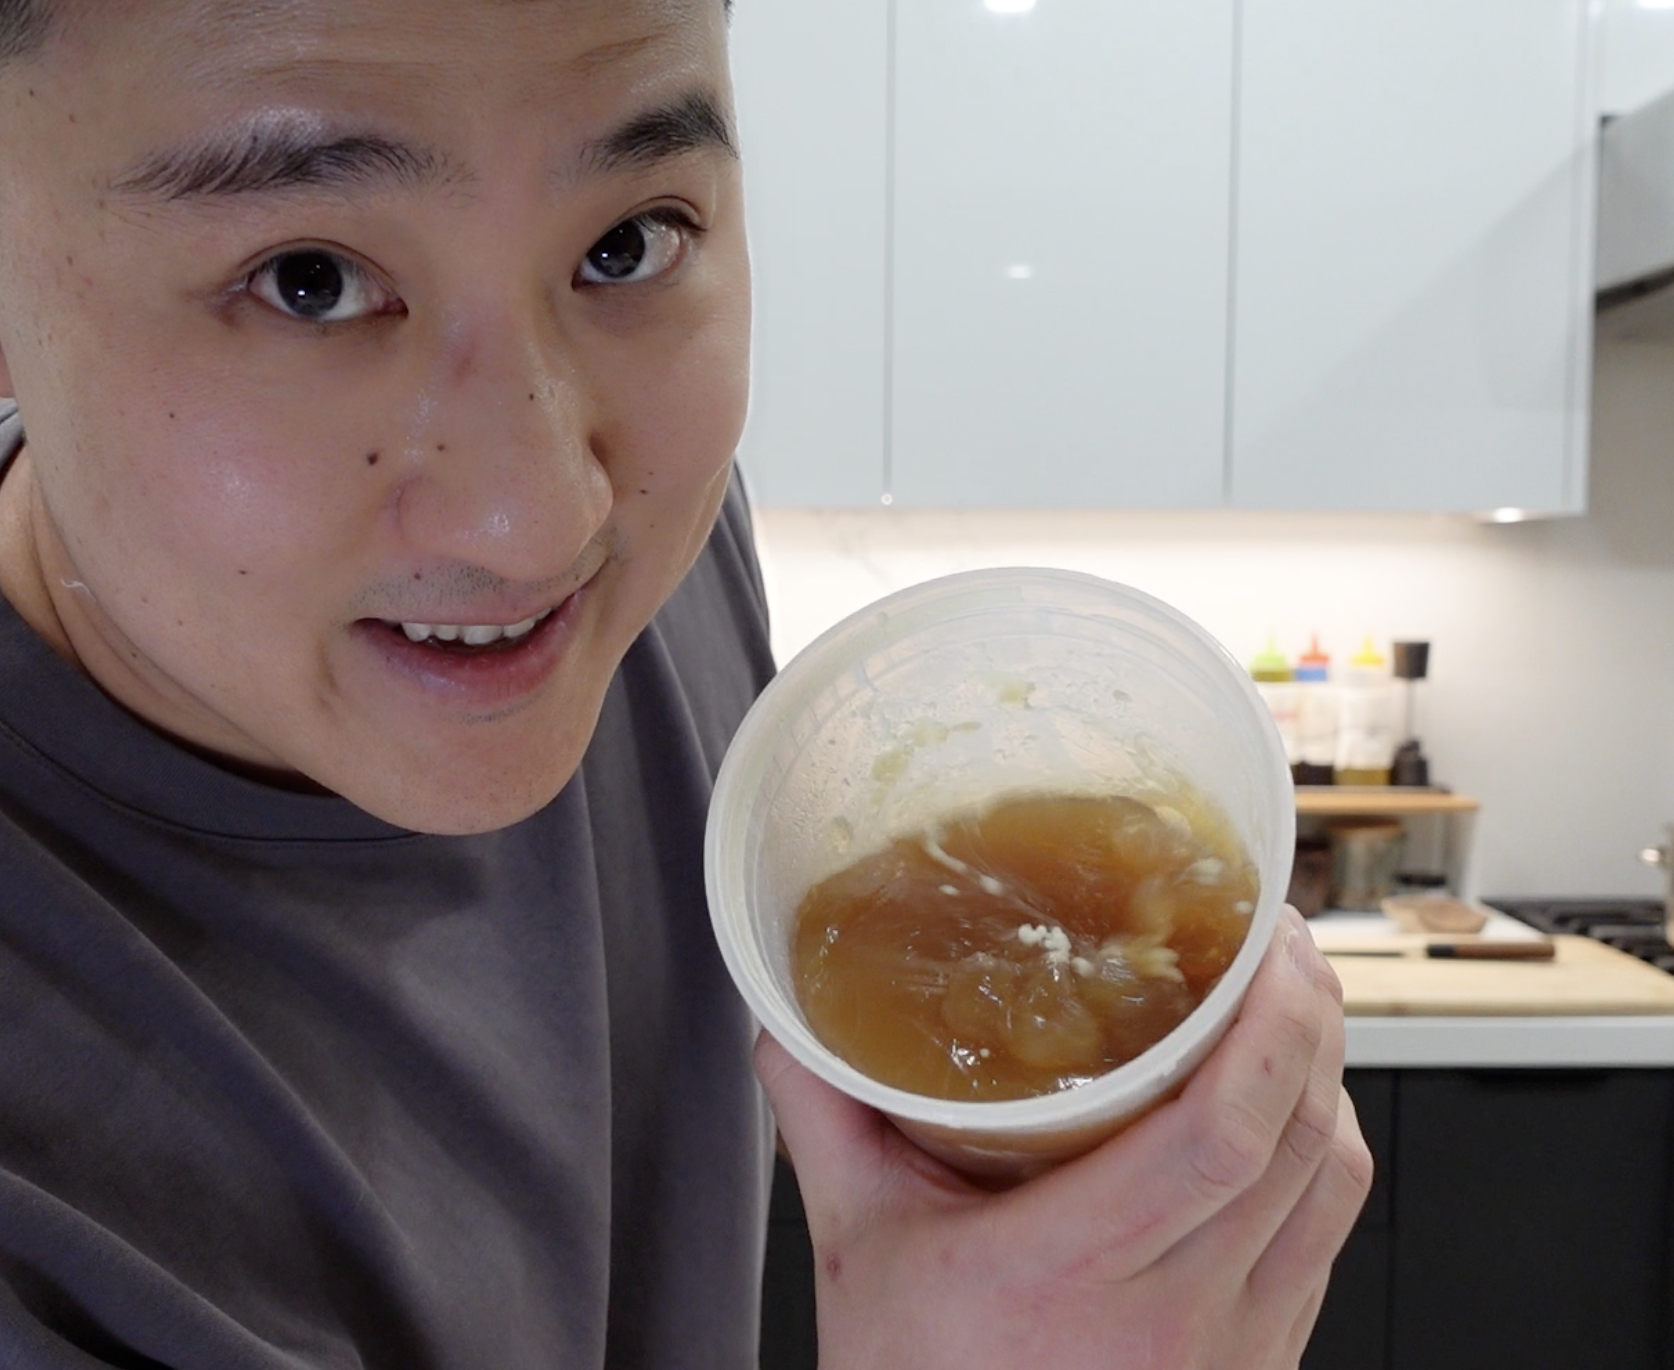
The next day, you’ll see a solid layer of fat on top. You can remove it if you want a cleaner broth, or keep some of it for flavour and richness.
At this point, the broth should be gelatinous when cold. That’s exactly what you want.
Storage
Refrigerate for up to 5 days
Freeze in portions for up to 3 months
Eugene’s Extra Tips
Traditional beef stock is often made by blanching the bones, roasting them, and then simmering them for many hours. That method produces great results, but it takes significantly more time.
This approach skips the roasting step to keep things realistic for busy home cooks and parents, while still delivering a rich, usable broth.
I drink this broth with a little bit of salt. The salt is for flavour and water retention.
This broth can be used in cooking. It is a beef stock after all.
Story Time
I learned how to make a proper beef stock in a restaurant called Origin in Toronto Canada. And I couldn't believe how much work went into making the stock because the way that you make it in the industry it's pretty incredible, but it takes a very very long time. Traditionally you take your beef bones and then you blanch them and then after you blanch them, you roast them in a ripping hot oven to get some nice colour on them. And then you put them into a stock pot with all the vegetables in aromatics and you boil and simmer that thing for like 12 to 24 hours. And if made it correctly, it is one of the best things that will elevate all of your dishes.
This is the first step to making a Demi glaze, which is a very classic sauce that serves on a lot of beef dishes. The recipe I have laid out here is a very simplified version for the health, conscious parent that wants to consume broth at home.
Thank for reading! ❤️
You’ll Also Love These


Hi, I'm Eugene, but many of you might recognize me as "The_EugeFood". With over two decades working in diverse kitchens, I've come to cherish the genuine connections and shared experiences that cooking brings. For me, it's not about the high-pressure, competitive world you see on TV. It's about the joy of gathering around a table, the stories shared over simmering pots, and the laughter that follows a shared meal. I'm here to demystify the culinary world, to show you that if you can boil water for cup noodles, you're already on your way. Cooking isn't just a skill; it's a journey of discovery, and I invite you to join me on this adventure to becoming a better cook.