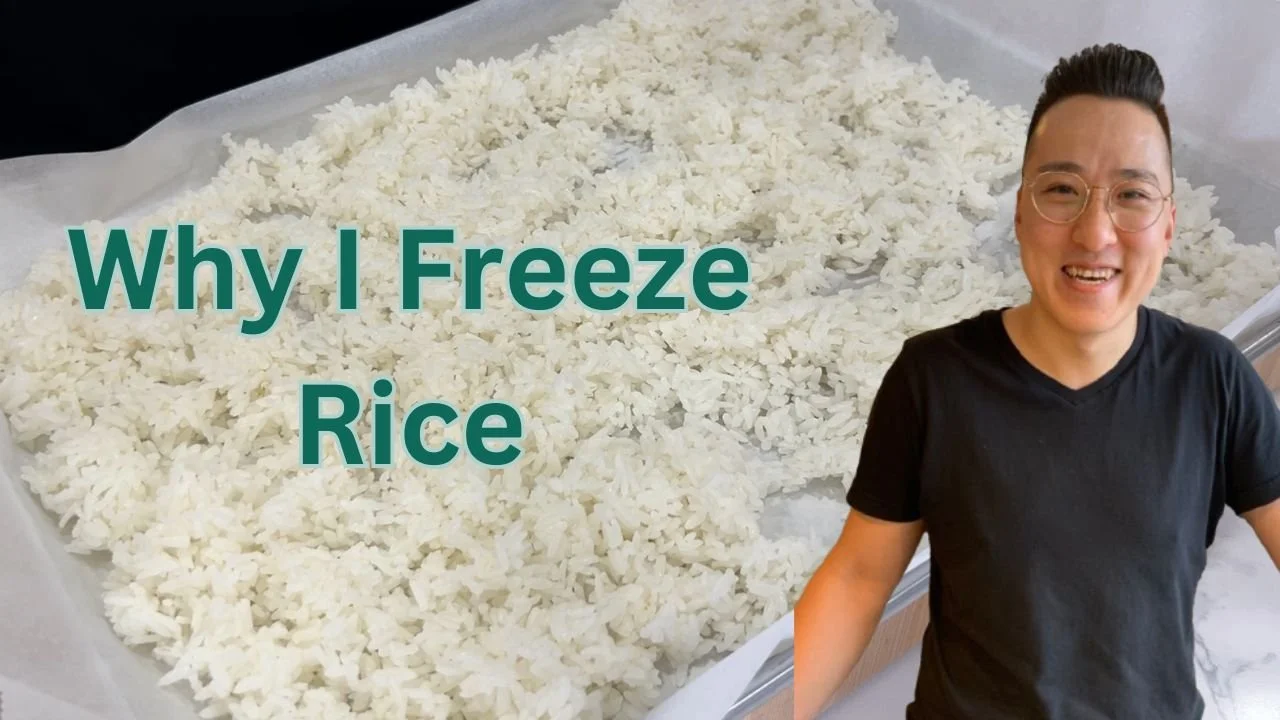
The Busy Parent's Guide to Perfect Rice

Prep Time: 5 - 10 min
Cook Time: 45-60min depending on your rice cooker
Cooling + Portioning: 10-20 min
If you're a parent packing lunches, throwing together last-minute dinners, or just trying to get something on the table before the kids start getting hangry, rice is one of the most useful things you can have ready in your freezer.
But only if it's made right.
This is exactly how I make rice at home for my family. From washing to freezing, every step has a reason. Once you master making rice, you'll always be one step ahead of the week.
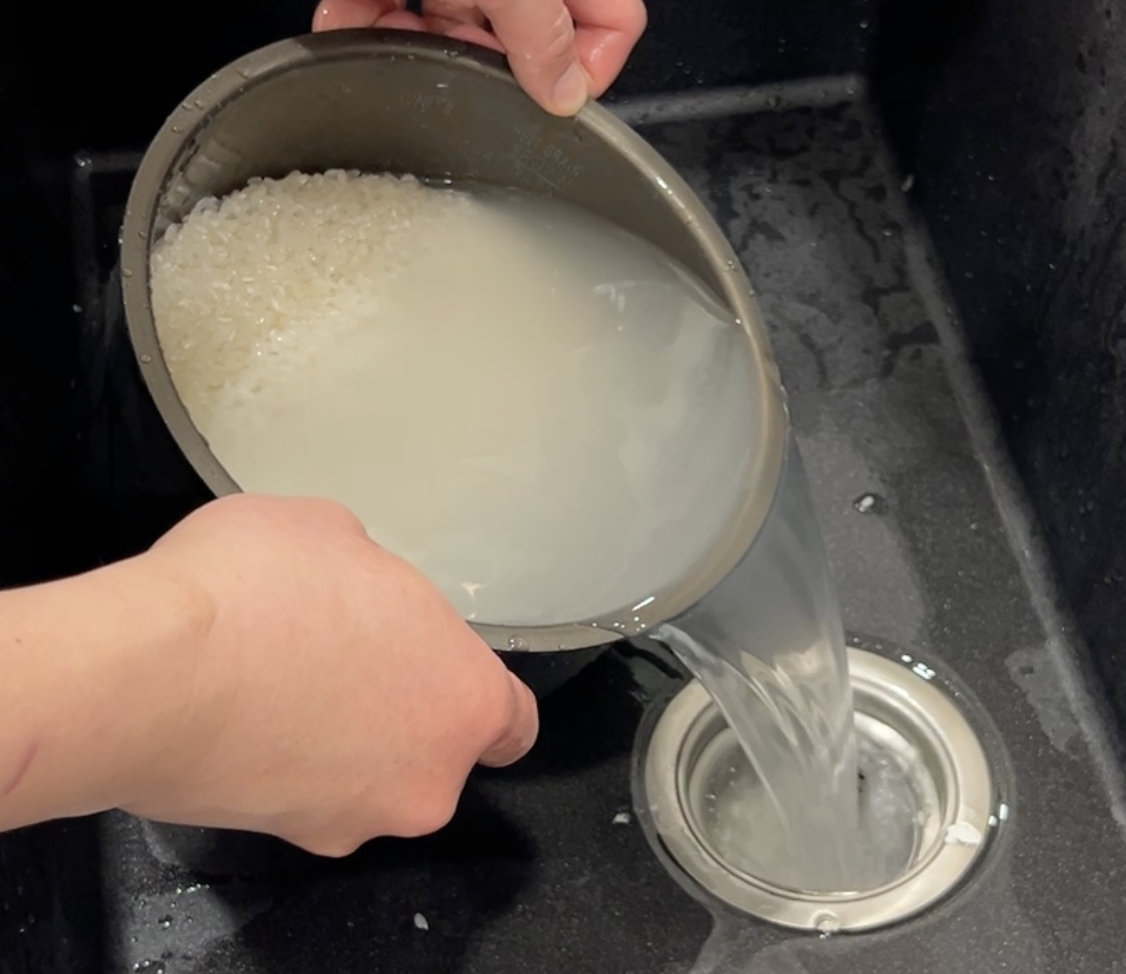
Step 1: Wash Your Rice Properly
Most people say wash it three times, or "until the water runs clear." But the truth is getting it completely clear is nearly impossible. You could rinse forever, and it'll still look slightly cloudy. I only seen truly clear water from sushi chefs making sushi rice, but sushi chefs are on another level.
I wash mine about 5 to 6 times. By then, it's clear enough, and most of the excess starch is gone.
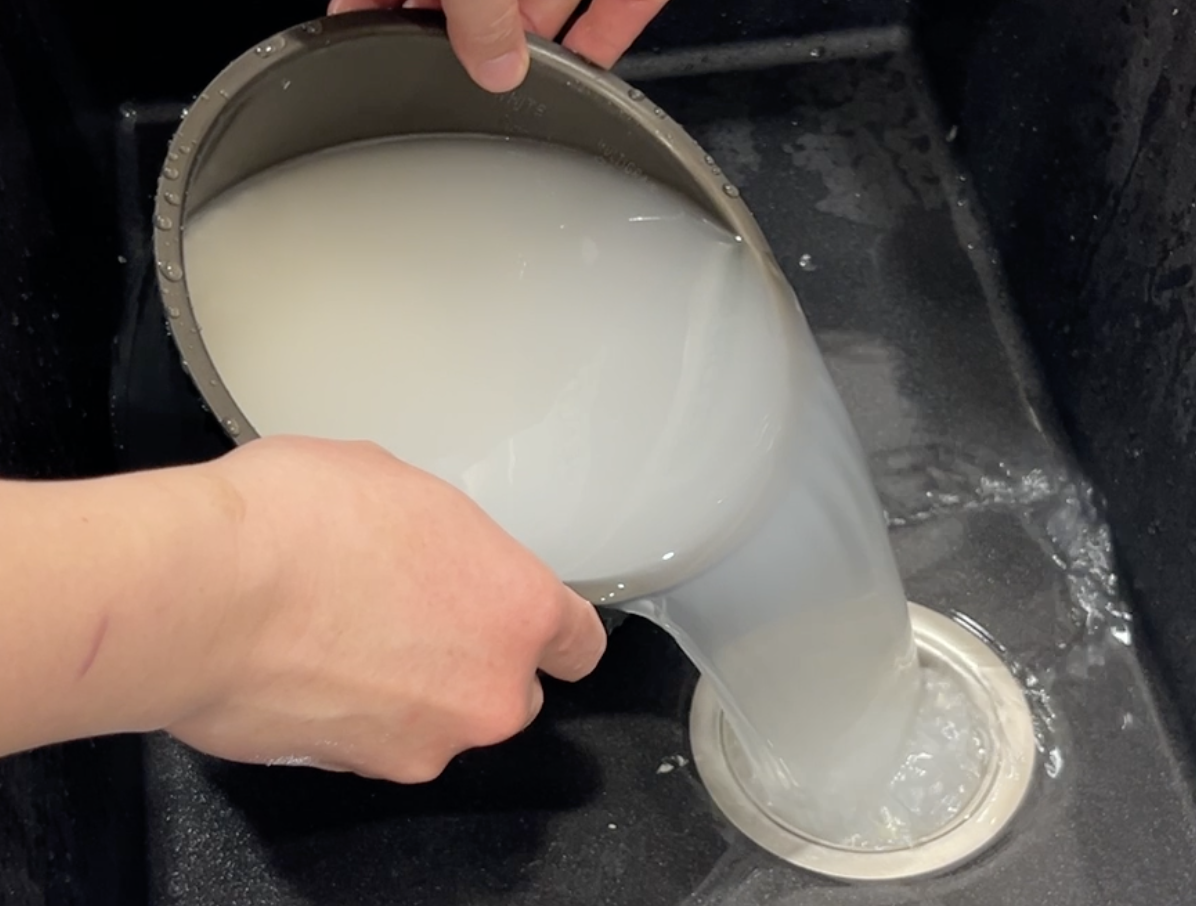
The method is simple: add water, swirl the rice with your hand, and drain. Repeat.
Why it matters:
Removes excess surface starch
Prevents that gummy, sticky texture
Helps the grains stay separate after cooking
I learned the hard way why washing rice matters. Growing up, I'd skip it when I was feeling lazy. My parents could always tell; gummy, sticky rice doesn't lie.
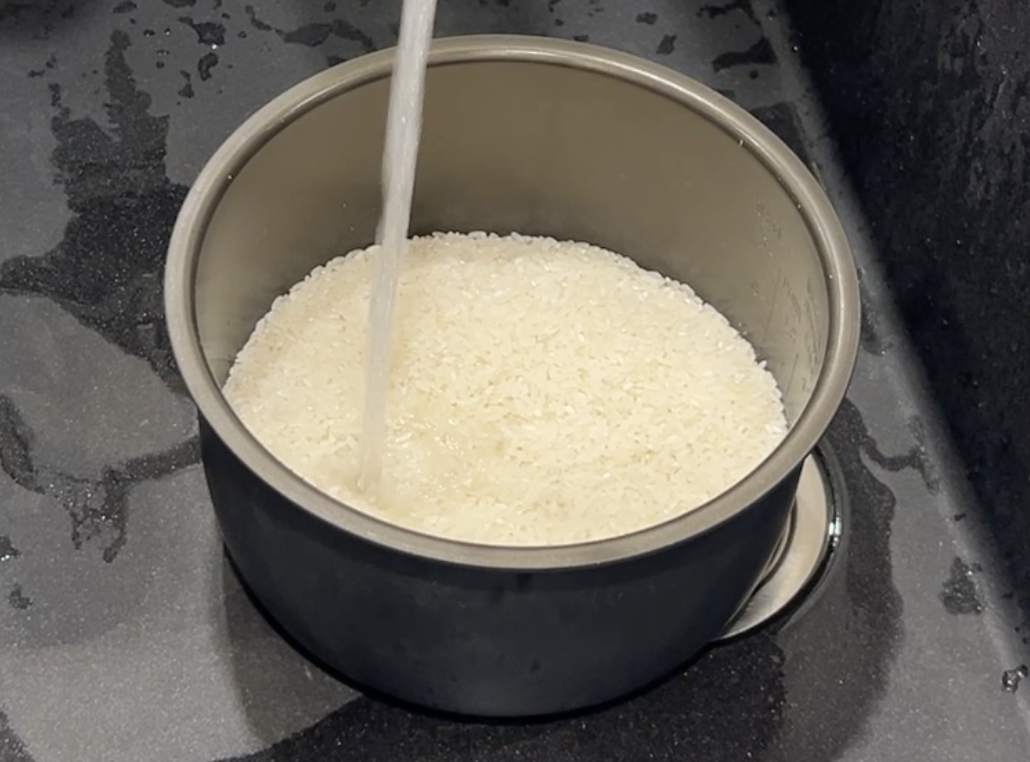
This is the first rinse.
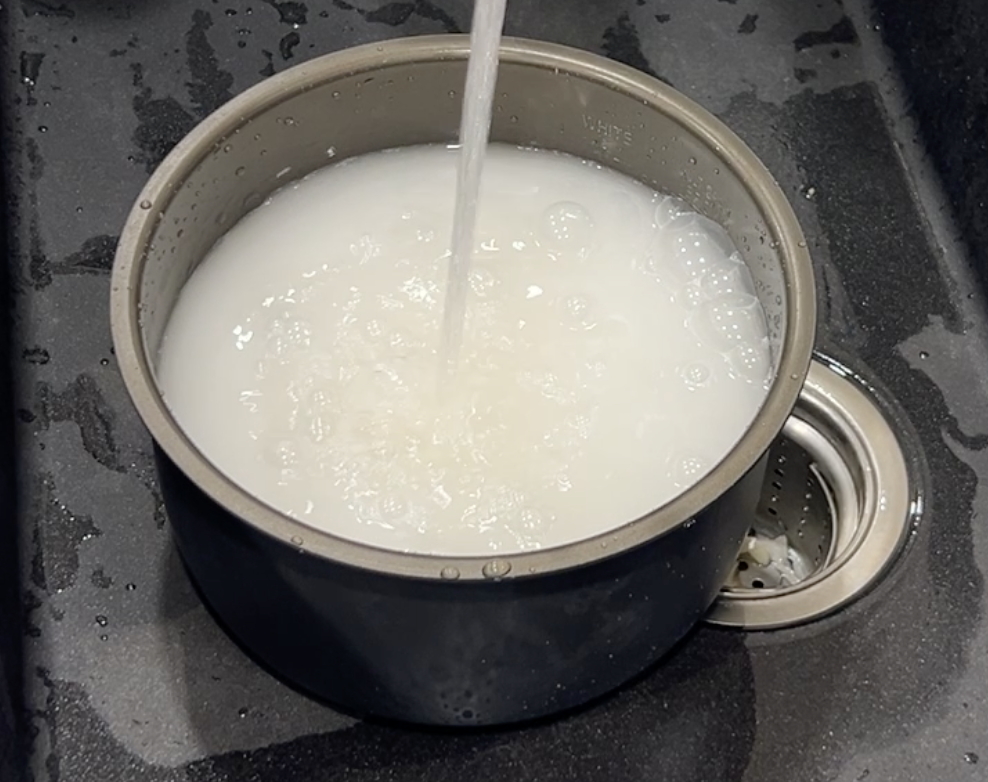
This is the 6th rinse.
Step 2: The Finger Method - Measure Water Without a Measuring Cup
Growing up in a Chinese household, the finger method wasn't a trick; it was just how you made rice. No cup measurements. You just knew. And after working alongside Korean and Japanese cooks in the kitchen, I can tell you it's not just a Chinese thing either.
On your final rinse, drain as thoroughly as possible. You want that last fill of fresh water, not rinse water, to be your cooking water.
Here's how the finger method works:
Place the pot on a flat surface. Stick your index finger straight down until the tip just touches the top of the rice. The water level should reach your first knuckle.
That's it. Works in any pot, rice cooker and any batch size. It’s the universal measure.
A quick note on hand size: everyone's fingers are slightly different. Mine are a bit longer, so I go just slightly below my knuckle line. You may need to dial yours in over a batch or two, but once you find your line, you never have to think about it again.
Why it works:
The ideal rice-to-water ratio is close to 1:1, but slightly more water, roughly 1:1.15. The finger method naturally accounts for this regardless of pot size or batch size.
Troubleshooting:
Rice came out too mushy? → Too much water. Lower your water line slightly next time.
Rice came out too dry? → Raise it slightly.
Find your line once, and every batch after that runs on autopilot. That's exactly what busy parents need.
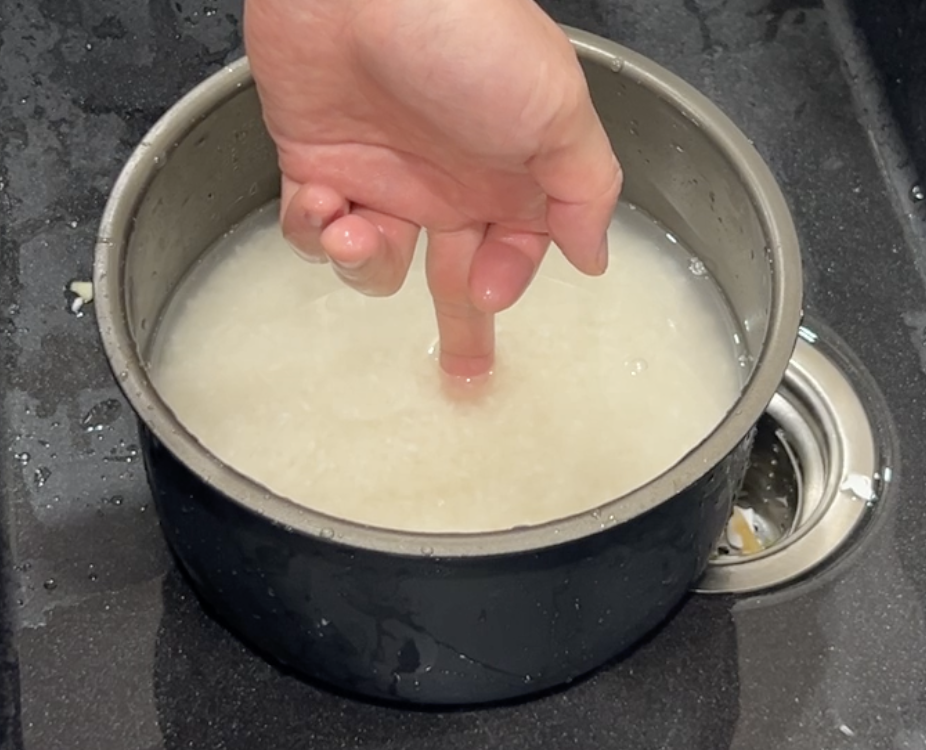
My water line is just below the knuckle line and everyone’s will be different depending on finger and hand size.
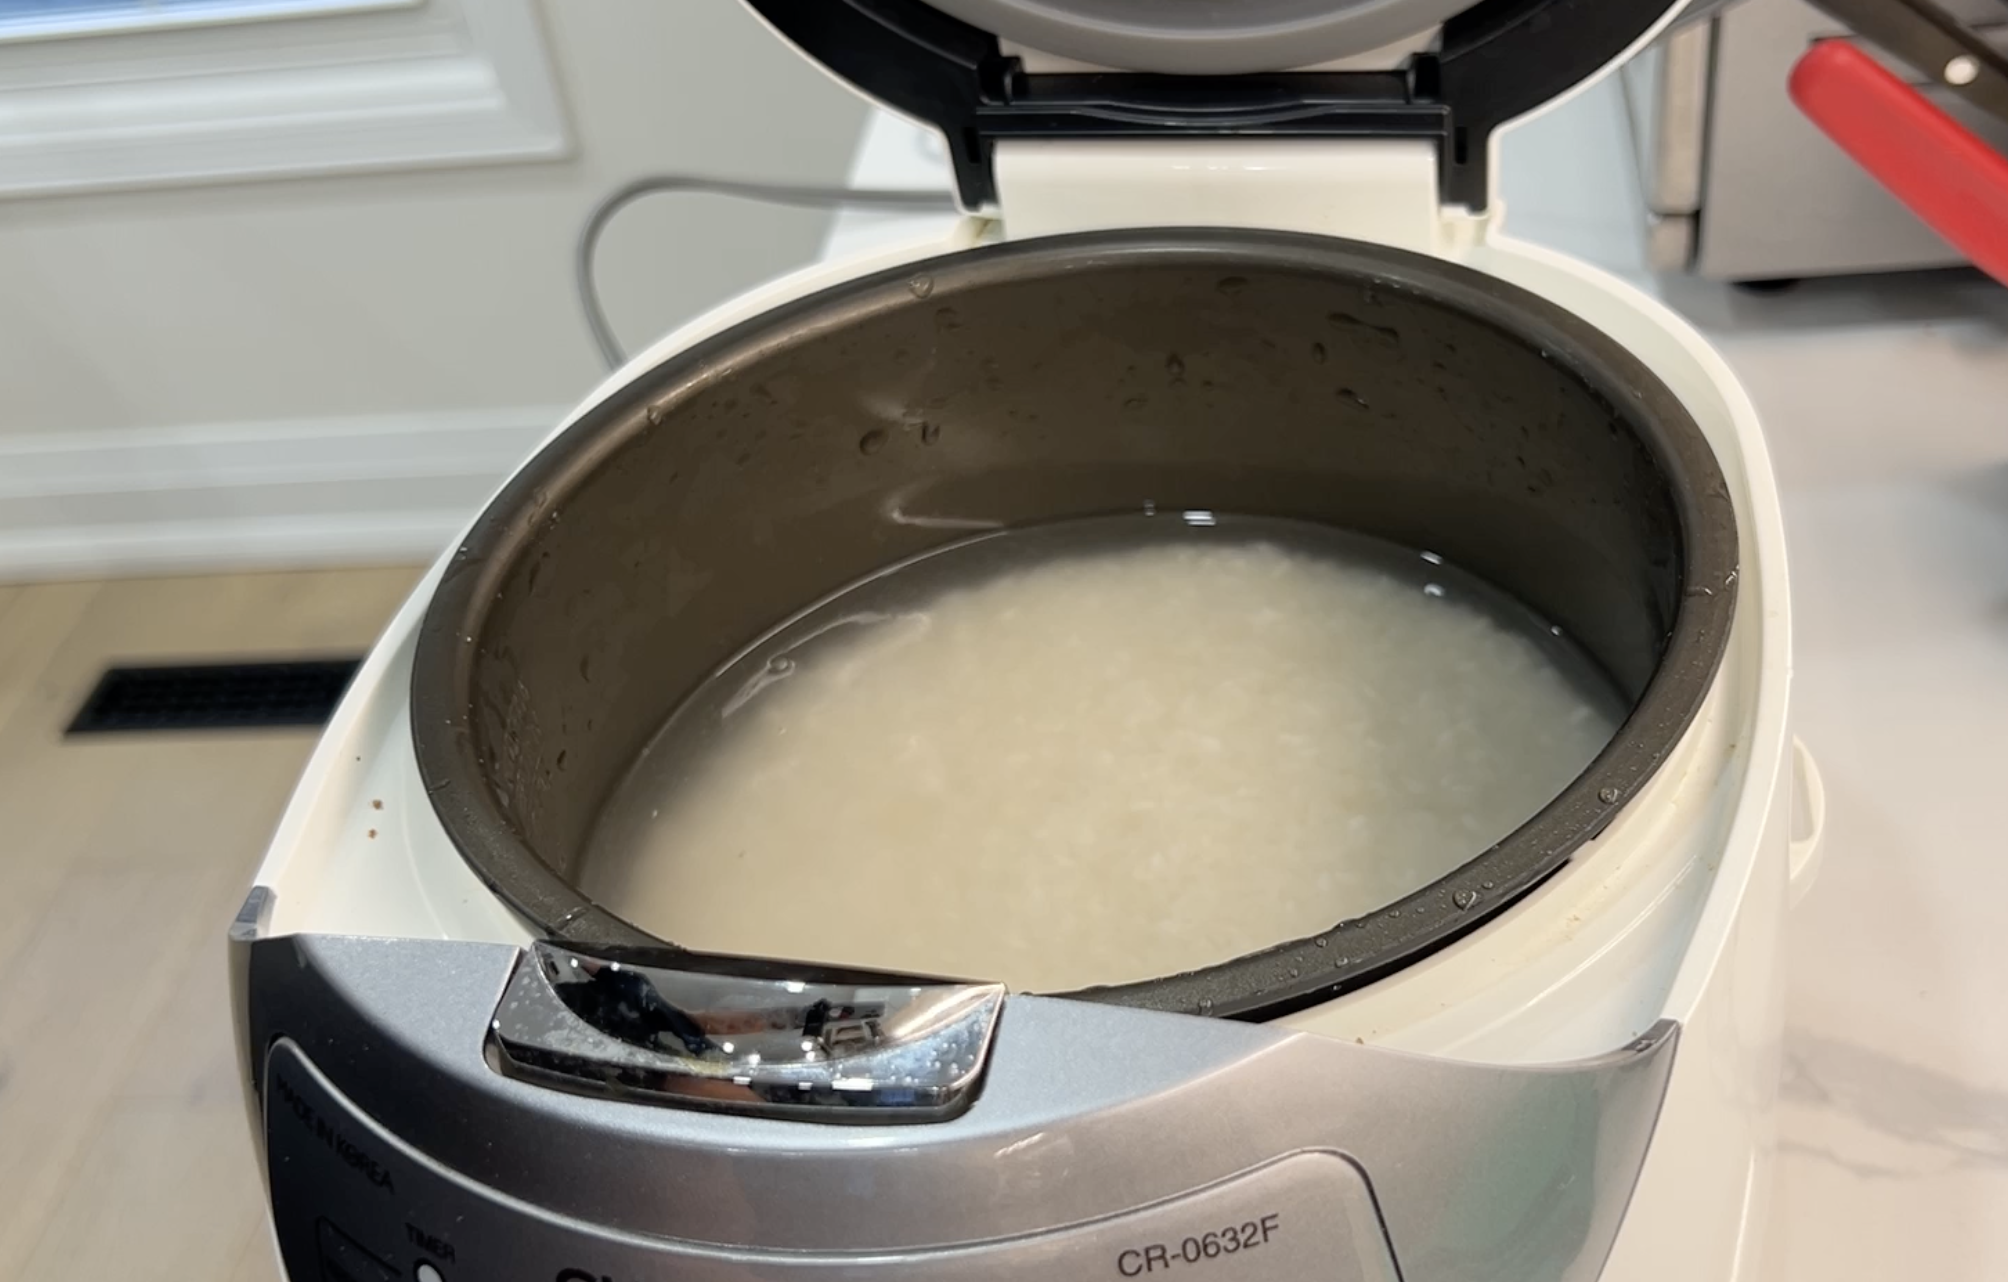
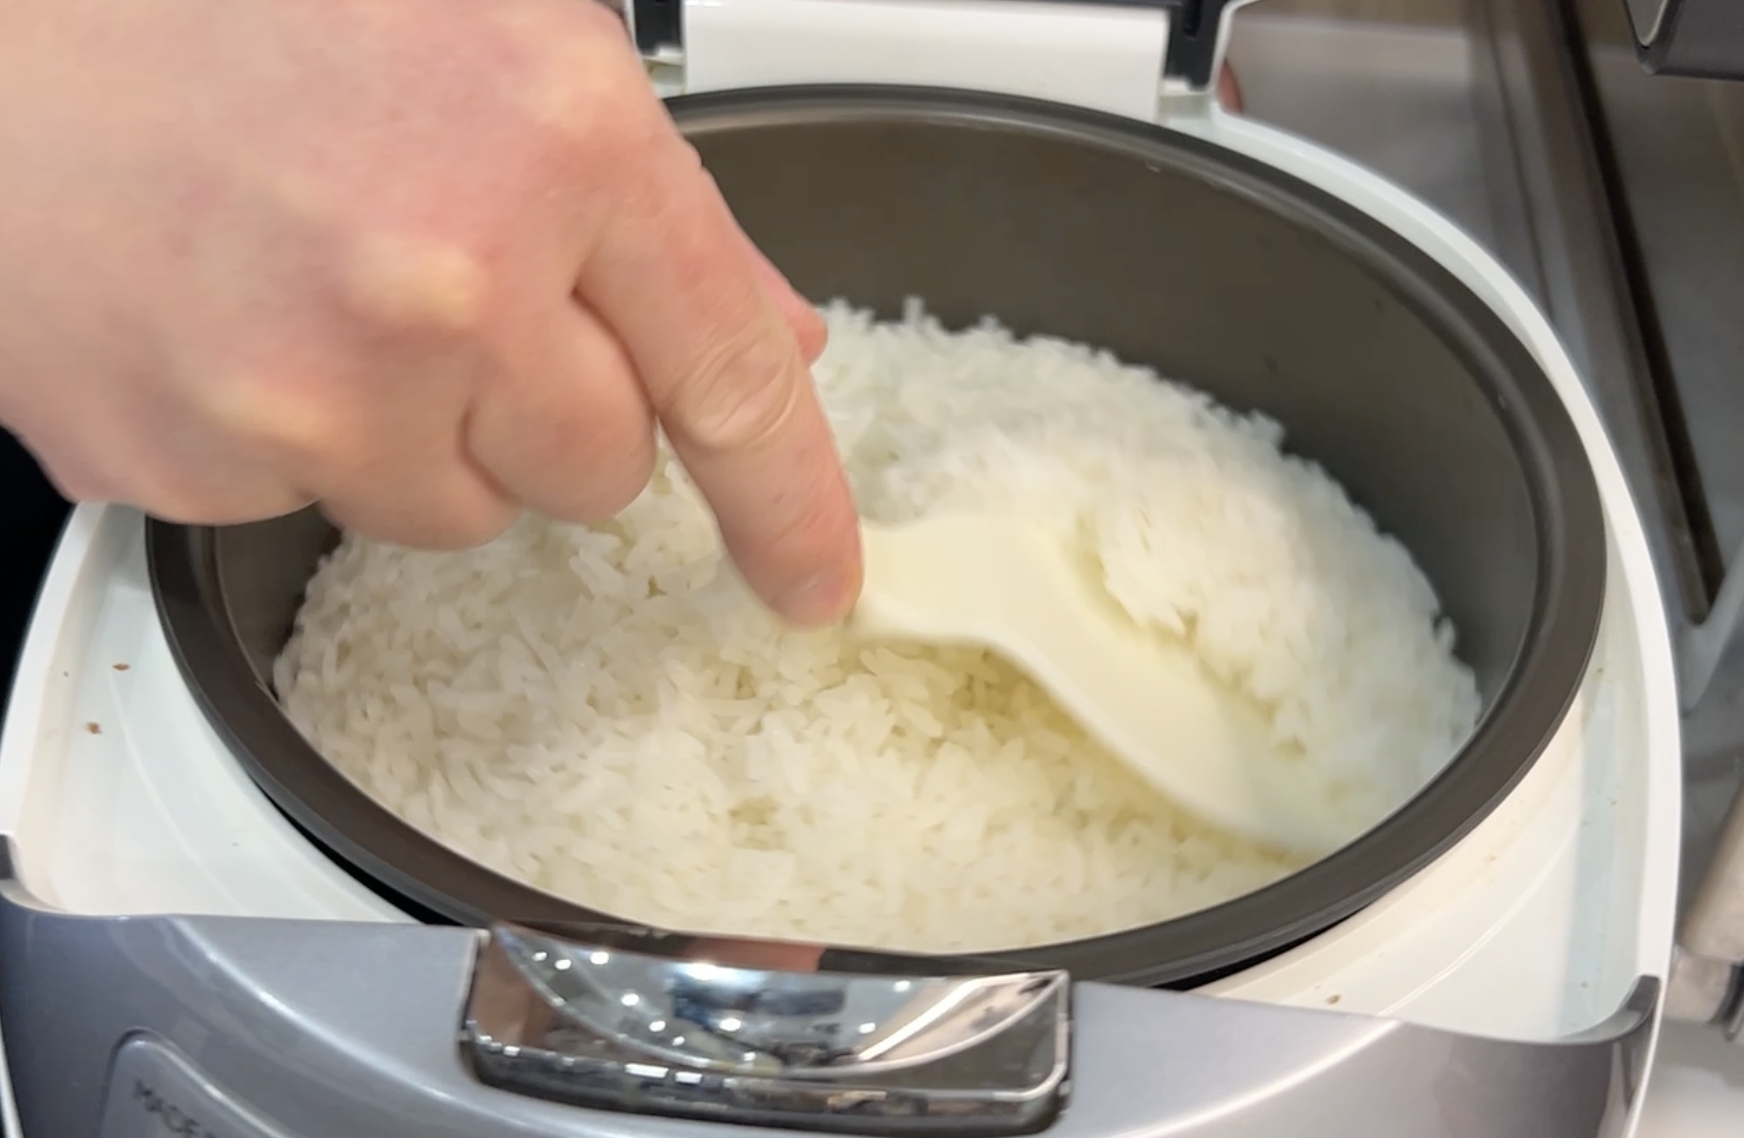
Step 3: Cook the Rice
Cook according to your rice cooker's instructions and let it do its job.
When it's done, resist the urge to open it immediately. Let it sit covered for about 5 minutes. This lets the steam redistribute evenly through the rice before you fluff it, a small step that makes a noticeable difference.
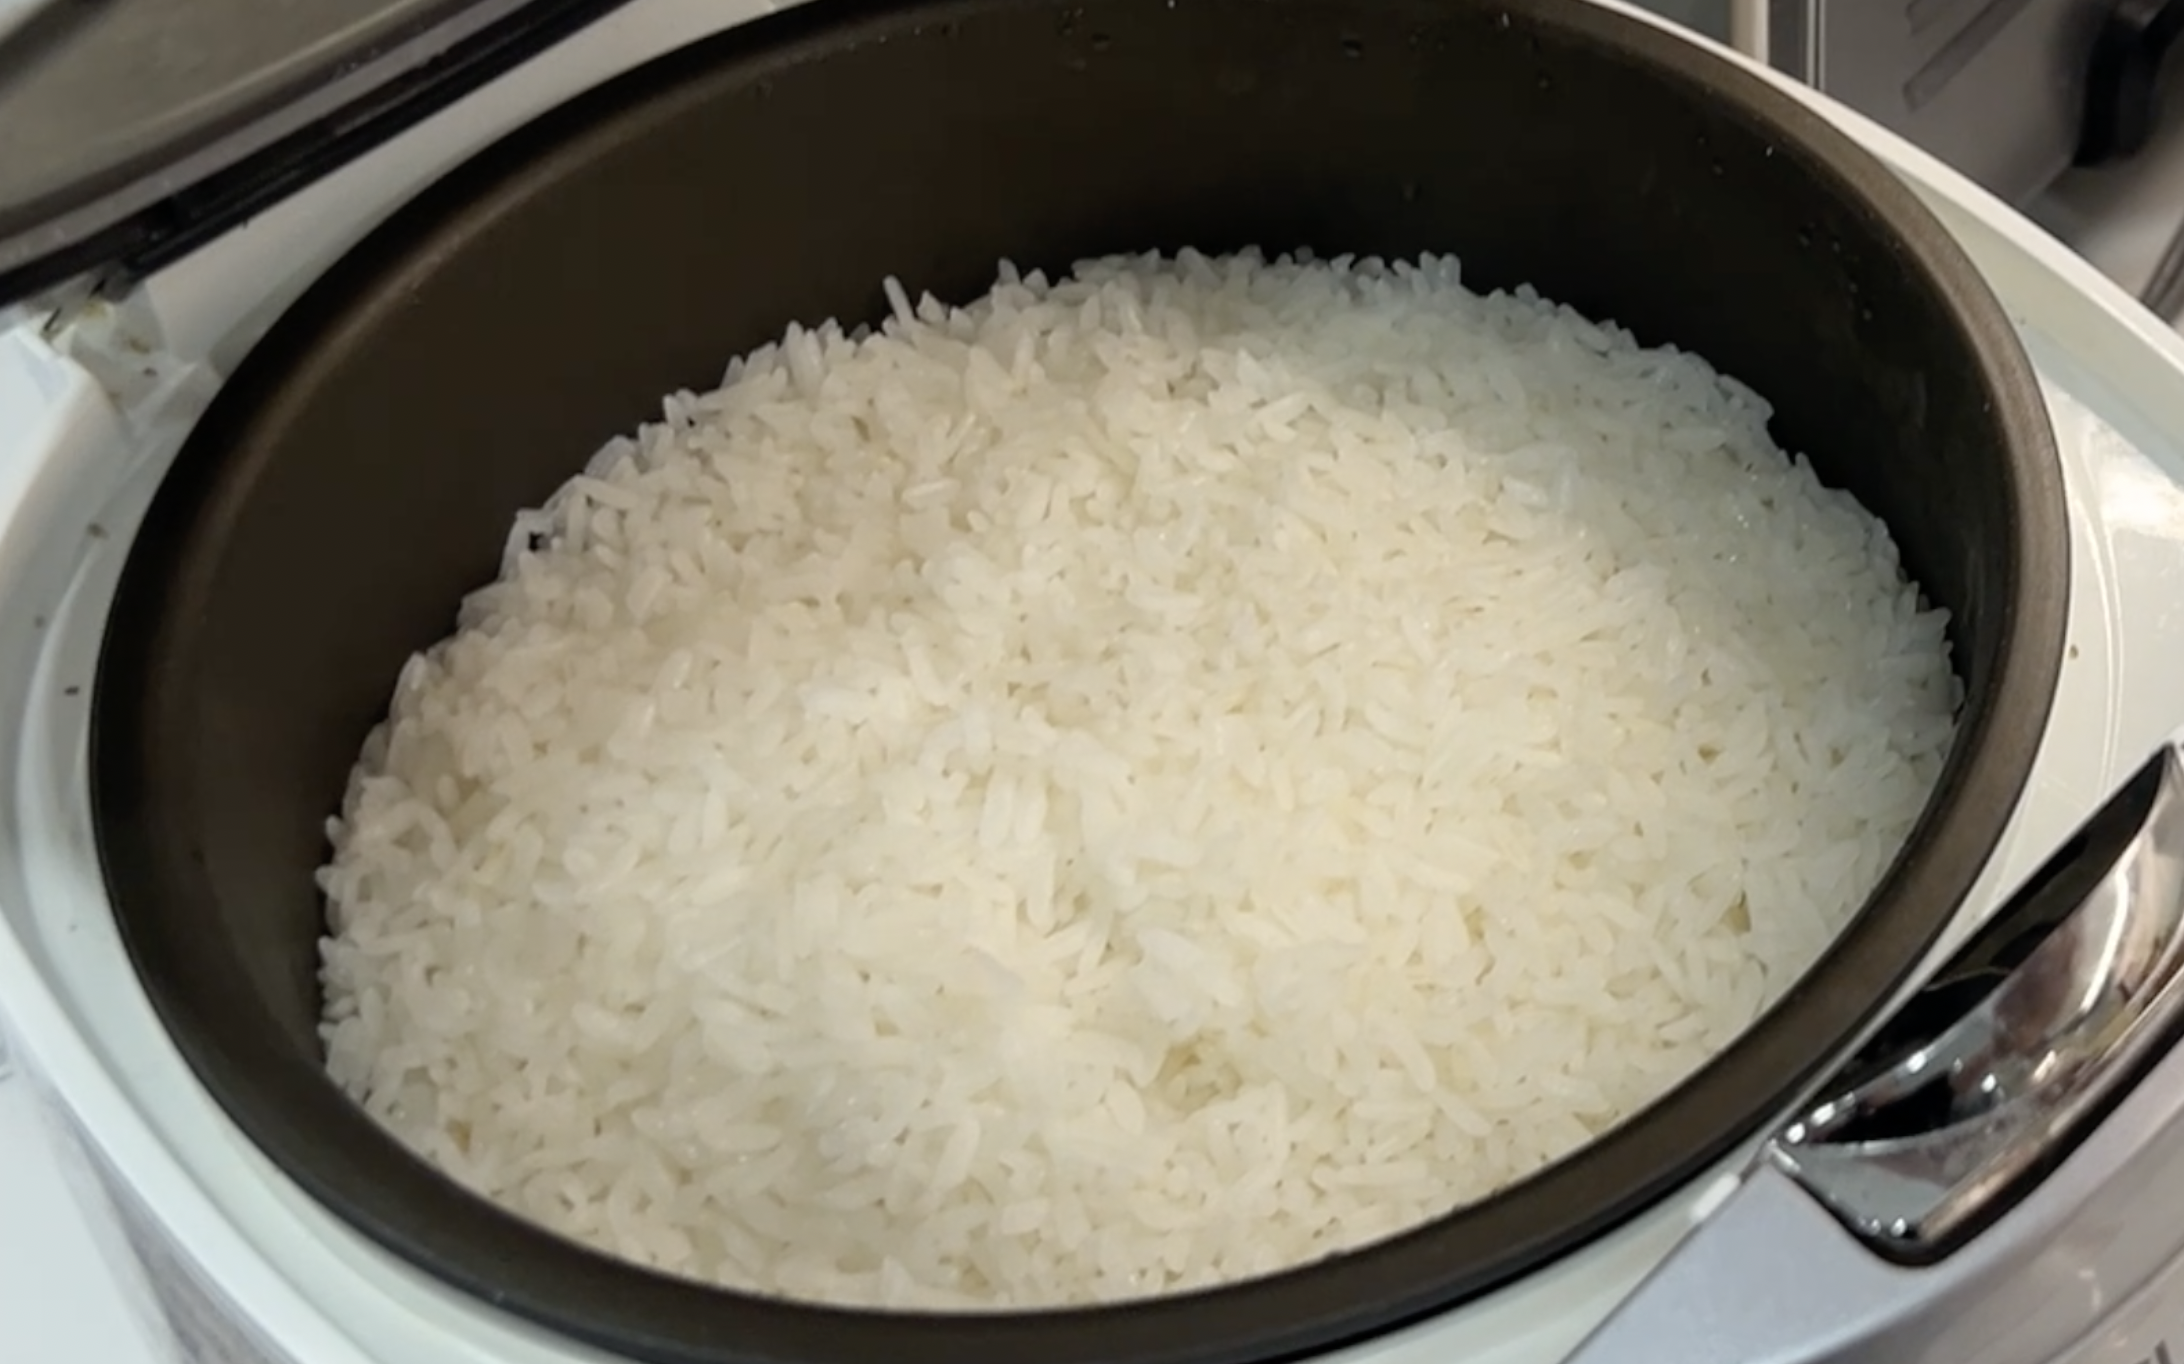
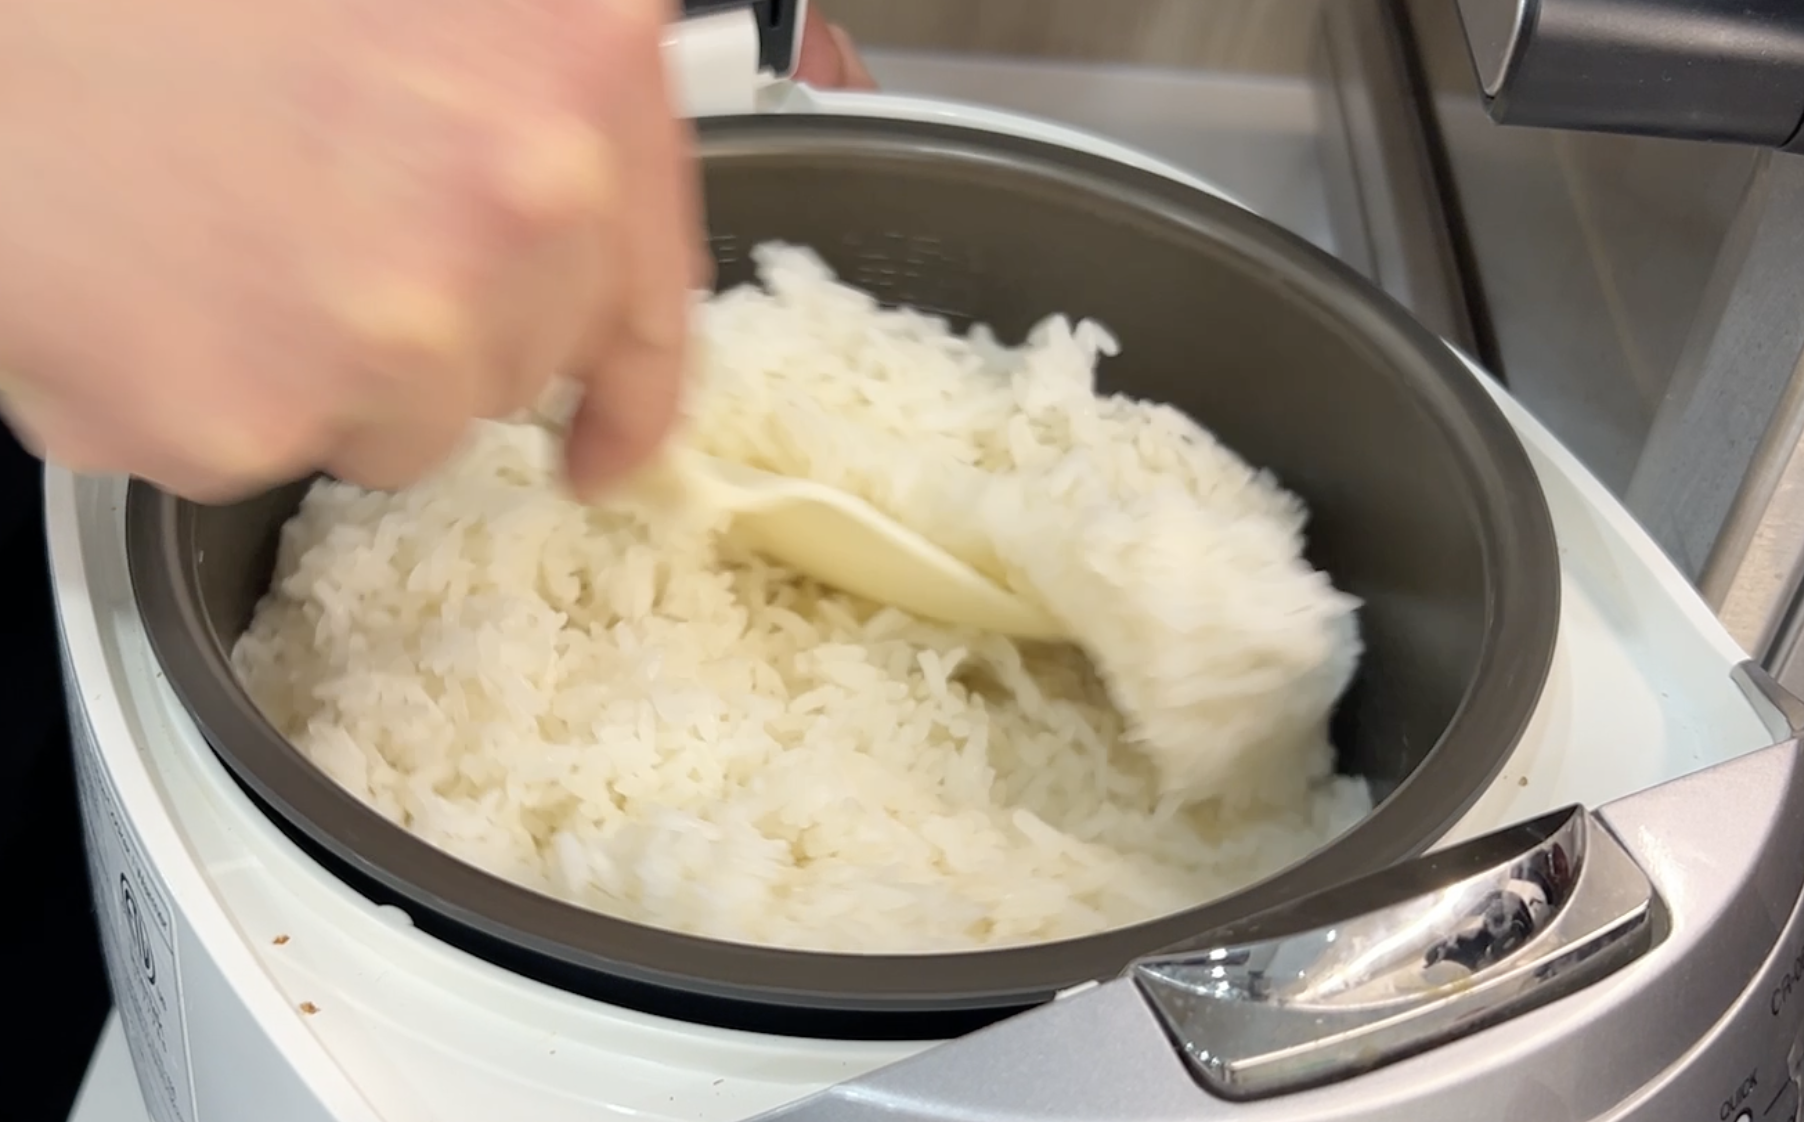
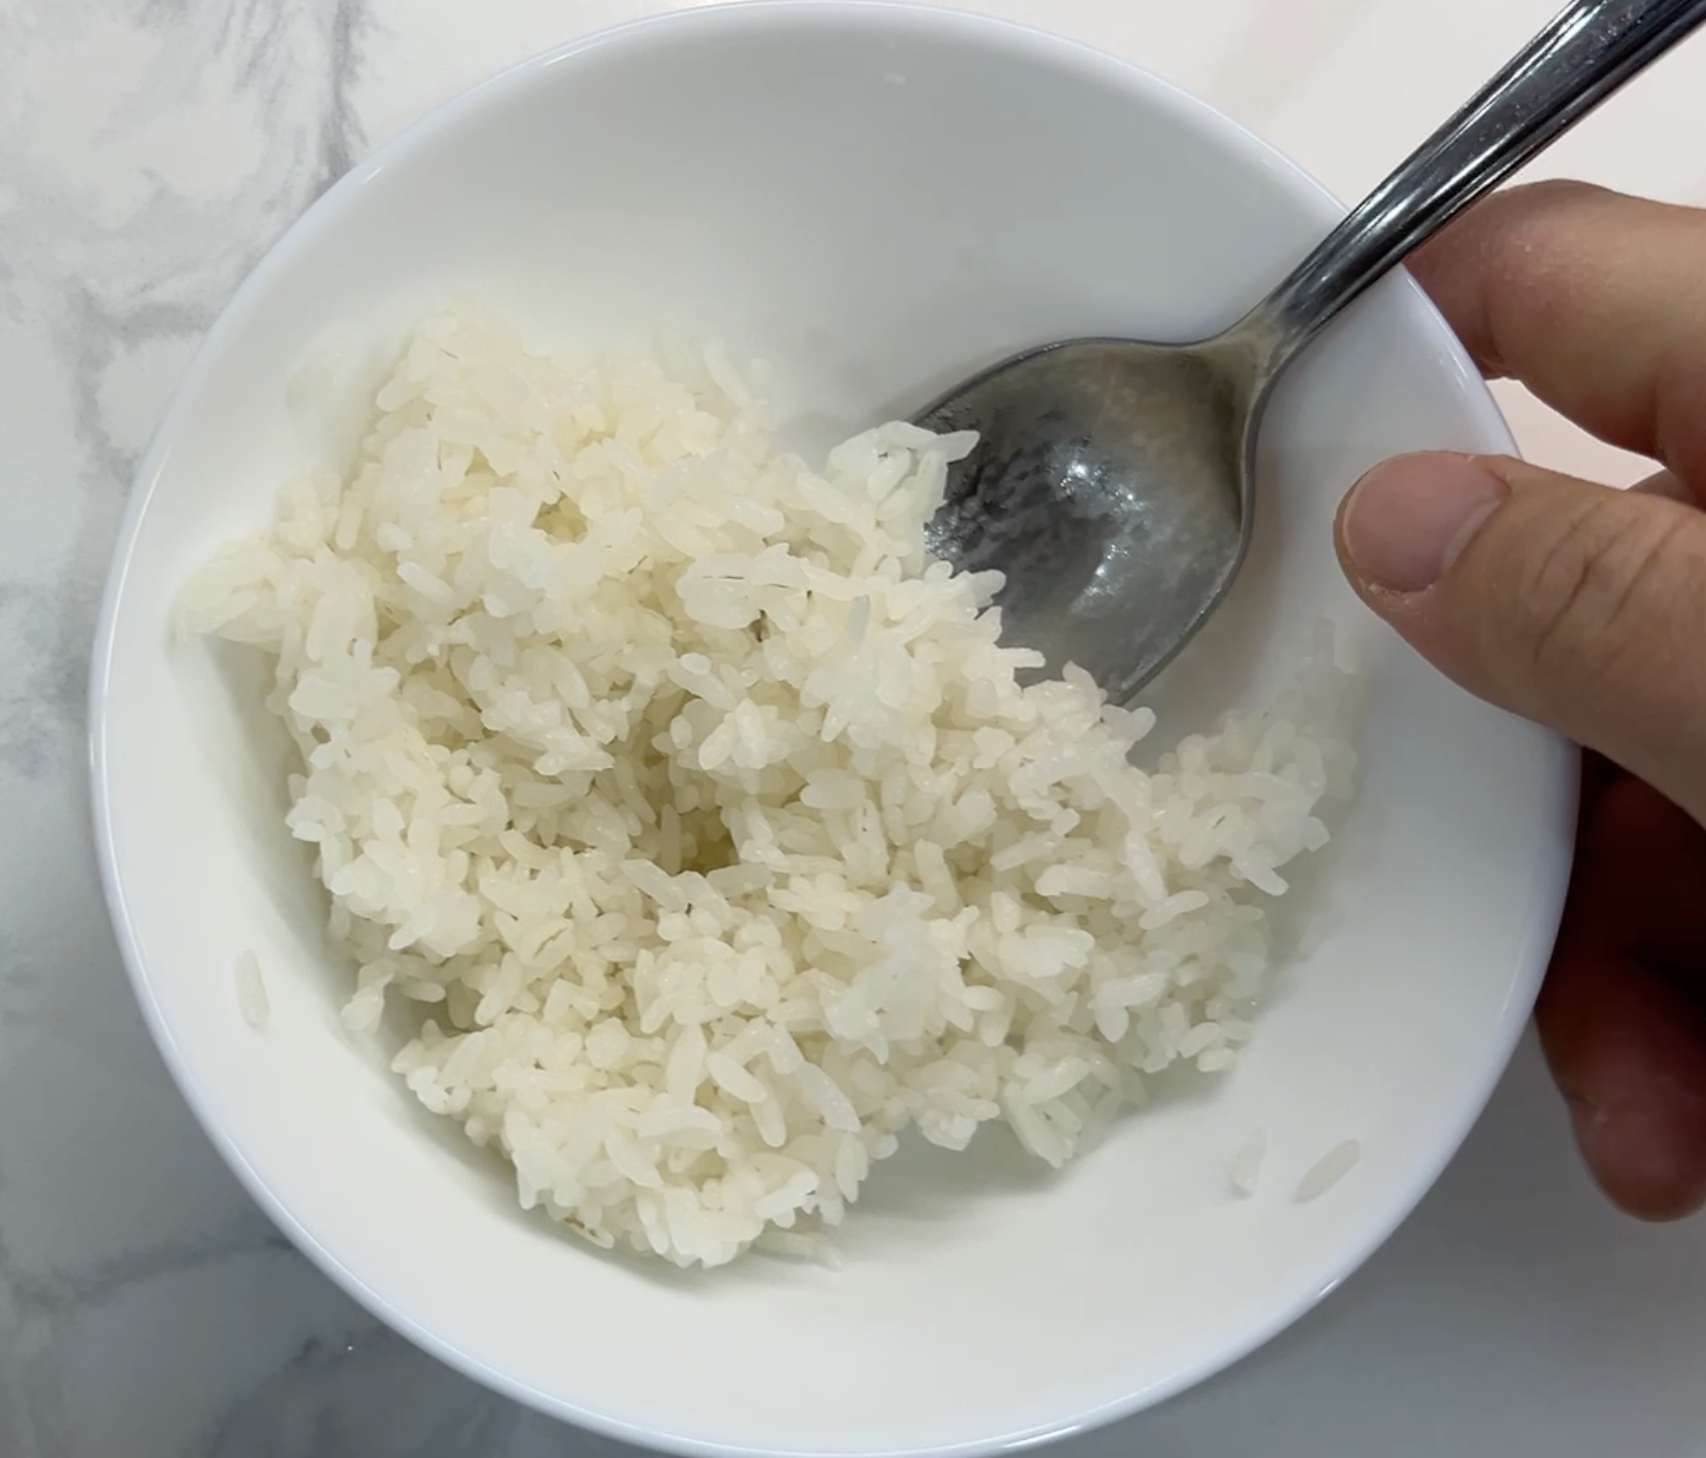
Step 4: Fluff by Slicing, Not Stirring
This one small habit change makes a real difference in texture.
Don't mash or stir the rice with a spoon. Instead, use a rice paddle or spatula and slice down into the rice at an angle, working your way around the pot in a circular motion, lifting and folding as you go. Think of it like cutting and turning, not mixing. [You can see what I mean in this video]
Why it matters:
Keeps the grains intact instead of breaking them
Releases excess steam so it doesn't stay wet
Prevents clumping
You're going for light and separated, not dense and compressed. This is how you achieve the fluffy texture of rice.
Step 5: Cool It Down Fast (The Meal Prep Step Most People Skip)
If you're prepping rice for the week, this step is non-negotiable.
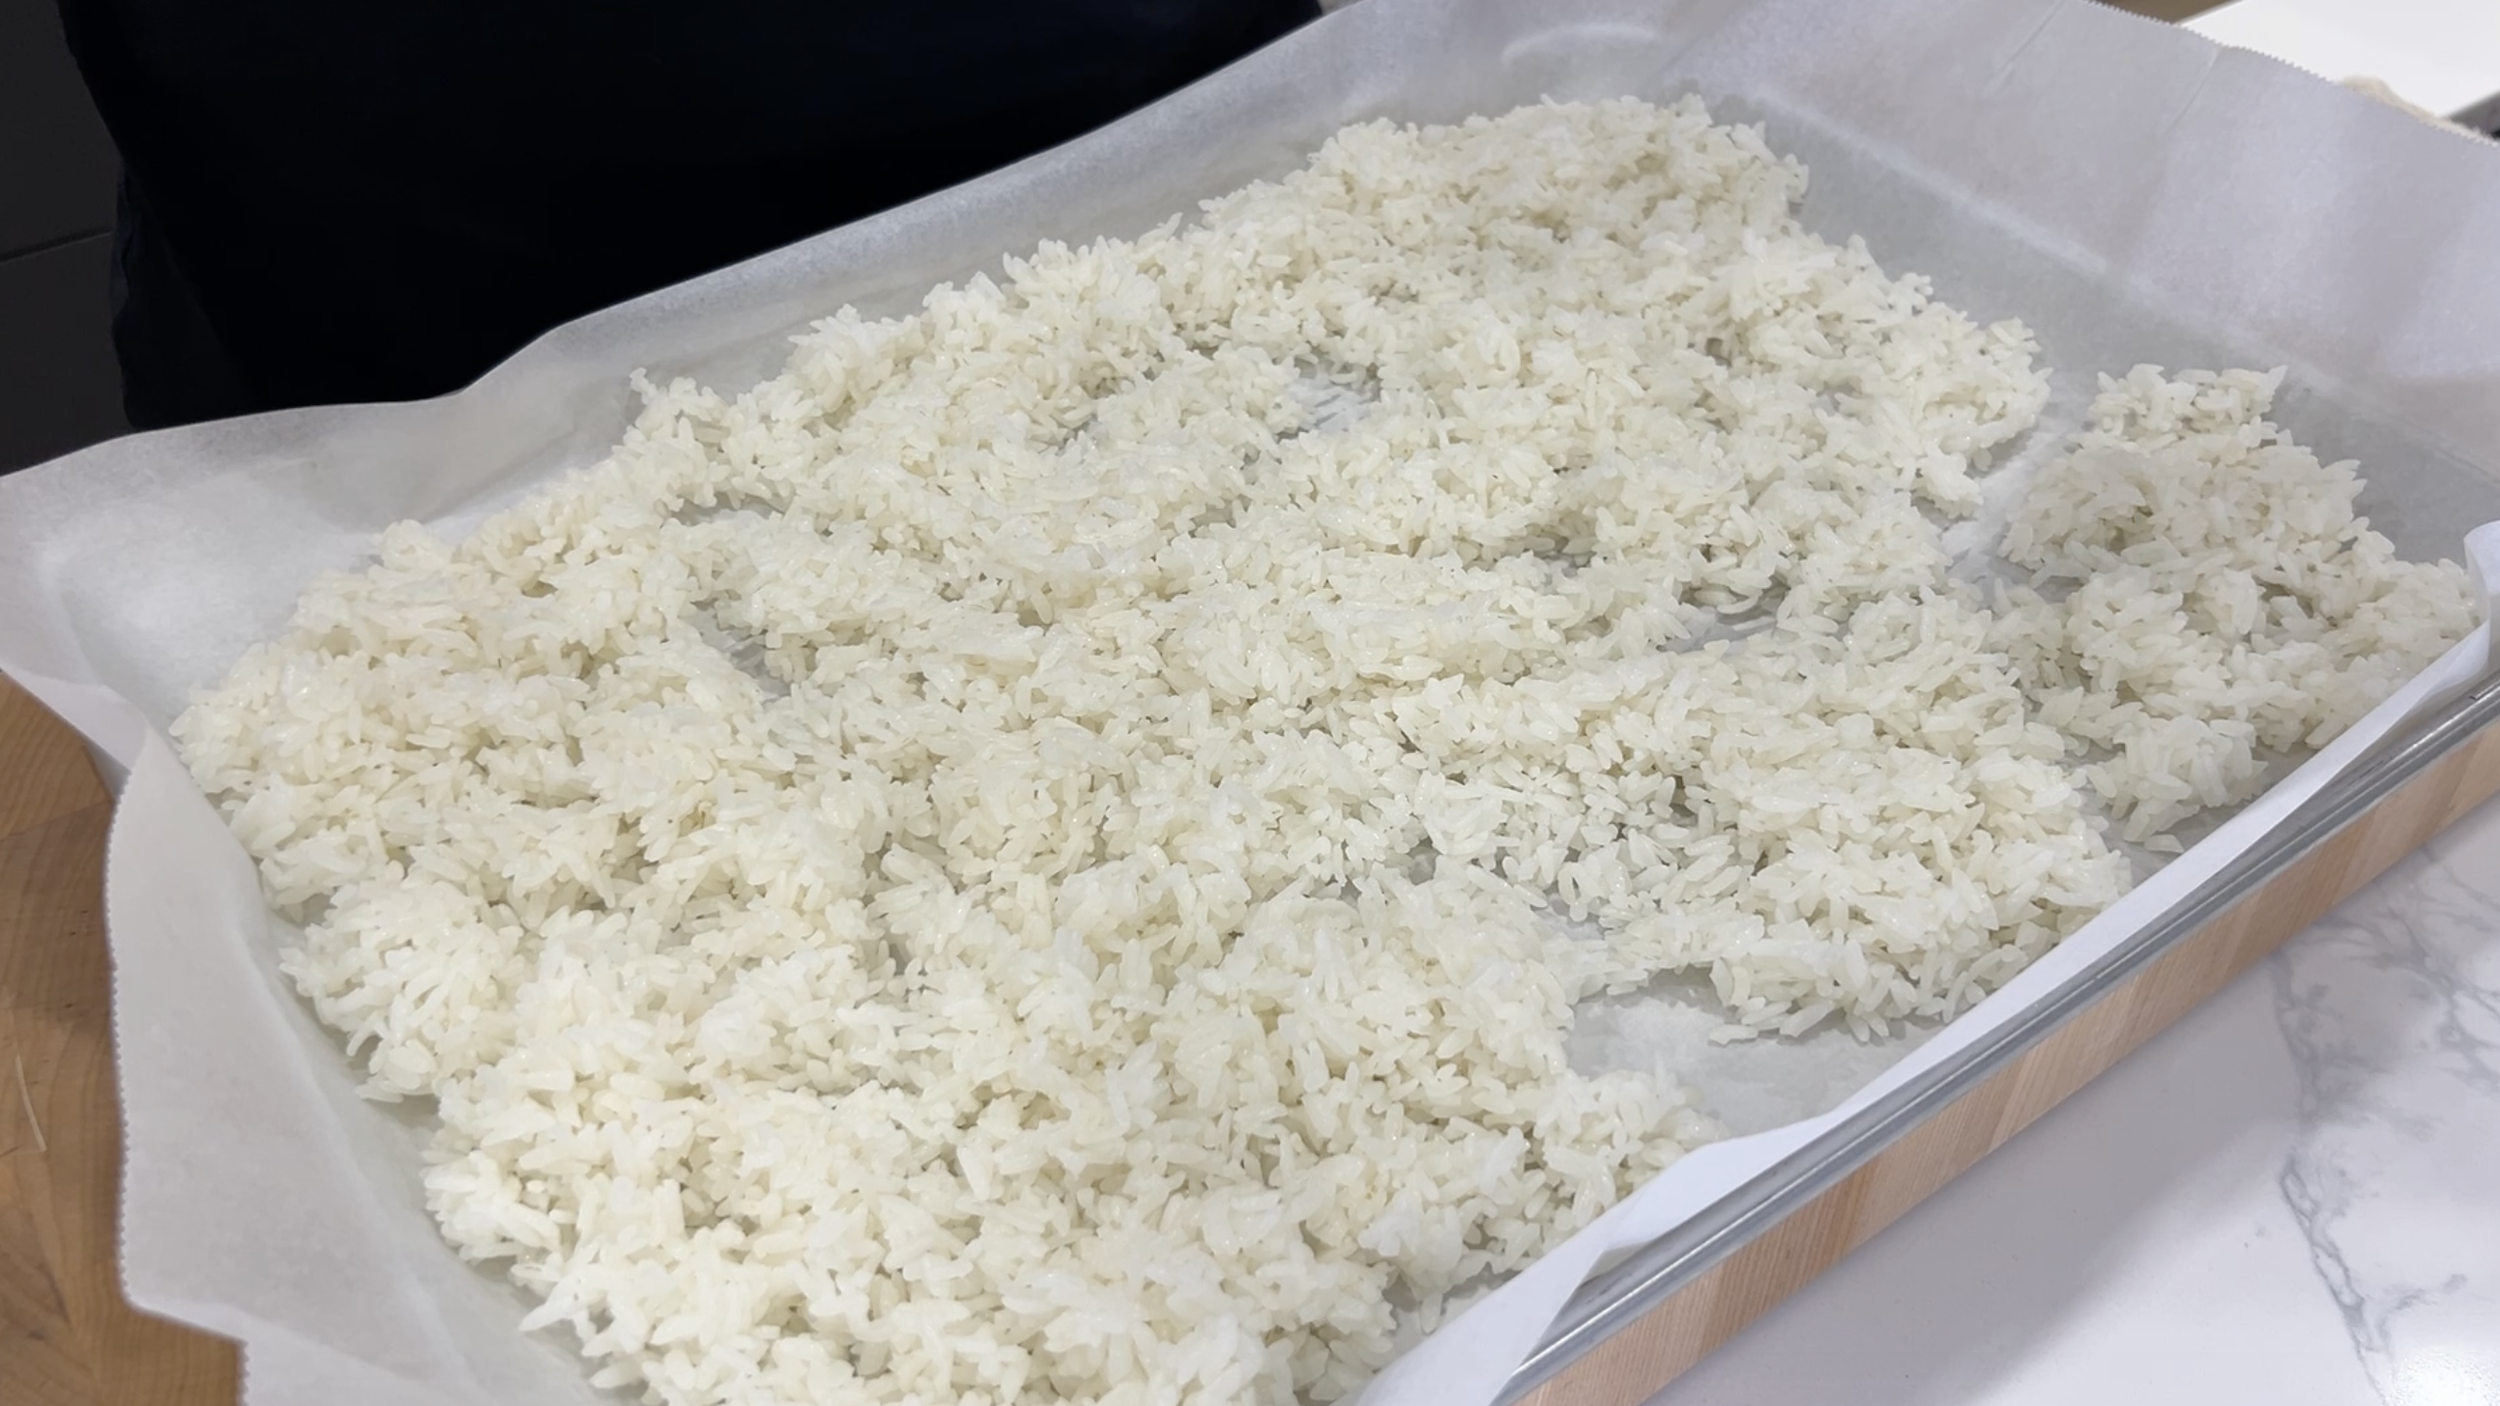
Line a baking tray with parchment paper and spread the rice out in a thin, even layer. The goal is to cool it down as quickly as possible before portioning.
My favourite hack for this: a stroller fan. Yes, the kind you clip onto a baby stroller. Clip it to the edge of the tray and let it run. It cuts cooling time significantly, and you can walk away and do something else, which, as a parent, is the whole point. With the fan, it will cool down in minutes.
I use the fan for many things, like rice, soups, and oatmeal for the kids. It's one of those tools that quietly becomes indispensable. [This is the one I use]
Why cooling quickly matters:
Prevents food poisoning
Rice can harbour Bacillus cereus, a bacterium that produces heat-resistant spores that survive cooking. Those spores thrive in the temperature danger zone, which is why getting your rice out of that range quickly matters. The goal is to cool it fully within 1 to 2 hours before refrigerating or freezing.
This isn't just a texture tip. It's a food safety rule and something chefs take very seriously in the kitchen.
Hot rice trapped in a sealed container creates condensation, and condensation is how you end up with mush later. Cold, dry rice freezes beautifully.

Pour cooked rice onto parchment lined baking tray.
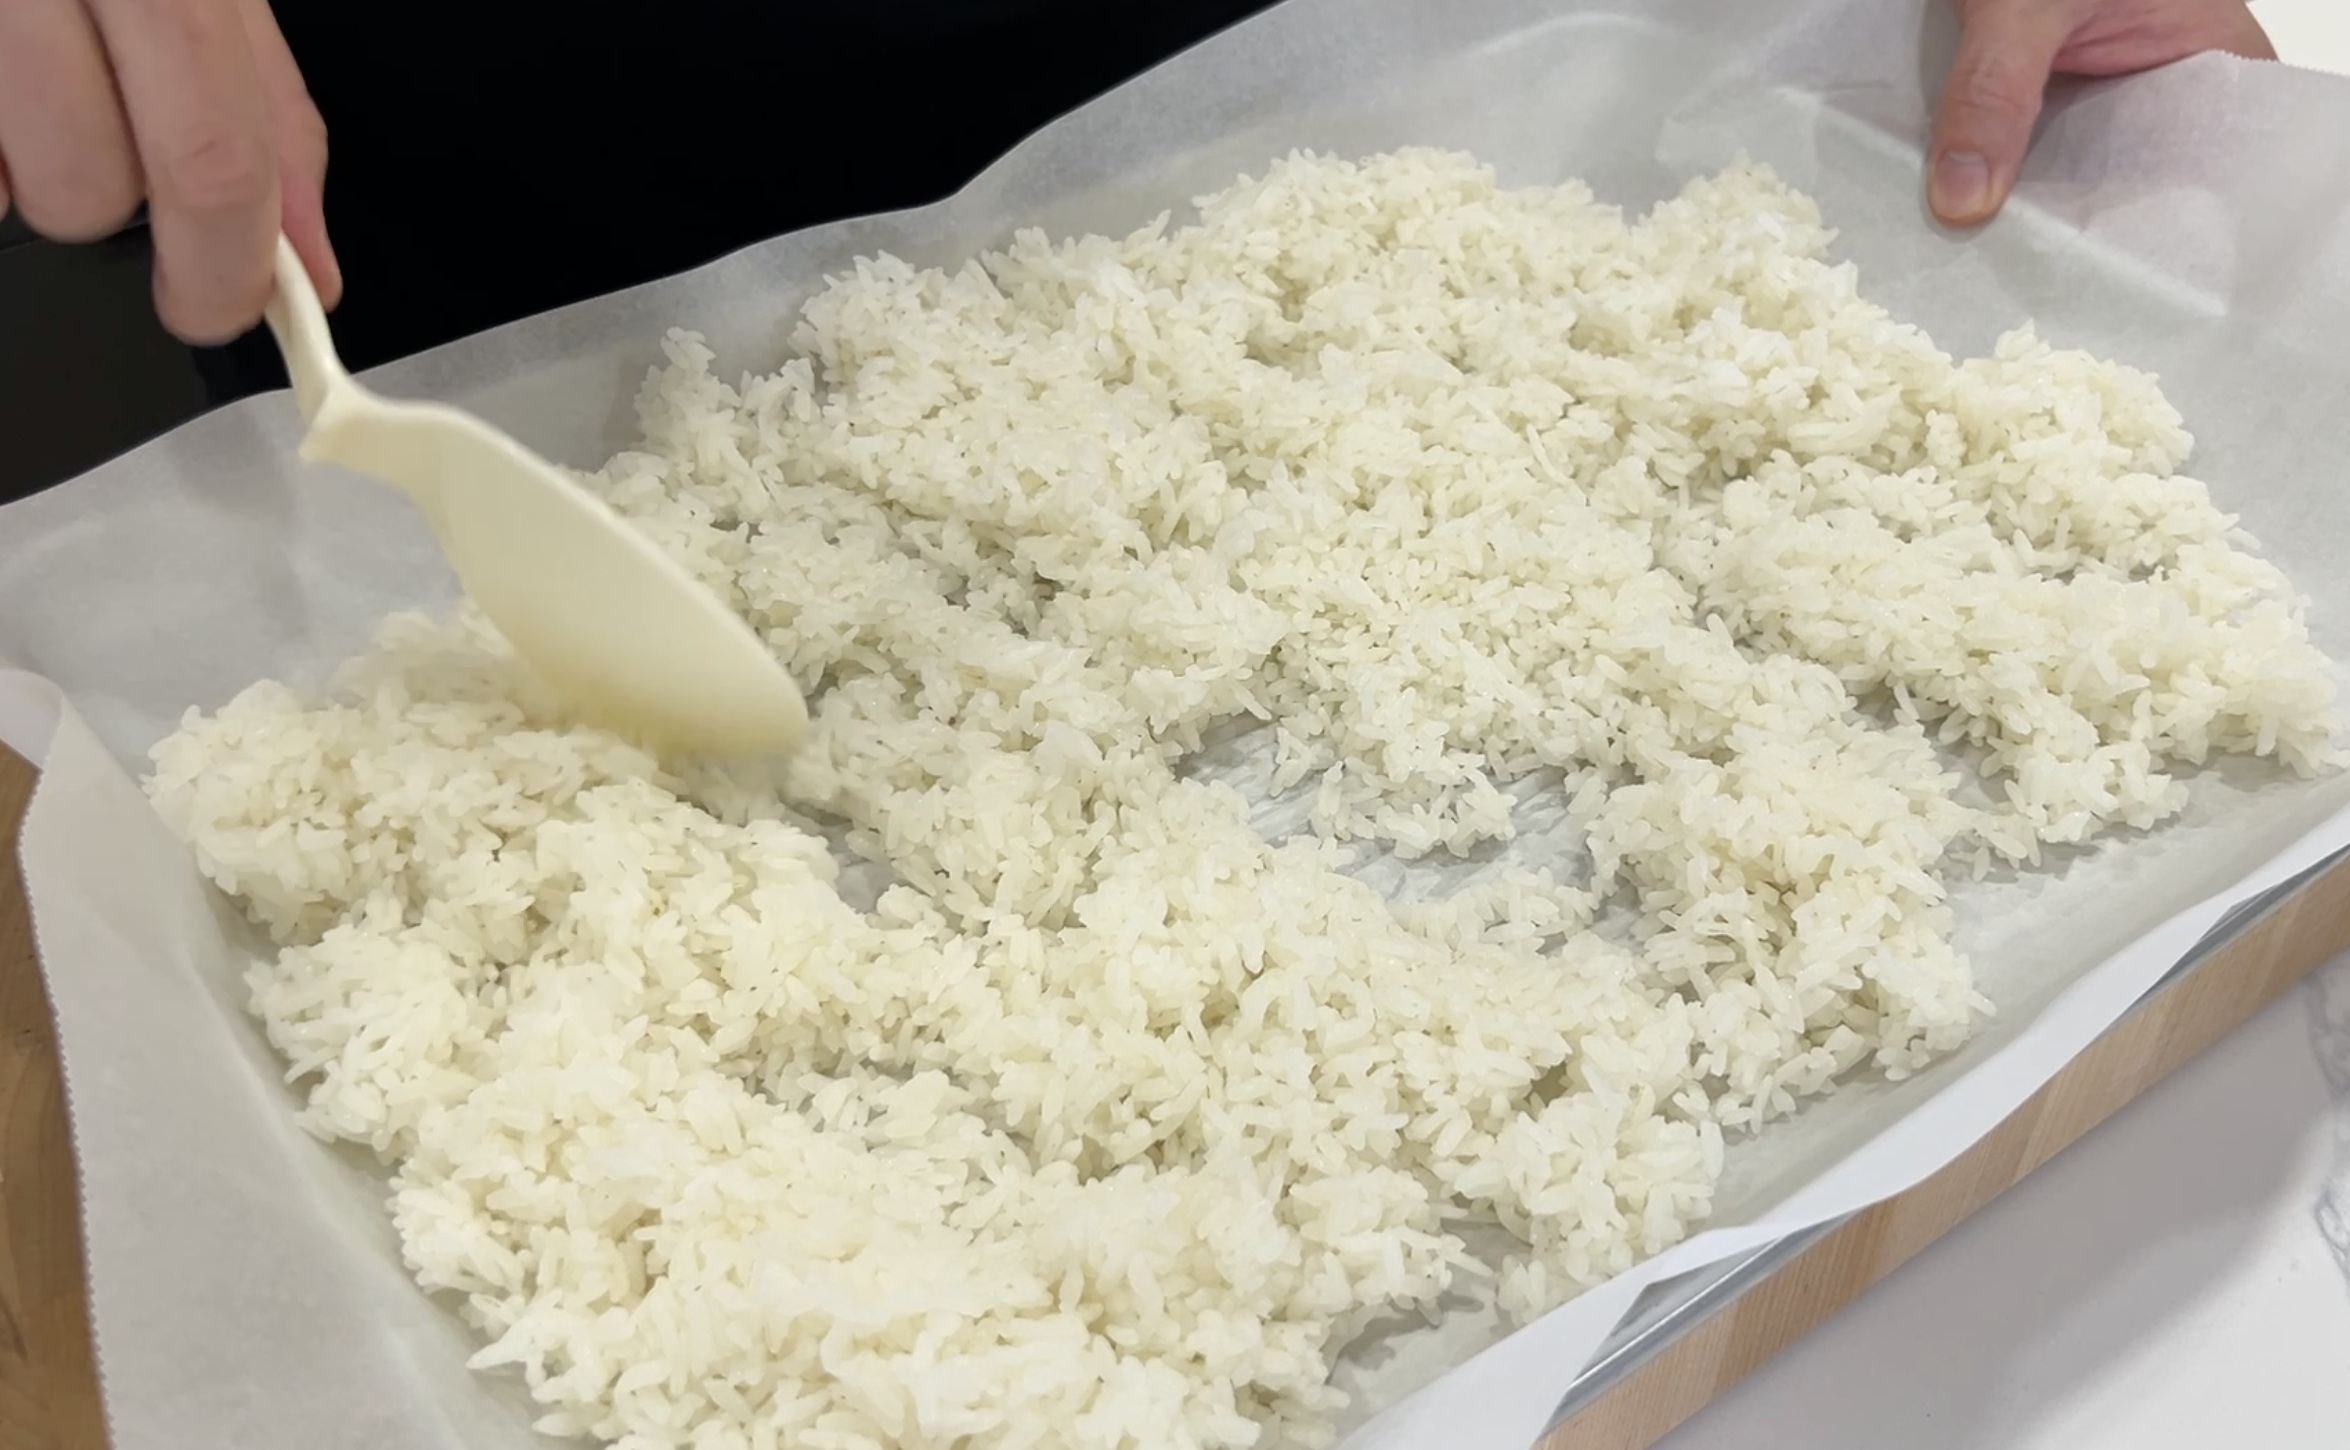
Spread it out evenly.
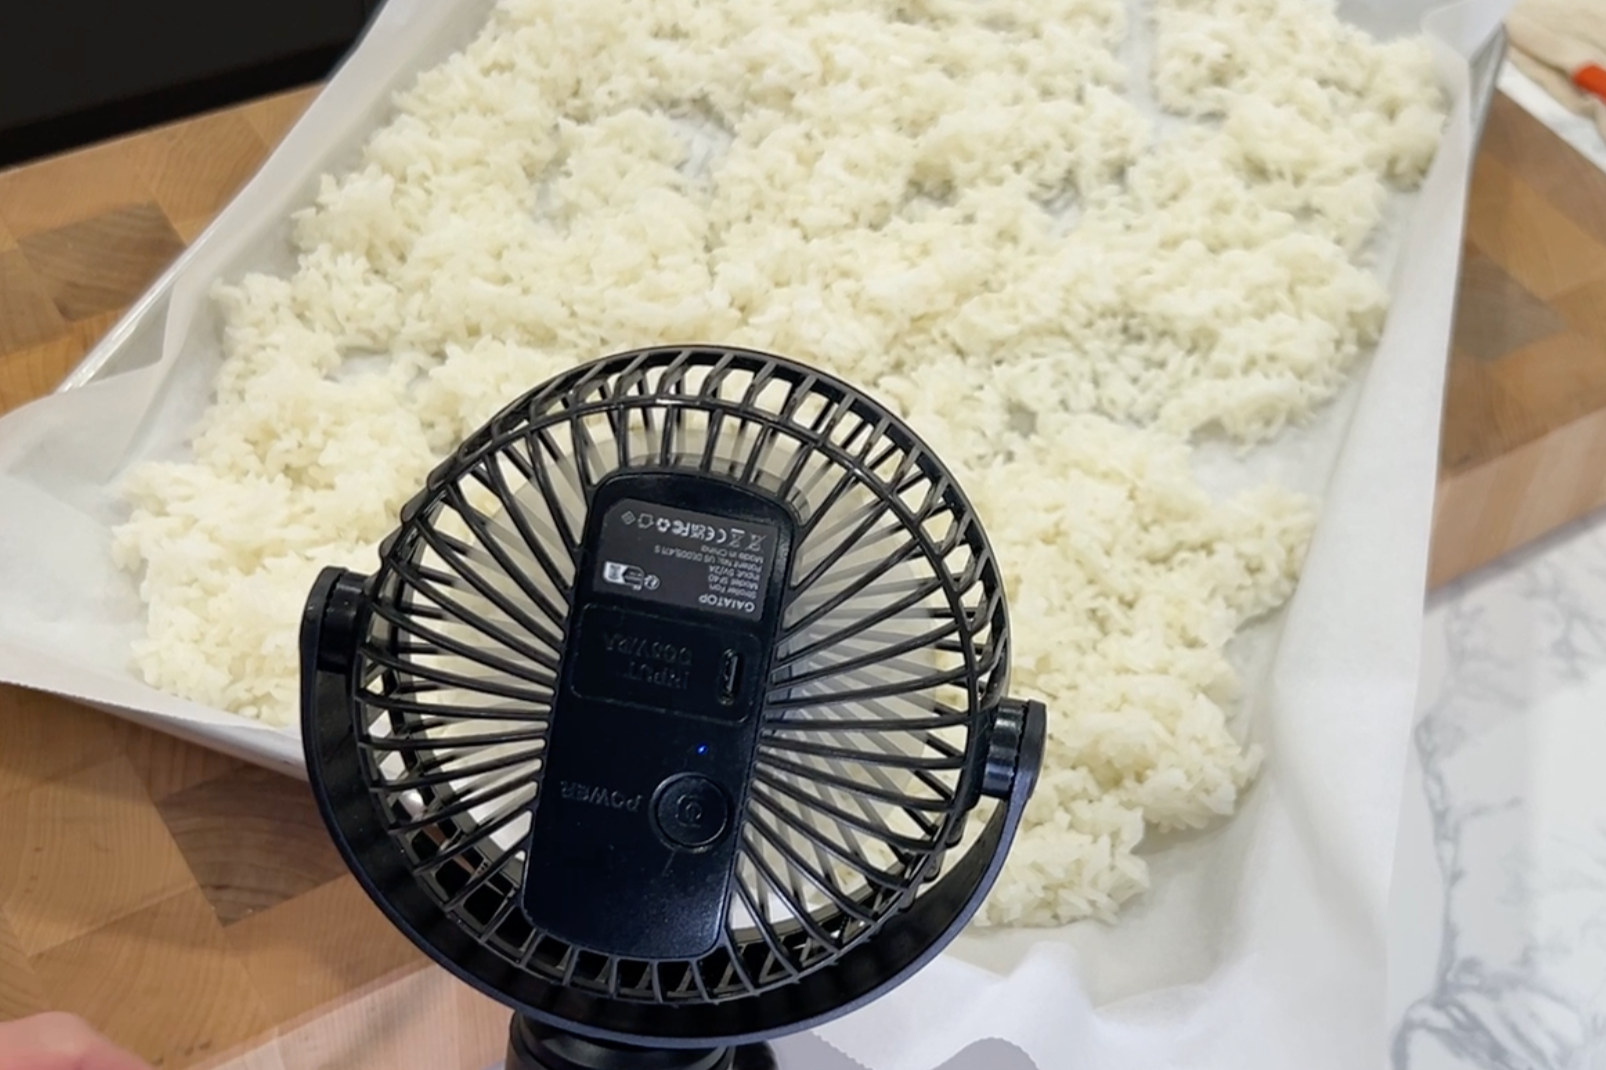
I use a stroller fan to speed up the cooling process.
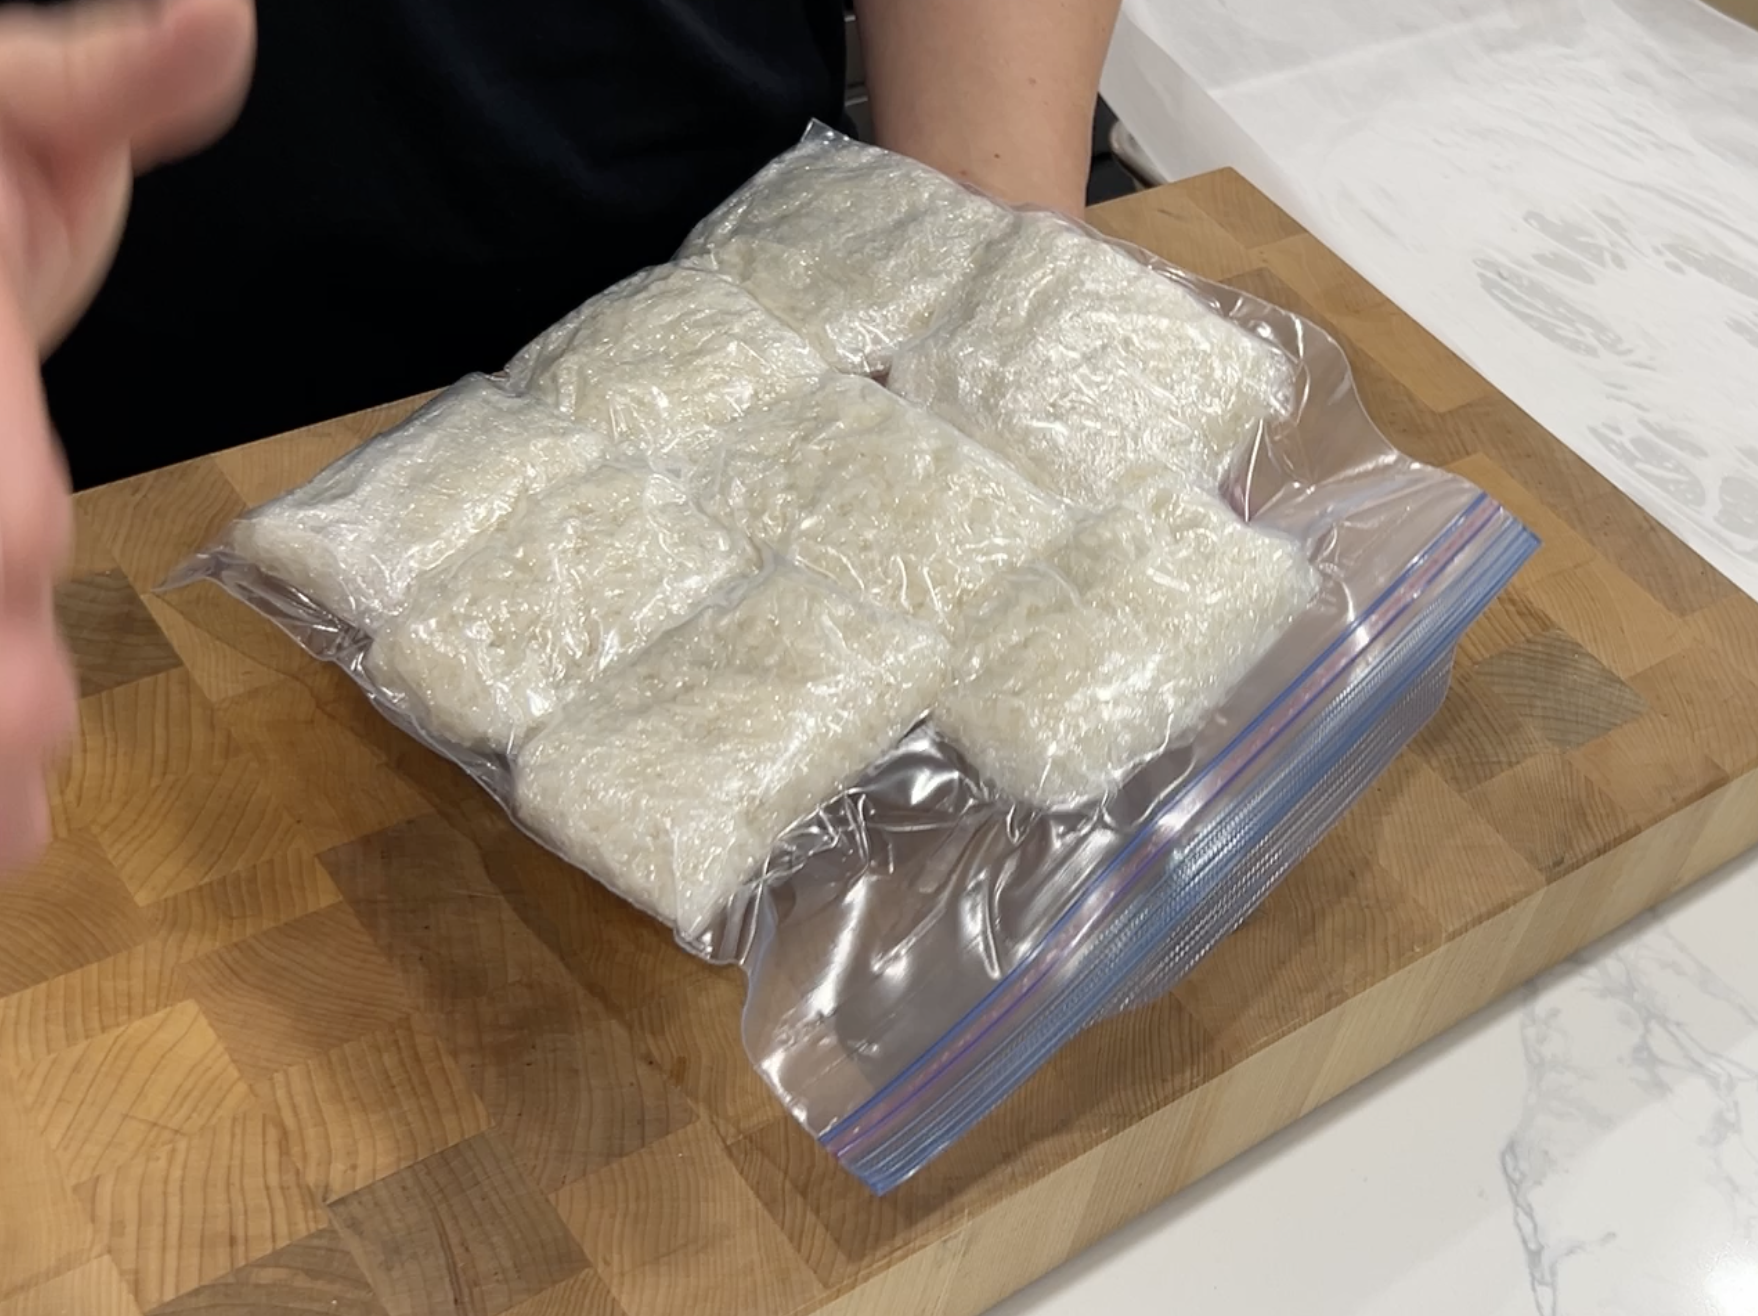
Step 6: Portion for Lunches and Dinners
Once the rice is fully cooled, portion it out.
I use plastic wrap and wrap each serving into a tight little rice pocket. I don't weigh them, I eyeball it based on what I pack in my son's lunch. After a few rounds, you'll know your portion size instinctively.
Once each portion is wrapped:
Place them all into a large freezer bag
Press or squeeze out as much air as possible before sealing
Less air = less freezer burn. A simple rule that protects weeks of meal prep.
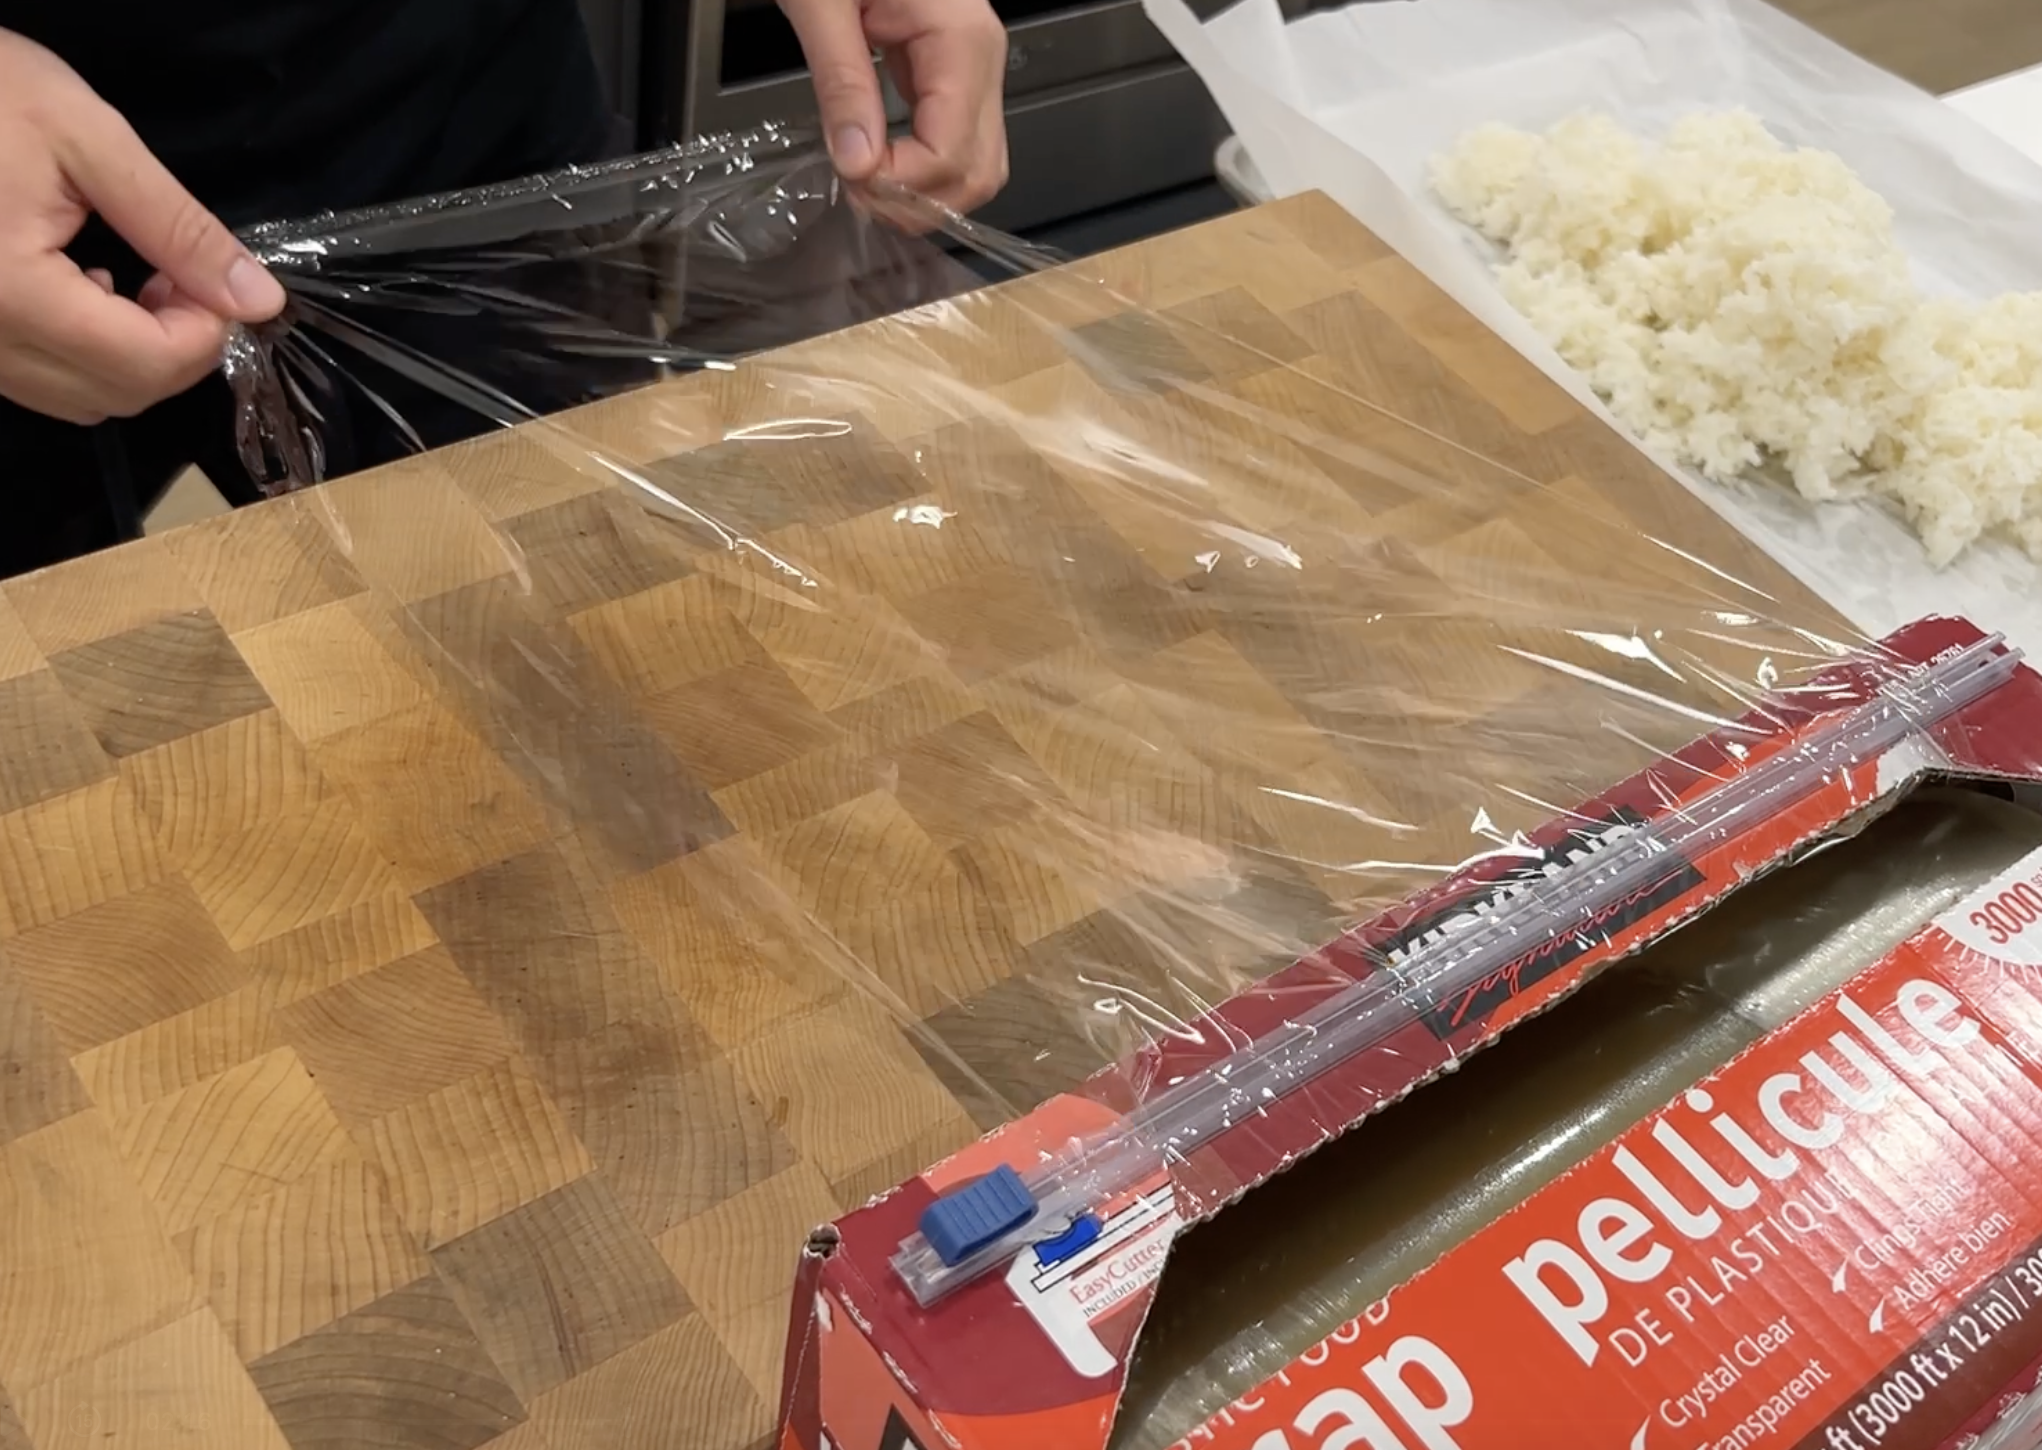
Wrap the rice in saran wrap.

I eye ball the portions out.
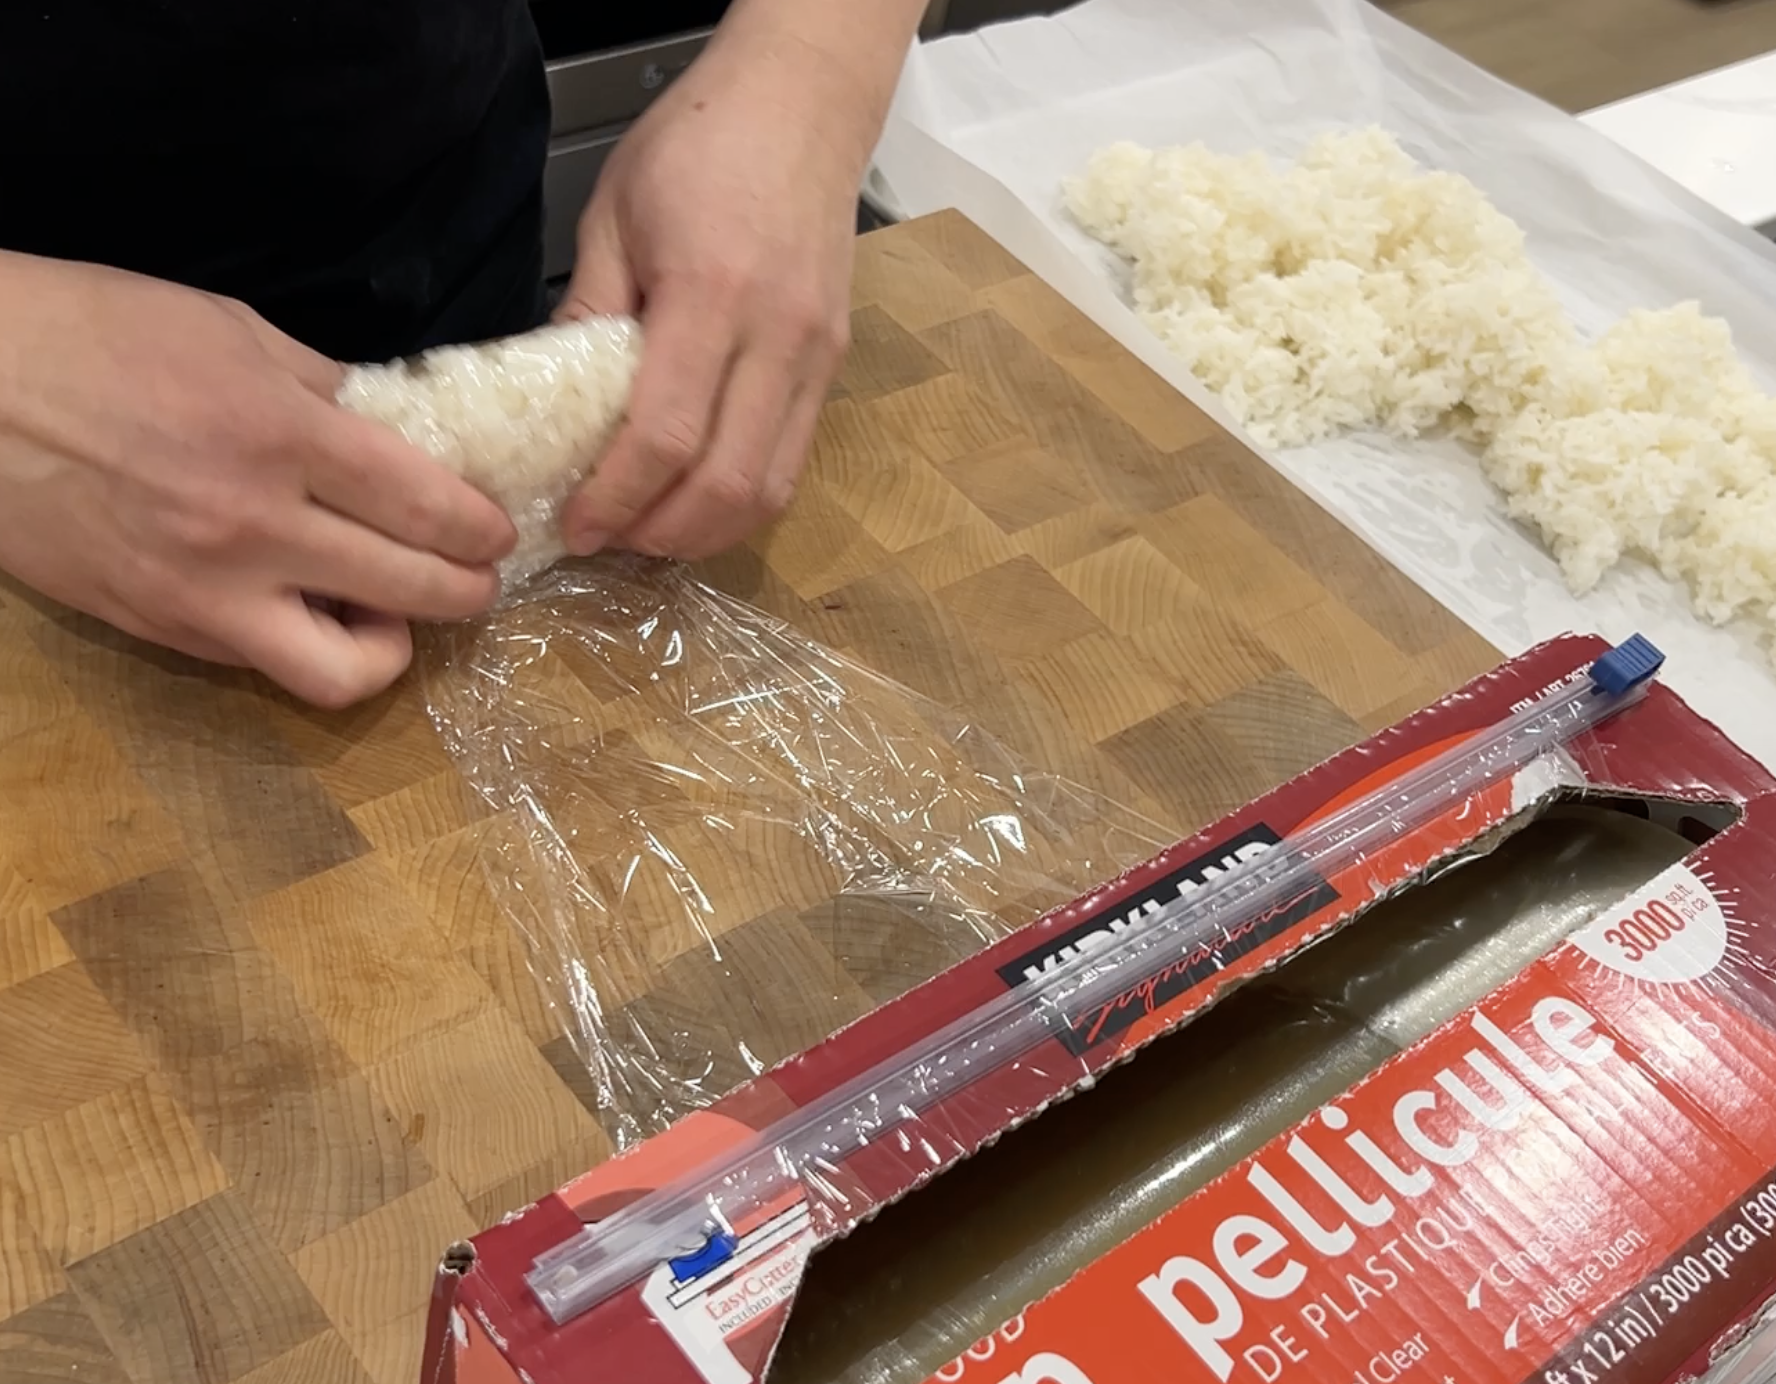
Wrap them up as per the video.
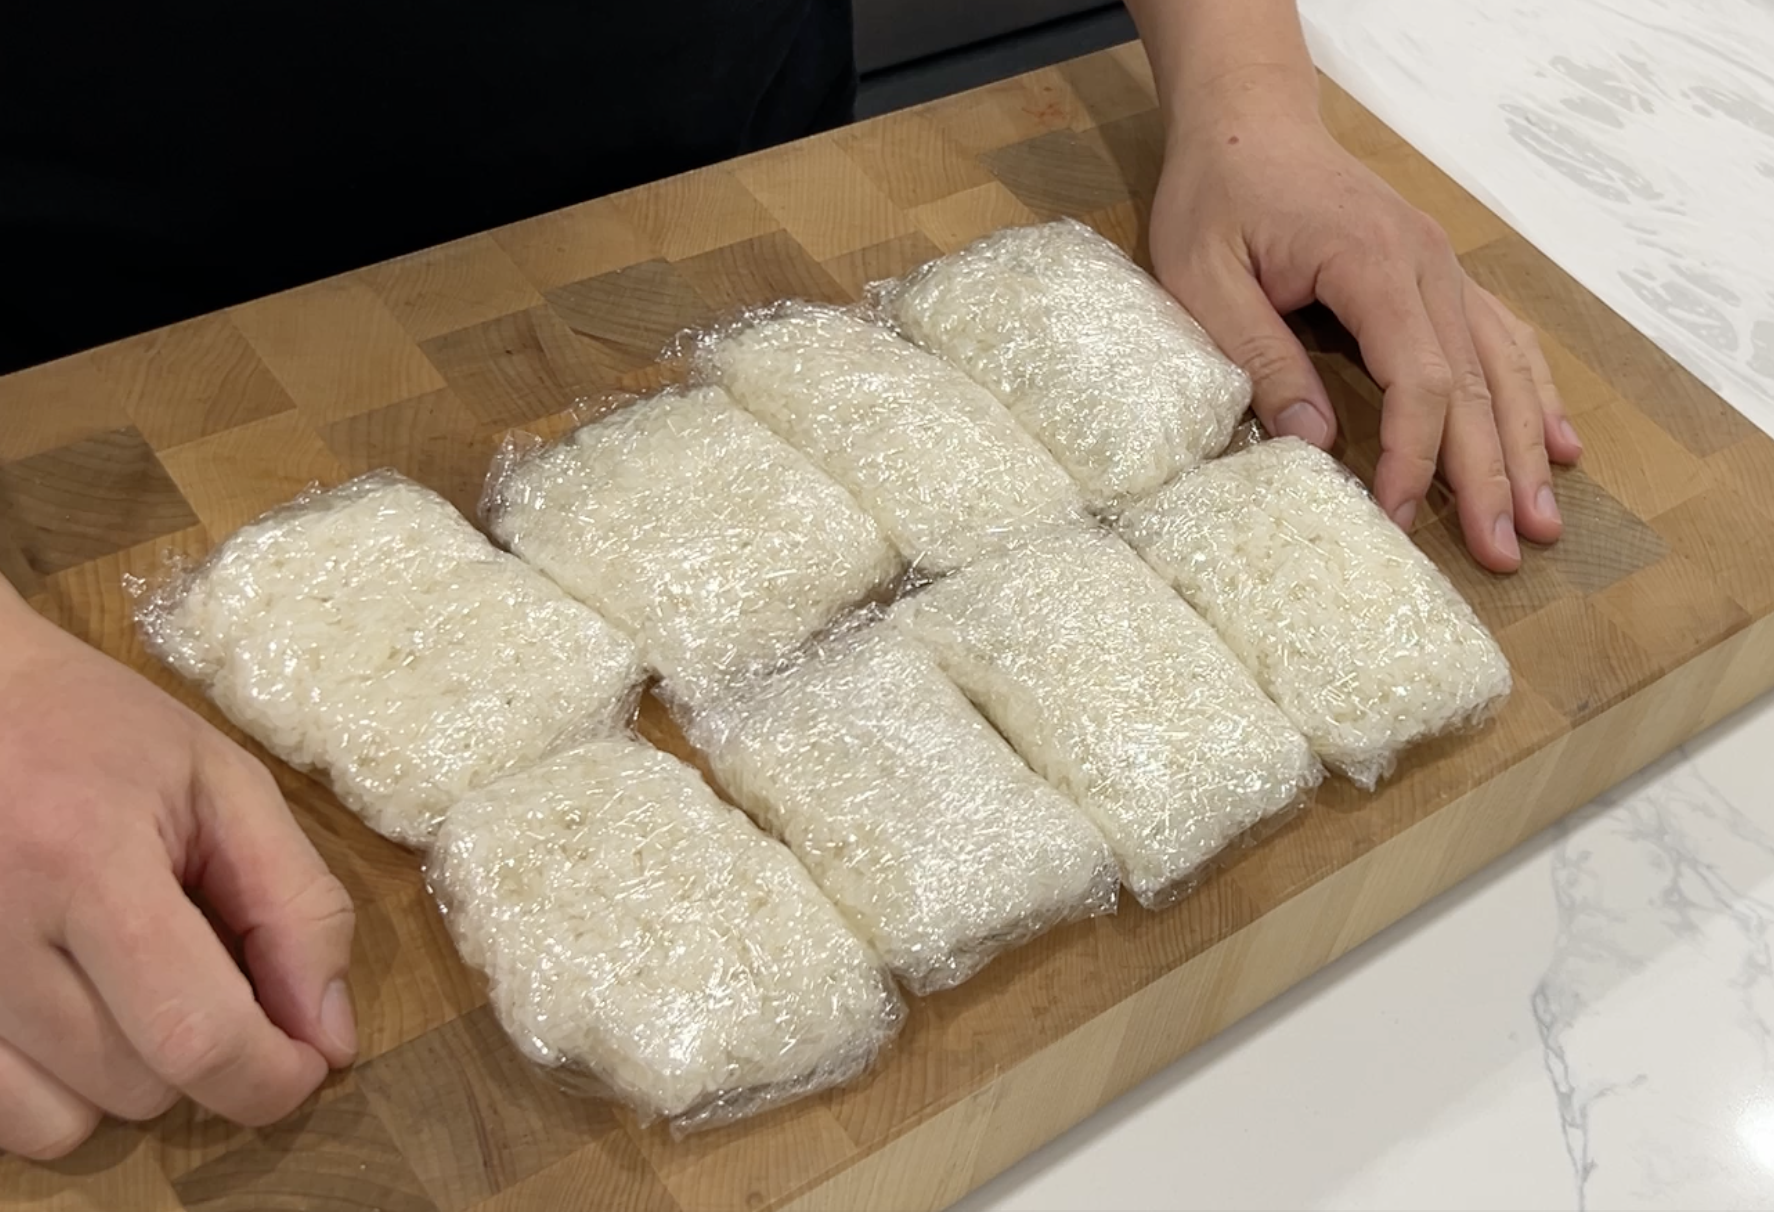
I got 8 portions in this batch.
Step 7: Freeze Flat and Stack Smart
Freeze the bag lying flat if you can. The portions stack better, take up less freezer space, and thaw more evenly.
Now you've got ready-to-go rice for school lunches, quick dinners, and anything the week throws at you.
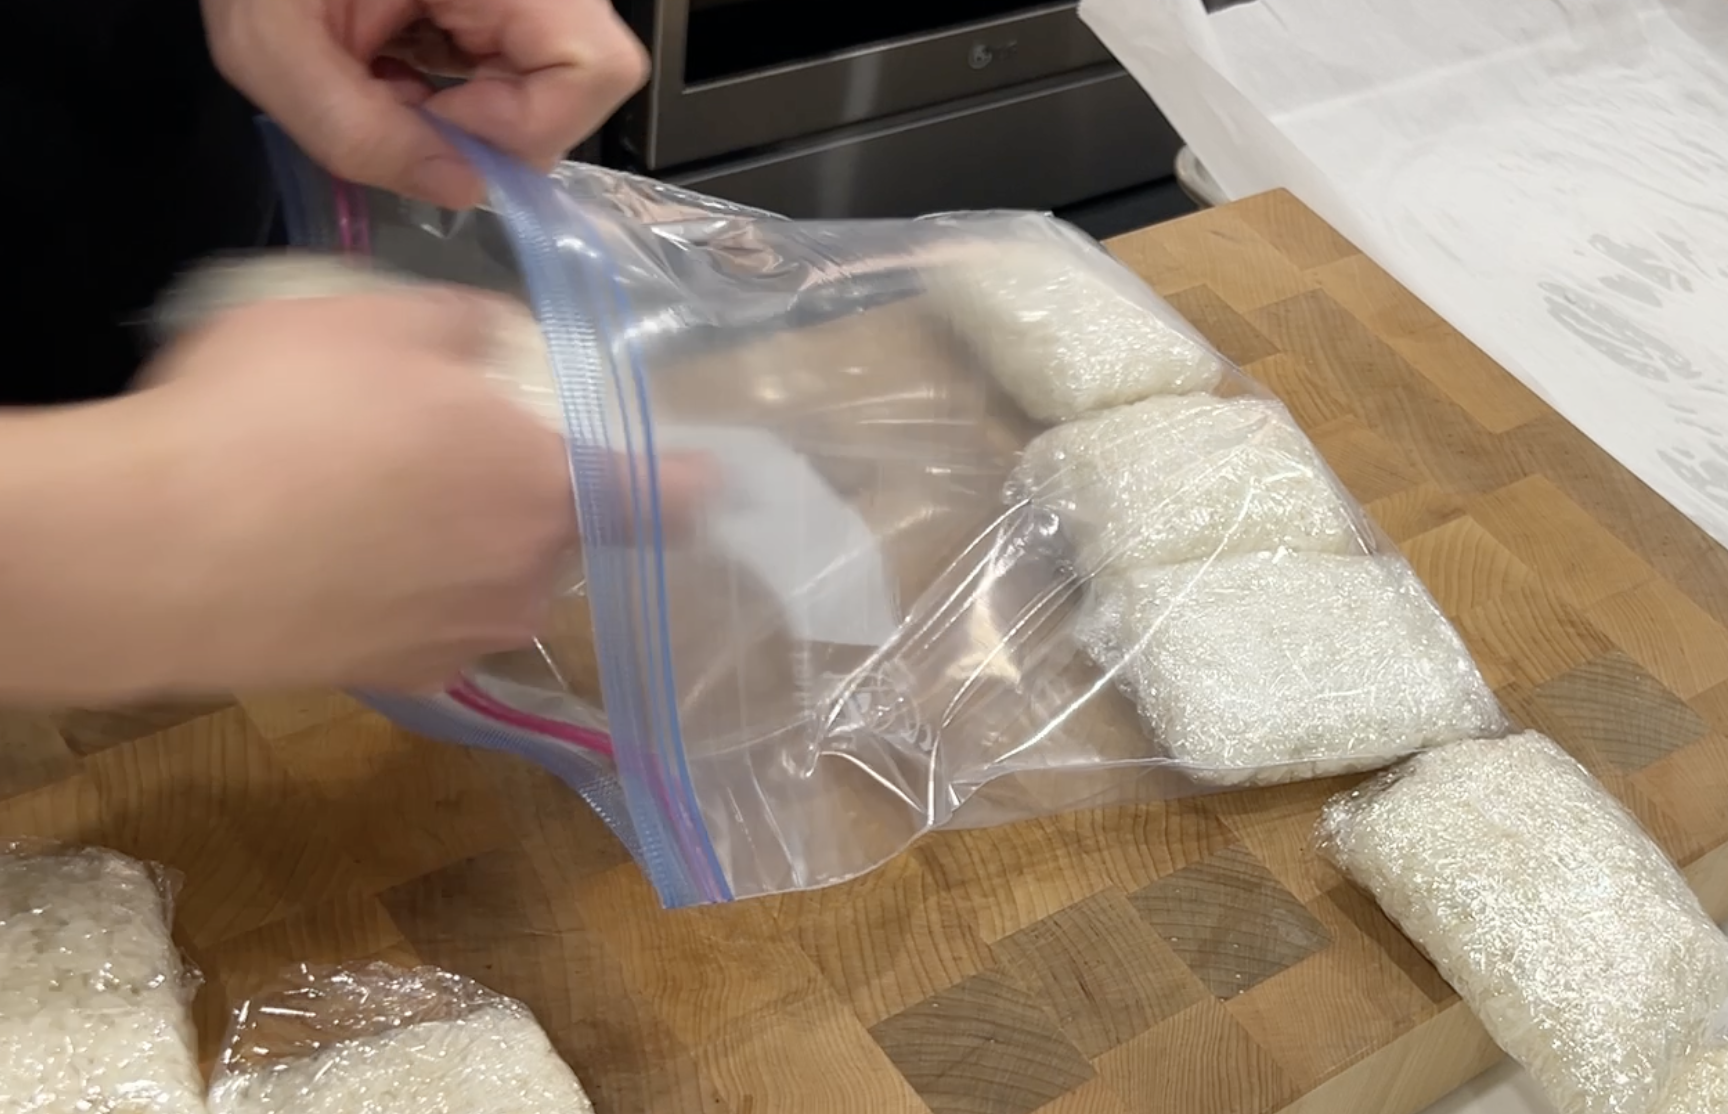
Keep them in a ziplock bag.
Make sure to suck the air out flat. It freezes easier.
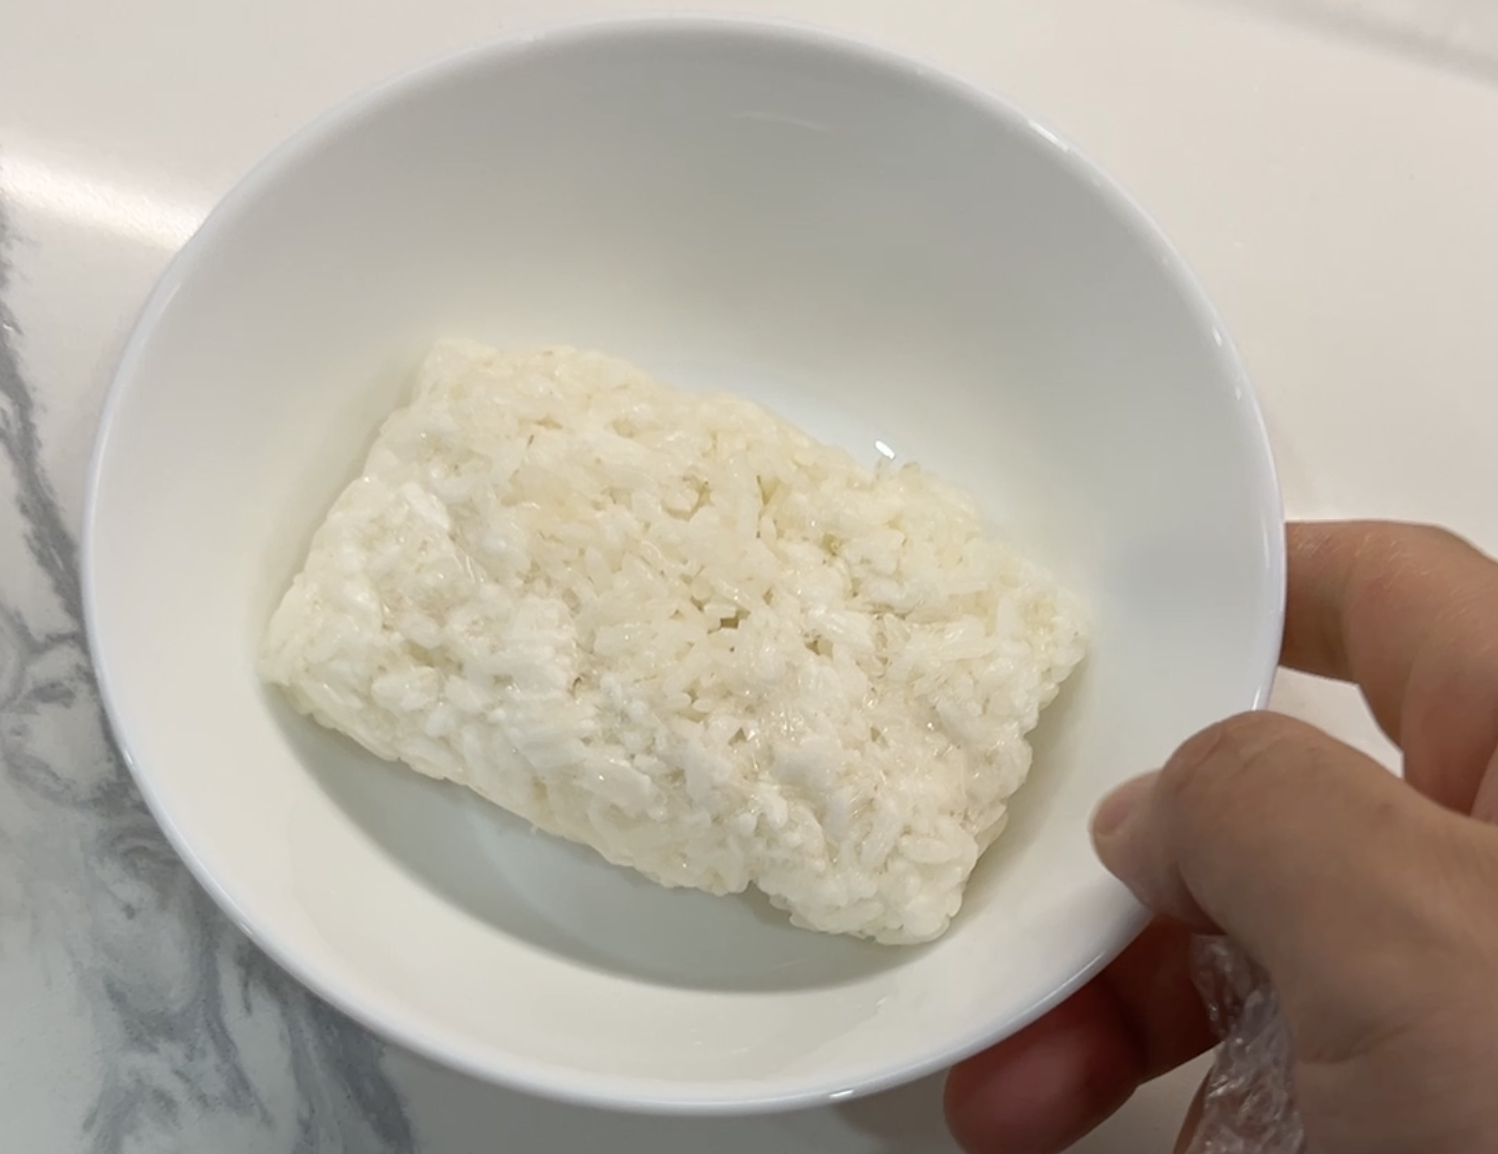
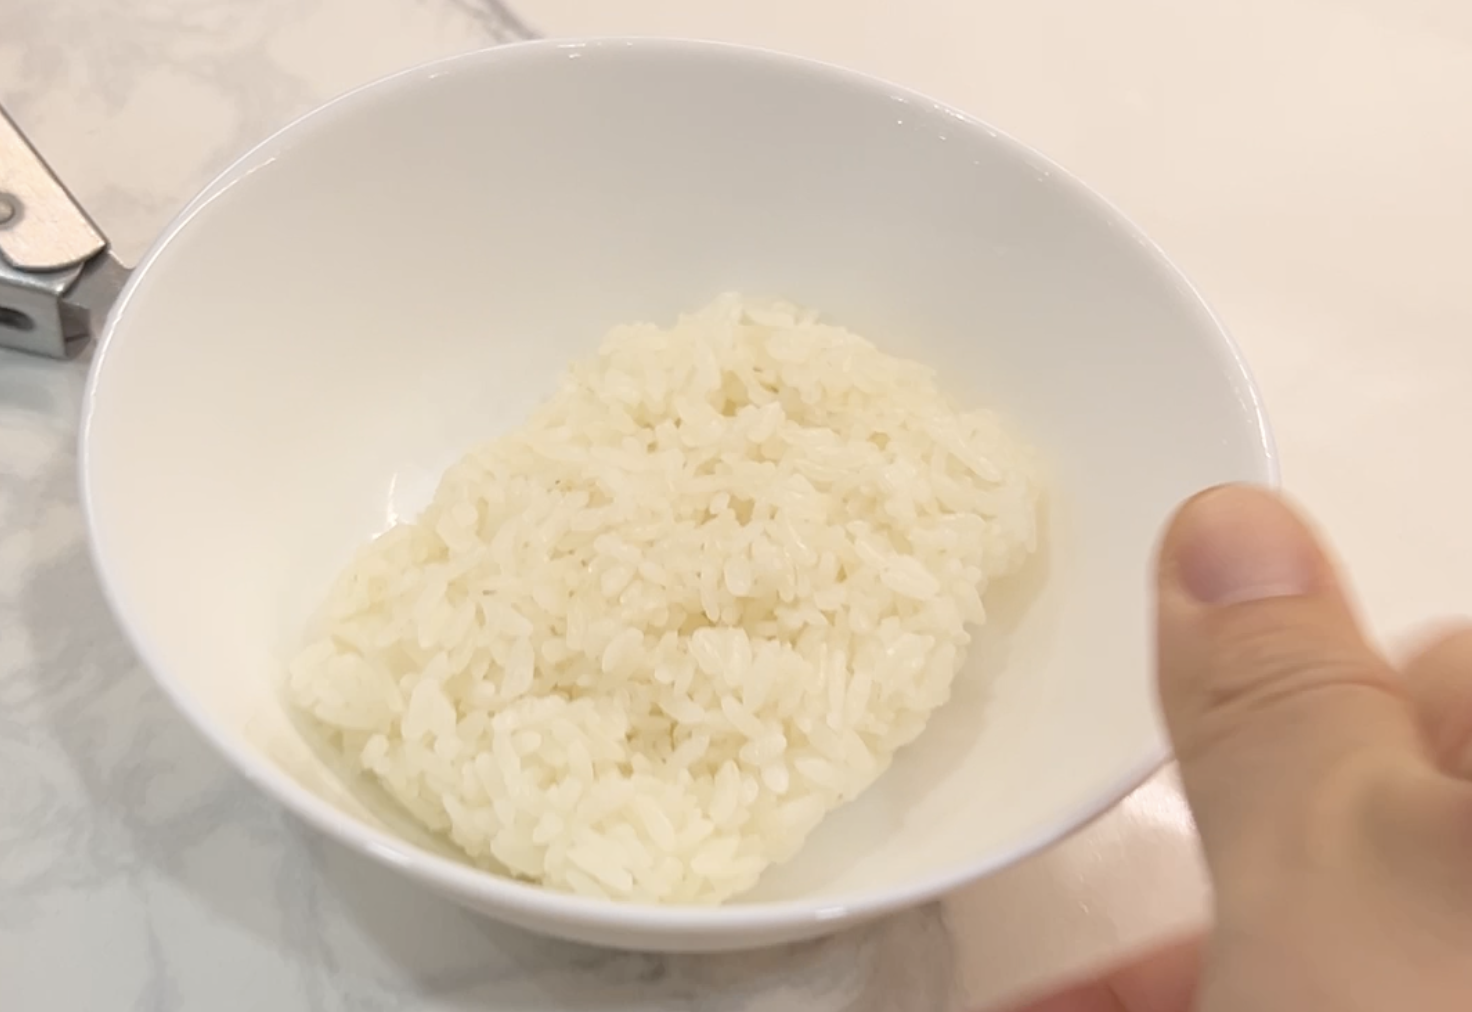
Step 8: Reheat in Under 2 Minutes
When it's time to eat:
Pull out one rice pocket
Add 1 teaspoon of water
Microwave for 1 minute and 30 seconds, covered
The water creates steam inside the wrap and brings the rice back to life. Fluff lightly and it's ready. Lunch packed. Dinner sorted. Done.
Frozen.
1:30 in the microwave with 1 tsp water.
This is the microwaved rice that I fluffed a bit.
This Is What Getting Ahead of the Week Looks Like
One batch of rice. An hour of your time. Lunches handled, dinners half-done before the week even starts.
That's the real goal here, not perfect rice for its own sake, but a little more breathing room in your day. Less scrambling at 7am. Less staring into the fridge at 6pm wondering what to make.
Add this to your rotation and you'll wonder why you didn't start sooner.
If this was helpful, please share this recipe with someone you think might find it helpful and make sure to check out the full video on my YouTube channel.
🛒 Fan I use to cool rice fast: Gaiatop Portable Fan — As an Amazon Associate I earn from qualifying purchases.
You’ll Also Love These


Hi, I'm Eugene, but many of you might recognize me as "The_EugeFood". With over two decades working in diverse kitchens, I've come to cherish the genuine connections and shared experiences that cooking brings. For me, it's not about the high-pressure, competitive world you see on TV. It's about the joy of gathering around a table, the stories shared over simmering pots, and the laughter that follows a shared meal. I'm here to demystify the culinary world, to show you that if you can boil water for cup noodles, you're already on your way. Cooking isn't just a skill; it's a journey of discovery, and I invite you to join me on this adventure to becoming a better cook.